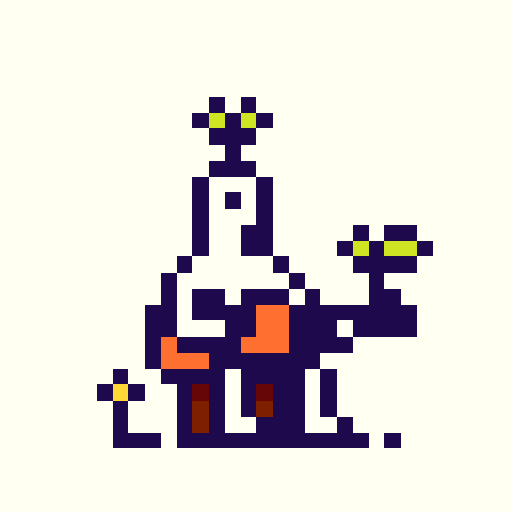
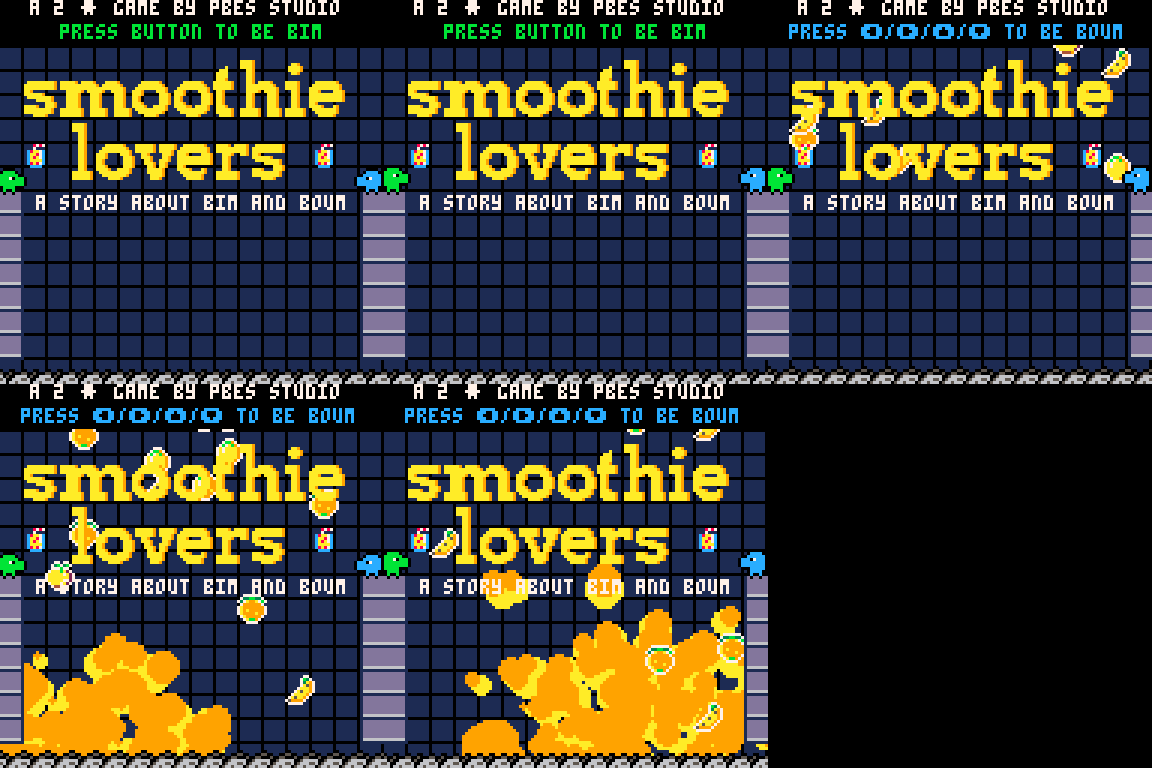
This is the editor for Tiny Hawk!: https://www.lexaloffle.com/bbs/?tid=142536
Instructions
This is very much a developer tool and not optimized for ease of use!! However, these are the controls...
Number keys 1,2,3,4,5,6: Change tile groups. 1 = basic blocks, 2 = ramps, 3 = rails, 4 = quarter pipes, 5 = special objects, 6 = floor decorations
LEFT CLICK to place a tile
RIGHT CLICK to switch tiles within the current tile group
SCROLL WHEEL = change tile height
Q = rotate a tile
D = delete a tile
E = switch from edit to play mode, or vice-versa
S = save the level file to YOUR CLIPBOARD (web version requires you to also press ctrl-C afterwards), then please don't forget to paste it somewhere like a notepad document if you want to save it permanently


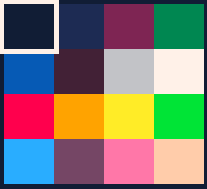
I am having weird issues with passing an array of numbers into pal to change the color palette. A rectfill that before was meant to fill with the color 0, the darkest blue, refuses to fill with that specific color anymore and uses the color 1. I have tried other colors and they work just fine. Does anybody know what is going on here?

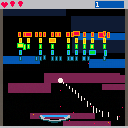
Hello there, fellow gamer! Thank you for coming to try out my first official Pico-8 release. Picout is reminiscent of the old-school Breakout game, but a little more fast-paced and with a colorful, modern twist.
Controls
Left/Right - move paddle
X button/keyboard X - continue
O button/keyboard C - activate magnet
Tips
The magnet is most powerful when positioned directly under the ball. Use it to squeeze the ball into a tight space, or to drag the ball down into a cluster of bricks.
Go for the gold! The more bricks you break before the ball hits your paddle, the more points you'll earn for each brick. Legend says if you get 15 or more in a row, something explosive could happen...


CONTROLS
Left/Right: Turn
X: Ollie. Hold to accelerate, release to ollie (jump)
Down: Slow down
Up: Hold to transfer over a quarter-pipe. (In rare cases, you can also use it to accelerate but not prepare an ollie)
Z/C: Trick. Press to grind a rail or ledge, use directional keys to do various tricks! See this trick list at any time in the menu during gameplay.
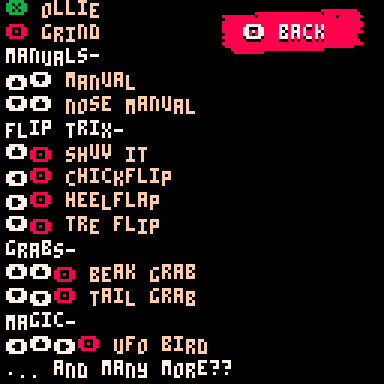
There are more tricks than this... can you find them all?
HOW TO PLAY
If you've played the Tony Hawk's Pro Skater series then you'll already know what to do - choose a level in the menu and try to complete all the goals! The goals are about getting a certain score, or getting a certain score in a short combo, or doing a certain trick over a gap.
Hold X to accelerate and then release it to Ollie. Use the "O" key (usually Z or C on a keyboard) to do tricks. Try pressing it before landing on a rail or edge to grind, or press a directional button before pressing the trick key to do a flip trick or grab trick in the air!
The most important trick to learn for doing longer combos and getting more points is the manual - press up, down before landing and you will continue your combo. You can extend your combo indefinitely as long as you can balance and do manuals between other tricks!
THANKS
MUSIC: Maple: https://maple.pet/
MUSIC: Wasiknighit: https://wasiknighit.itch.io/
PLAYTESTING: maple, nickpage
BONUS
Level editor: very soon!

.jpg)



Okay I installed a demos folder I went into a game by loading the game from SPLORE, and then exiting back to SPLORE.
Then, exiting SPLORE. Then I got into the editor. Am I missing steps because I still try to export the game to html and js but the problem is that I can't find it on my computer still.
I just need a step-by-step instructions somehow or I'm missing something.


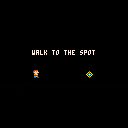
This is Walk To The Spot. A game where you (our glorious hero)... walk to the spot. And then you walk to the next one. And the next one. Until the random explosions kill you.
The more spots you walk to, the higher your score. Can you get the new high score? There is only one way to find out...
You've got to walk to the spot!
Controls
You move around with the d-pad.
After "game over" you press X to play again.
Advanced Strategies
- Avoid explosions
- Keep walking to the spot
- Walk diagonal to move faster
- Play it so much that you start walking to the spot IRL
- Have fun
- Walk to the spot
Credits
Brian Knapp (me) - I made this.



(Sorry for double posting, i cant delete blog post)
--A little off-topic:
Greetings, great people! Some of you might remember that i made a post crying about how i dont get 3d. Some of you gave me a lot of great advise, which i followed. Howerver, i still could get it really until near current time. So here it is, somewhat modified Zep's dots3d demo. Maybe i be not that smart anyway.
--somewhat interesting part of text:
This tiny engine can render a 8x8x2 dots figure, it takes what to draw from sprite 001, thought depth isn't a thing you can change per-sprite. Right now there is a trollface, if you didnt notice.
--what you can do with it:
draw youself a 3d dots figure by changing sprite 001. i would love to see anything being done with it.


This is my first ever post on this website! I'm very excited and scared at the same time! Sorry in advance if I say something wrong.
What is this cart?
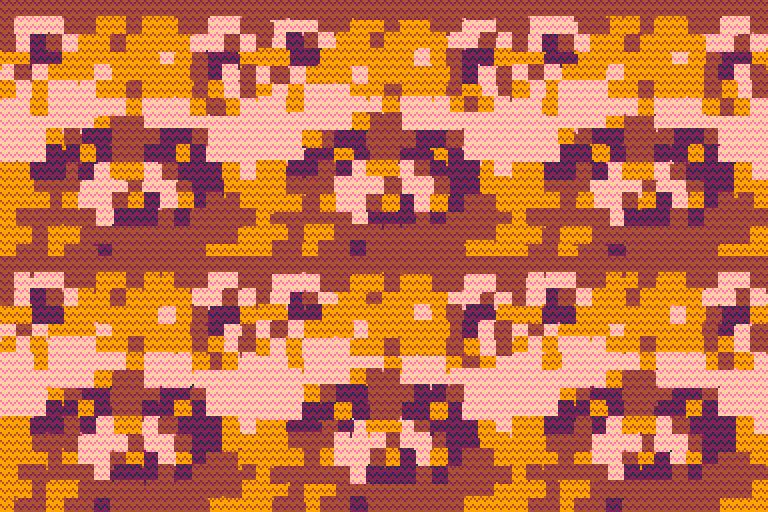
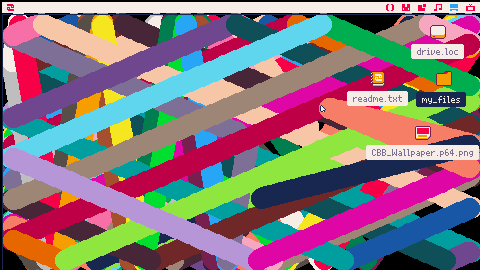
This Picotron cart can be used as a wallpaper or a screensaver. Remember that this is my first program on the Picotron, so it might be a little rough around the edges.
How do I use this?
Put the .p64.png file in the /appdata/system/wallpapers/ or /appdata/system/screensavers of your Picotron workstation. You're all set! Now you can open system settings and select the cart as your wallpaper or screensaver, depending on where you pasted the cart to.
Are there any settings I could alter?
Yes! Once you've run the cart as your wallpaper or screensaver (or even on its own), a file will appear in /appdata/ called `CBBWallpaper.pod. You can open that up and alter the settings according to your wishes.


Welcome to my first post!
I present to you the
Popup Notifications!

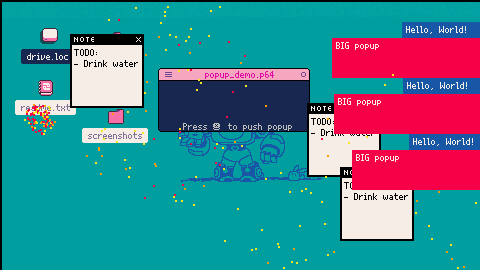
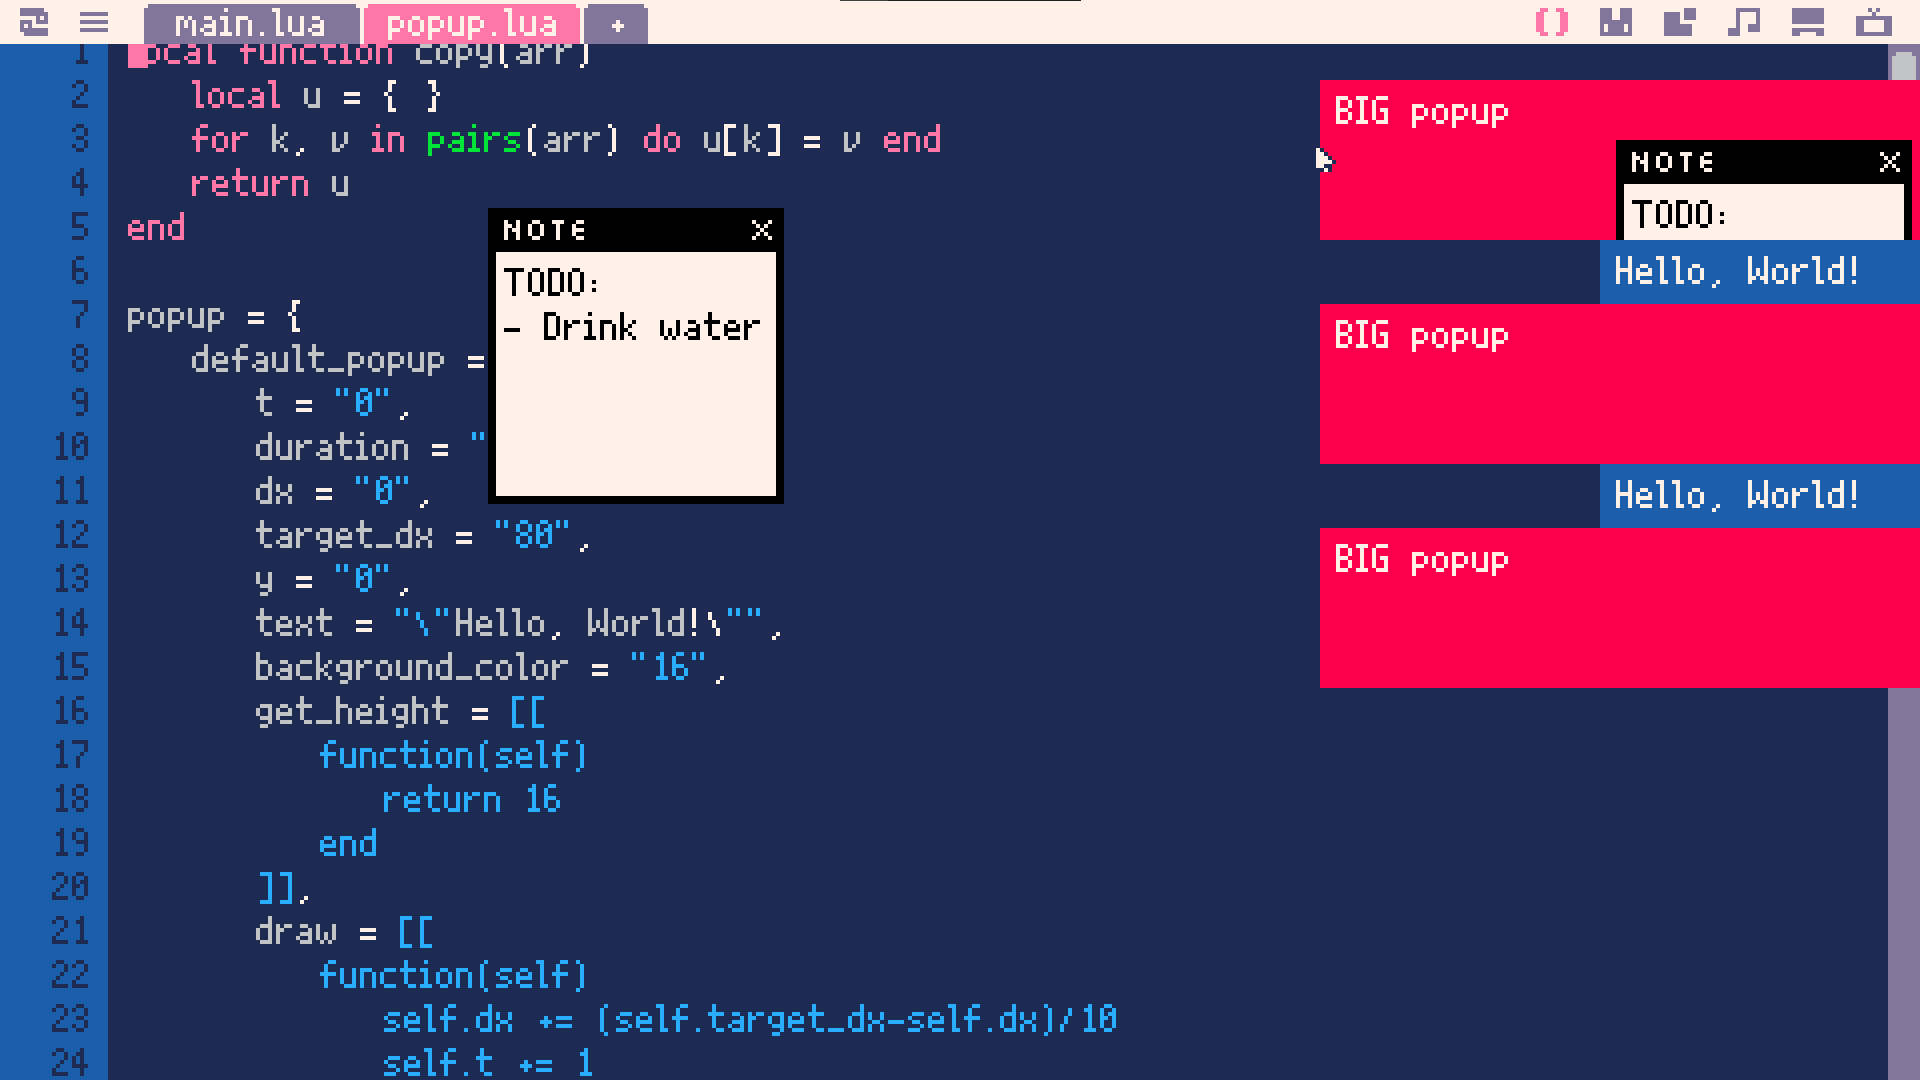
But as you can probably see, it sadly does not work out-of-the-box.
The problem is such Picotron (AFAIK) doesn't have any way to draw a window which would be visible on all workspaces.
So I had to slightly edit original Window Manager and add such an option.
Furthermore - changes made to /system folder are only temporary by default, so I had to bypass it as well.
I don't know if this is a well known thing, but you can just copy the /system folder to a different location (cp /system /tmp), delete original /system and rename previously copied directory to /system. Then it will be a real folder, not stored in RAM.




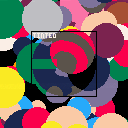
This is some work I did on creating some more fancier looking shadows, which could either be a rectangle version (thanks to @2darray for extra help on that) or using any shaped size or coloured sprite to use as a mask for the shadow effect.
I'm sure with using some additional math and tline you could probably create a lovely dynamic lighting effect with it too.
Press X or C/Z to see the other two tinting types in action. CTRL+P to see the performance hits.


 0 comments













.jpg)
