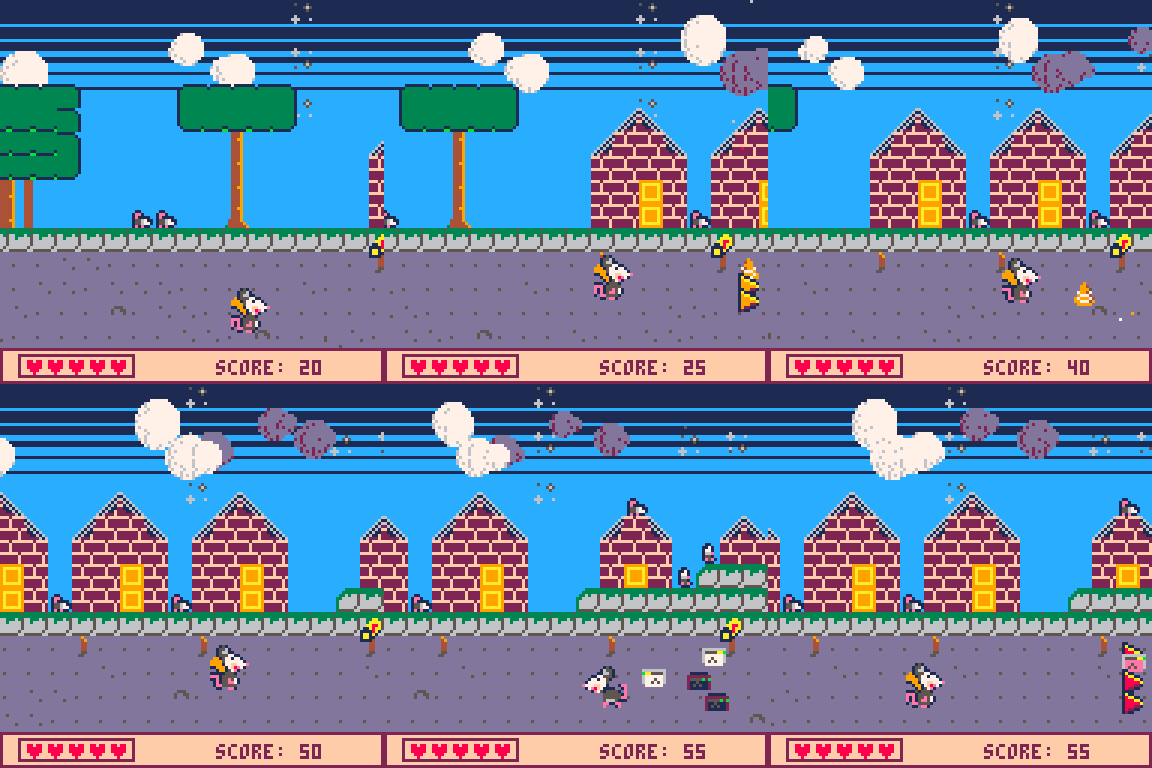
This is my first ever post on this website! I'm very excited and scared at the same time! Sorry in advance if I say something wrong.
What is this cart?
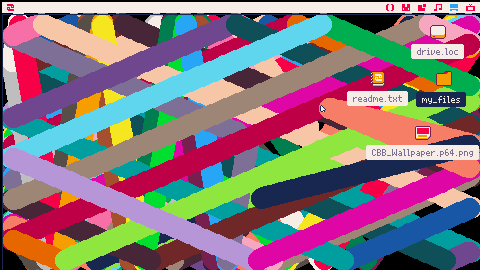
This Picotron cart can be used as a wallpaper or a screensaver. Remember that this is my first program on the Picotron, so it might be a little rough around the edges.
How do I use this?
Put the .p64.png file in the /appdata/system/wallpapers/ or /appdata/system/screensavers of your Picotron workstation. You're all set! Now you can open system settings and select the cart as your wallpaper or screensaver, depending on where you pasted the cart to.
Are there any settings I could alter?
Yes! Once you've run the cart as your wallpaper or screensaver (or even on its own), a file will appear in /appdata/ called `CBBWallpaper.pod. You can open that up and alter the settings according to your wishes.


Welcome to my first post!
I present to you the
Popup Notifications!

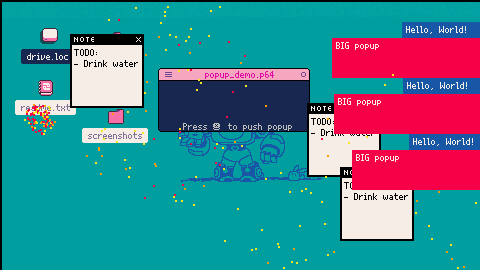
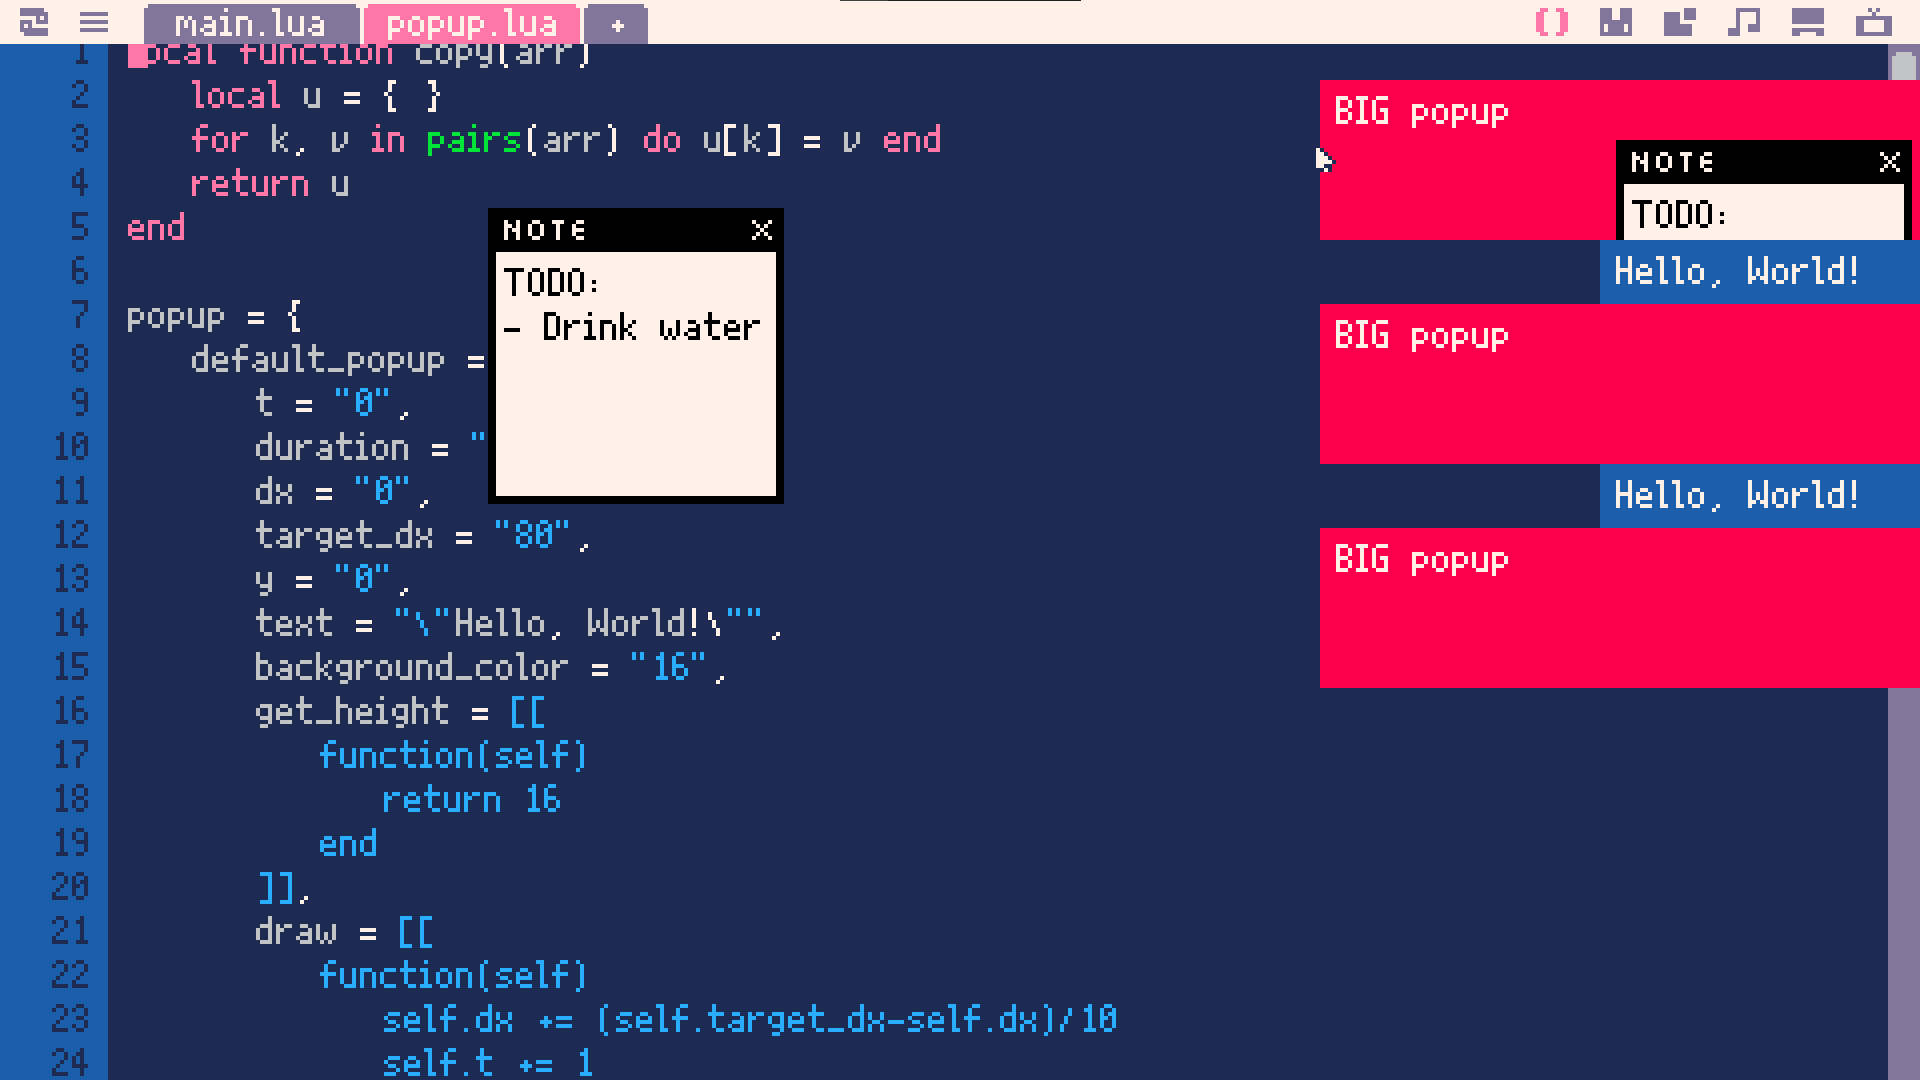
But as you can probably see, it sadly does not work out-of-the-box.
The problem is such Picotron (AFAIK) doesn't have any way to draw a window which would be visible on all workspaces.
So I had to slightly edit original Window Manager and add such an option.
Furthermore - changes made to /system folder are only temporary by default, so I had to bypass it as well.
I don't know if this is a well known thing, but you can just copy the /system folder to a different location (cp /system /tmp), delete original /system and rename previously copied directory to /system. Then it will be a real folder, not stored in RAM.





This is some work I did on creating some more fancier looking shadows, which could either be a rectangle version (thanks to @2darray for extra help on that) or using any shaped size or coloured sprite to use as a mask for the shadow effect.
I'm sure with using some additional math and tline you could probably create a lovely dynamic lighting effect with it too.
Press X or C/Z to see the other two tinting types in action. CTRL+P to see the performance hits.

load #pepper
Pepper is a lua PrEPRocssing script that can help create different builds from the same code.
Source is under the MIT license at https://github.com/Werxzy/pepper.p64
Pepper works by looking through all the lua files in a loaded project and searches for specific labels, which can then be used to remove or add code before running or exporting. It takes 2 different forms: 1. A tool in the tooltray from which you can select an initial .pepper config file. 2. A terminal command. After running, you can type pepper into the terminal to get more info.
Pepper is useful for creating builds for debugging, full vs demo, or any other case that requires creating different versions. For me, I'm primarily made this for creating an empty example project for Picotron Solitaire Suite.

Here's my try on John Conway's Game of Life. If you don't know what it is, please read about it here: https://en.wikipedia.org/wiki/Conway%27s_Game_of_Life
I tried my best to make it fast enough and not overload pico 8, which caused some inconveniences such as an invisible cursor. But it is anyway much fun to use and add life on the run. So idk, i'm open for any suggestions on how to improve it!
--Controls:
Press space bar or X button to start or stop life generation.
Press Z to delete all life on the screen
You may use the mouse to add life by simply clicking left mouse button or delete it by pressing right button. By default it will add just a single life pixel, but you can change it to different patterns using these characters on the keyboard:
- 0 - just a singe life pixel
- 1 - block



Super Mario Bros. Starman Theme REMIX
(Credits to Nintendo)
While editing Jelpi to be a mario-reminisced game, I had the idea to make the Star/Starman theme from the original 1985 Super Mario Bros.
I also made the song as if it were in Jelpi, although to be honest I don't really see the comparison well as I had imagined the sound would've.
Anyways, enough of my talking. Here's the song itself:
You're free to use this, but please give credit if you do.
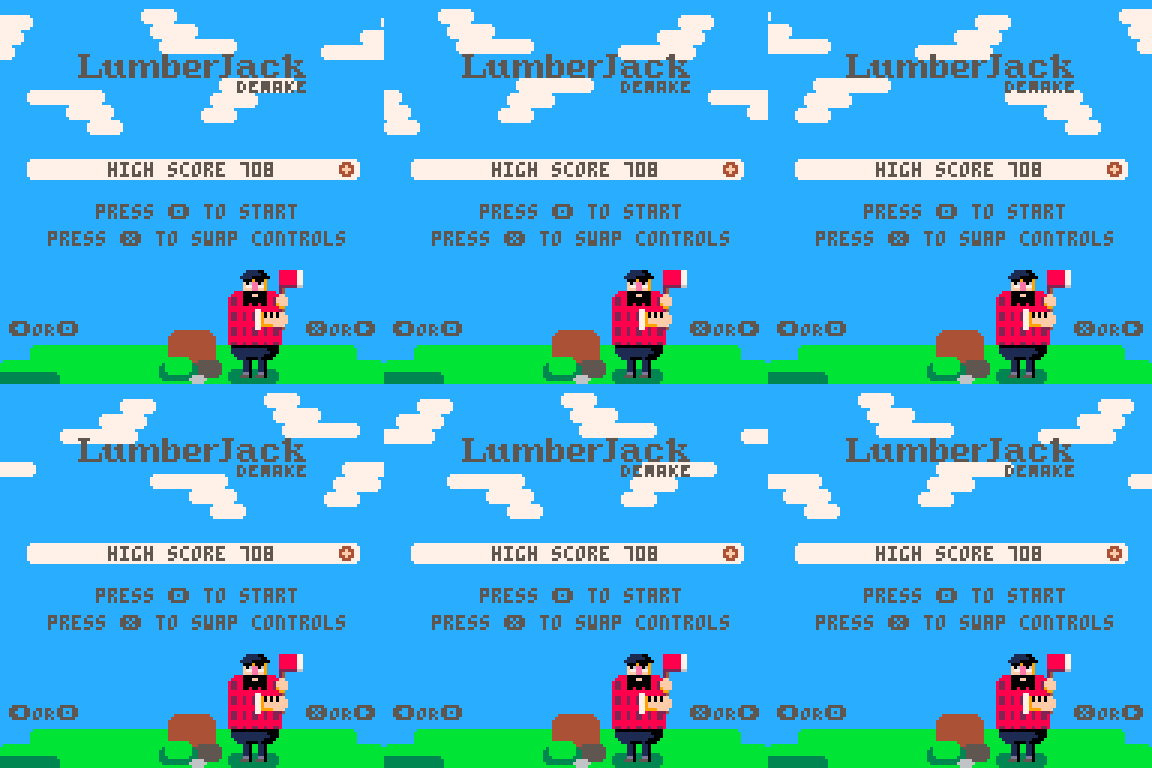
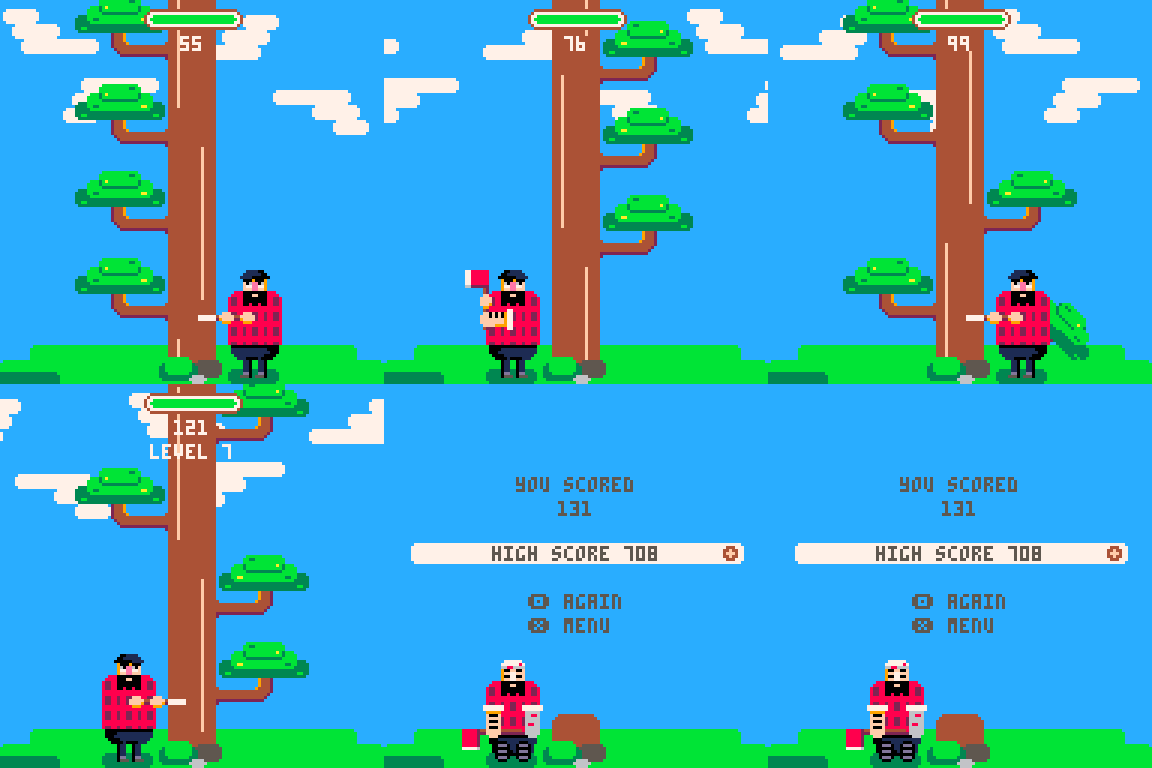
LumberJack Demake
A demake of Telegram's LumberJack game. Chop wood as fast as you can, but watch out for those branches!
Controls
Default configuration
- Left Arrow or 🇴(Z): Chop left
- Right Arrow or 🇽(X): Chop right
If you are playing on a console where the keys positions are swapped, you can press 🇽(X) in the main menu to swap to the below configuration:
Swapped configuration
- Left Arrow or 🇽(X): Chop left
- Right Arrow or 🇴(Z): Chop right
Special Notes
My first cart, hooray!



When the code that sets the window property and executes vid() is run, the file browser is covered by the console screen.
In this state, you cannot return to the file browser unless you type exit into the console.
window{
 width=128
 ,height=128
}
vid(3) |
I don't understand the underlying mechanism, so it's hard to offer suggestions for a solution...
but something like these may be what we need.
- Restrict the use of window and vid() at the same time.
- If a new console is running, even in a window application, close window and console after execution is finished.
- Running window application from CART RAM is always done on the console screen.
I hope i can find a simple solution.
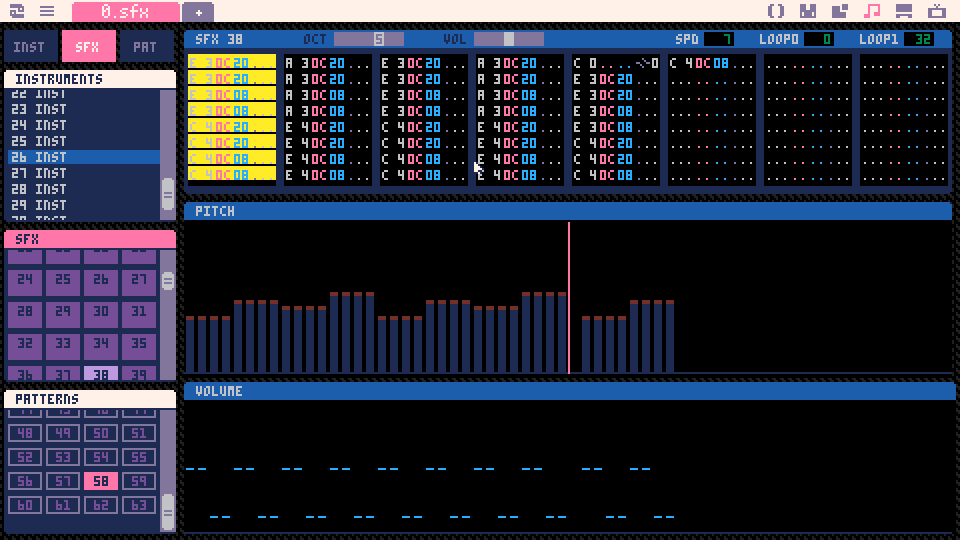
When selecting notes on the SFX screen, if they extend above the top level, an unusual note will be pasted.
This is the clipboard content at that time.
--[[pod_type="notes"]]unpod("b64:bHo0AD8AAABJAAAA9Qt7bm90ZXM9cHh1AEMgBQkEAC--AA8oDA8gEAYAgQgQDgwIEA8wDwAEBgDwAggQDQwIECx4MD0wLHgxPTh9") |
Also, when copying all notes in a track and pasting them to another track with no selection, the track will be formatted incorrectly and will not play.
There is no way to recover except to do an undo.
I made this simple vector addition app for my students so they could get a visualization they could mess around with to get a better feel for what vectors are and how they can be added to a resultant.
- Up to 6 vectors and their resultant vector.
- Can be arranged from the origin or tip-to-tail
- Can view Cartesian components or polar representation
- Grid can be zoomed and panned
How to use (there are instructions in-game as well):
-
Click on "Add Vector" button, then click anywhere on the grid to set the tip of the vector.
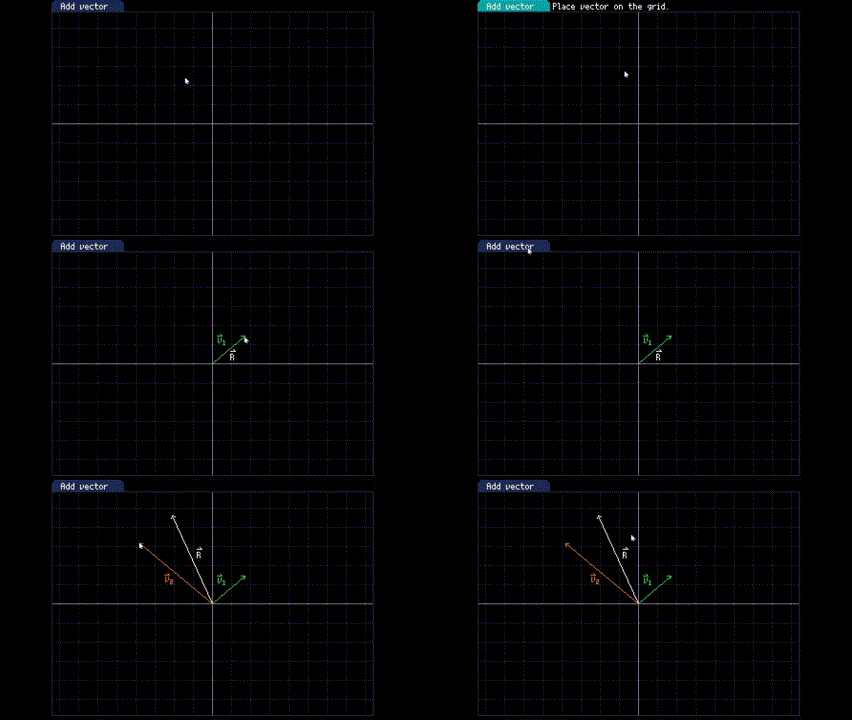
- To adjust vectors, click and hold on the tip and drag it around to where you want.



 1 comment

.jpg)
