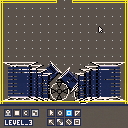
This cart uses devkit mode so you'll need a mouse and keyboard to use it.
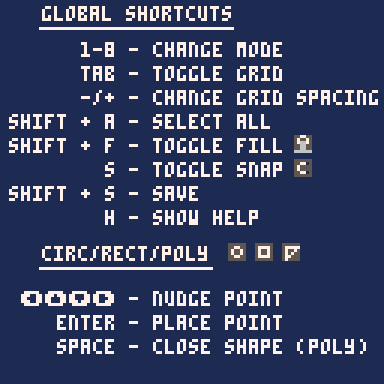
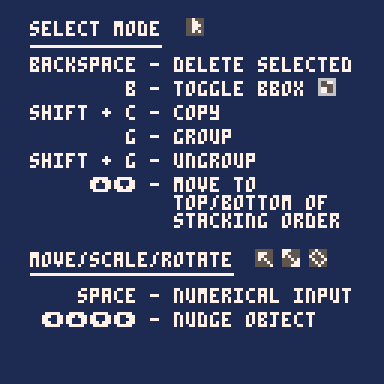
Update:
This started off as a level editor for the Space Taxi Remake I'm working on. At some point I realized I was going a bit overboard and instead of doing the sensible thing and saying, "well that's good enough for my purposes I guess I'll stop now," I just kinda leaned into it.
Obviously any images you make with this are yours to do with as you please. If you use it and like it credit is, of course, appreciated but not required.
I've posted a new comment in the Space Taxi thread with a few very rough screens made with this if anyone wants to check that out.
Saving and Loading
Saving doesn't work from the BBS embedded player or on Education edition so you'll need to run the cart locally to do that. Files are saved as .p8l files. They're just plain text with a lisp-like syntax describing the points and shapes, etc. of the drawing.
By default files save to the desktop and are overwritten if they have the same name. You can change this behaviour by modifying the variables overwrite and save_to_desktop at the very top of the code (Tab 0.)
Loading is done via dragging the file into the program and that does work on the BBS player! This sample save file loads the drawing of the words "Drafting Table" as seen on the cart image. Just save it locally as a text file then drag it in to load.
You can load more than one file and it'll just keep adding in the objects from each. This is so you can have, for instance, a file with a bunch of different platform types and one with different obstacles, etc. and combine them without having to redraw them every time.
Exporting and Importing
To compress and export (to the clipboard) the image as a string of binary data press the button at the bottom right of the group in the center or press '8'.
|
|
[8x8] |
To import the image into your own cart, paste the binary string into the cart and copy and uncomment the code from tab 0 of this cart. There are only three functions you need to know about:
store_image(dest, str) converts the binary data string 'str' to bytes and stores them in memory beginning at memory address 'dest'. This data is still compressed and not the actual image. Returns the memory address immediately after the data which you can use to store additional images or other data. next = store_image(0x8000, img1) -- where my img1 is a string exported by Drafting Table store_image(next, img2) -- as is img2. load_image_from_memory(dest, src) used in conjunction with 'store_image'. Reads the compressed data from memory address 'src' and writes the decompressed images data to memory address 'dest'. This can then be drawn to the screen with 'memcpy'. load_image_from_memory(0x1000, 0x8000) memcpy(0x6000, 0x1000, 0x2000) -- draw the image to the screen load_image_from_string(dest, str) you can instead decompress the image directly from 'str' to memory address 'dest' without storing the compressed data to memory. load_image_from_string(0x1000, img1) memcpy(0x6000, 0x1000, 0x2000) |
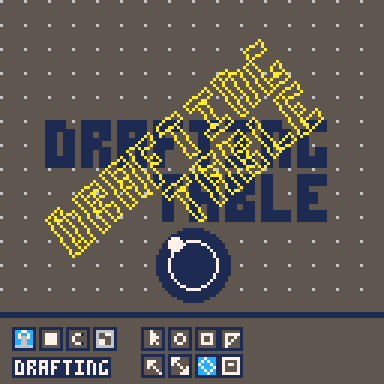
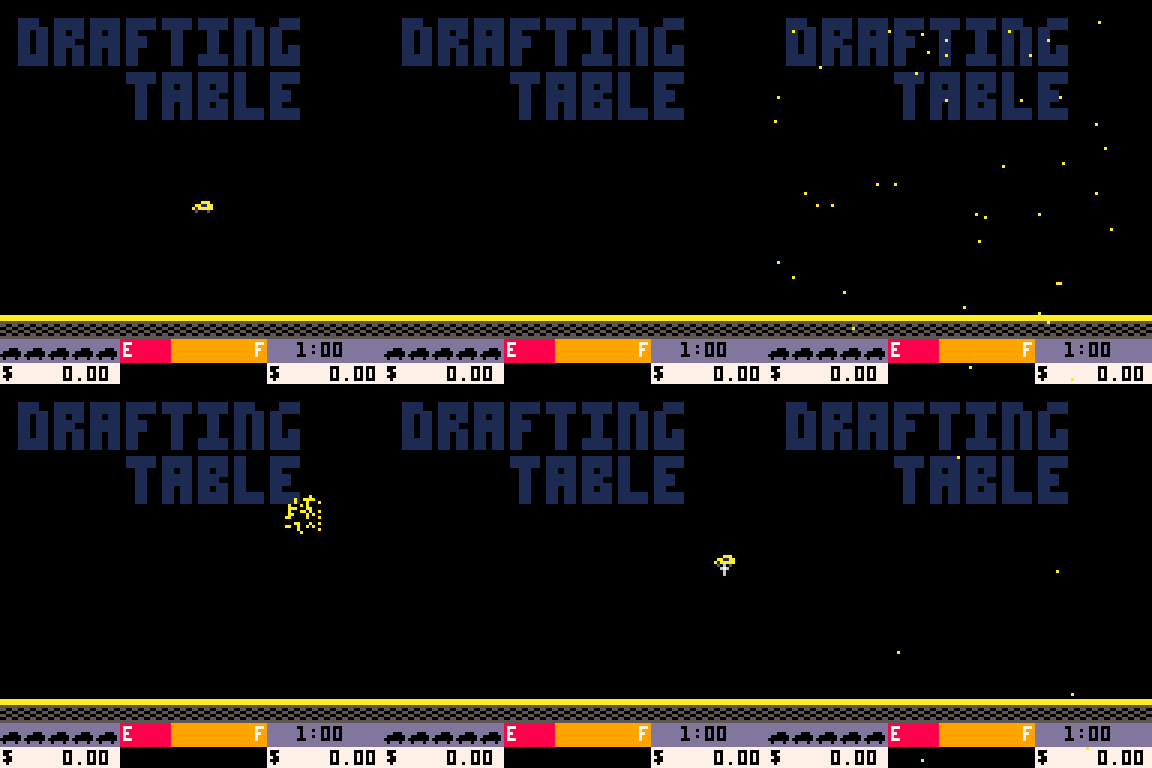
The rotation tool in action and "Drafting Table" exported as collision demo "level geometry" for my Space Taxi remake.
Some caveats
Available drawing area
The UI at the bottom of Drafting Table and the UI at the bottom of Space Taxi are the same size leaving me exactly enough drawing space for a single level and that's all that gets exported. If anyone thinks that they'd find this useful it shouldn't be too hard to add a shortcut to hide the UI and allow editing and exporting the full screen. Unless/until someone asks though it will stay as it is because it suits my purpose.
Positive and negative rotations
When using numerical input for rotations I've gone with the convention in mathematics: positive angles rotate counterclockwise and negative angles rotate clockwise. Additionally, angles are given as a number between 0 and 1 as in Pico-8 itself. So 0.25 is a 90 degree rotation counterclockwise while -0.125 is a 45 degree rotation clockwise.
All objects rotate around their own center point even if multiple objects are selected at once unless grouped together with 'g' in which case all grouped objects rotate as a unit around their common center point.
Moving objects ignores snap
This is entirely because my sleep deprived brain was having trouble getting it to work. It'll be fixed eventually. For now the workaround is to just get it in approximately the right spot then use the arrow keys to place it precisely.
Polygons are a bit weird
Due to the way I'm drawing/filling/detecting collisions with the various shapes, the free polygon tool sometimes gives unexpected results like not filling the whole thing or, sometimes, making it completely un-selectable except via the 'select all' shortcut. This only happens when the polygon in not a convex polygon.
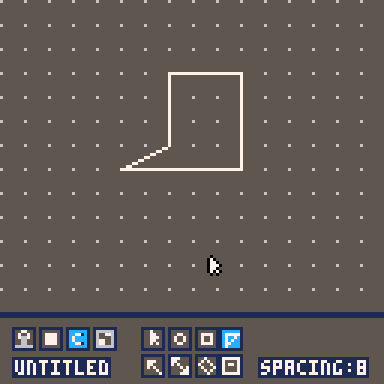
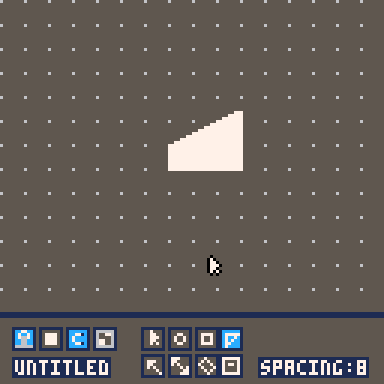
The "same" non-convex polygon in outline and fill mode.
So to make sure you're getting what you expect, stick to convex polygons (all interior angles less than 180 degrees) and for complex shapes, draw separate parts and group them together.
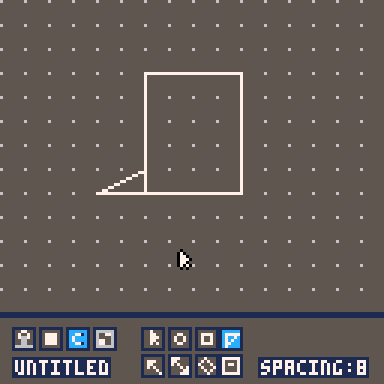
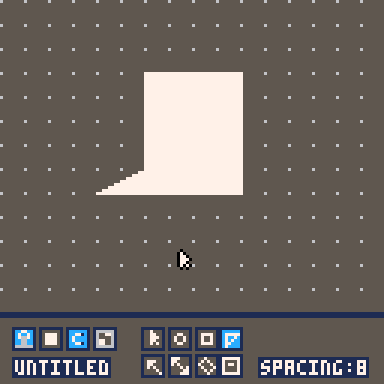
Same shape as above but constructed from two shapes grouped together.
[Please log in to post a comment]


