


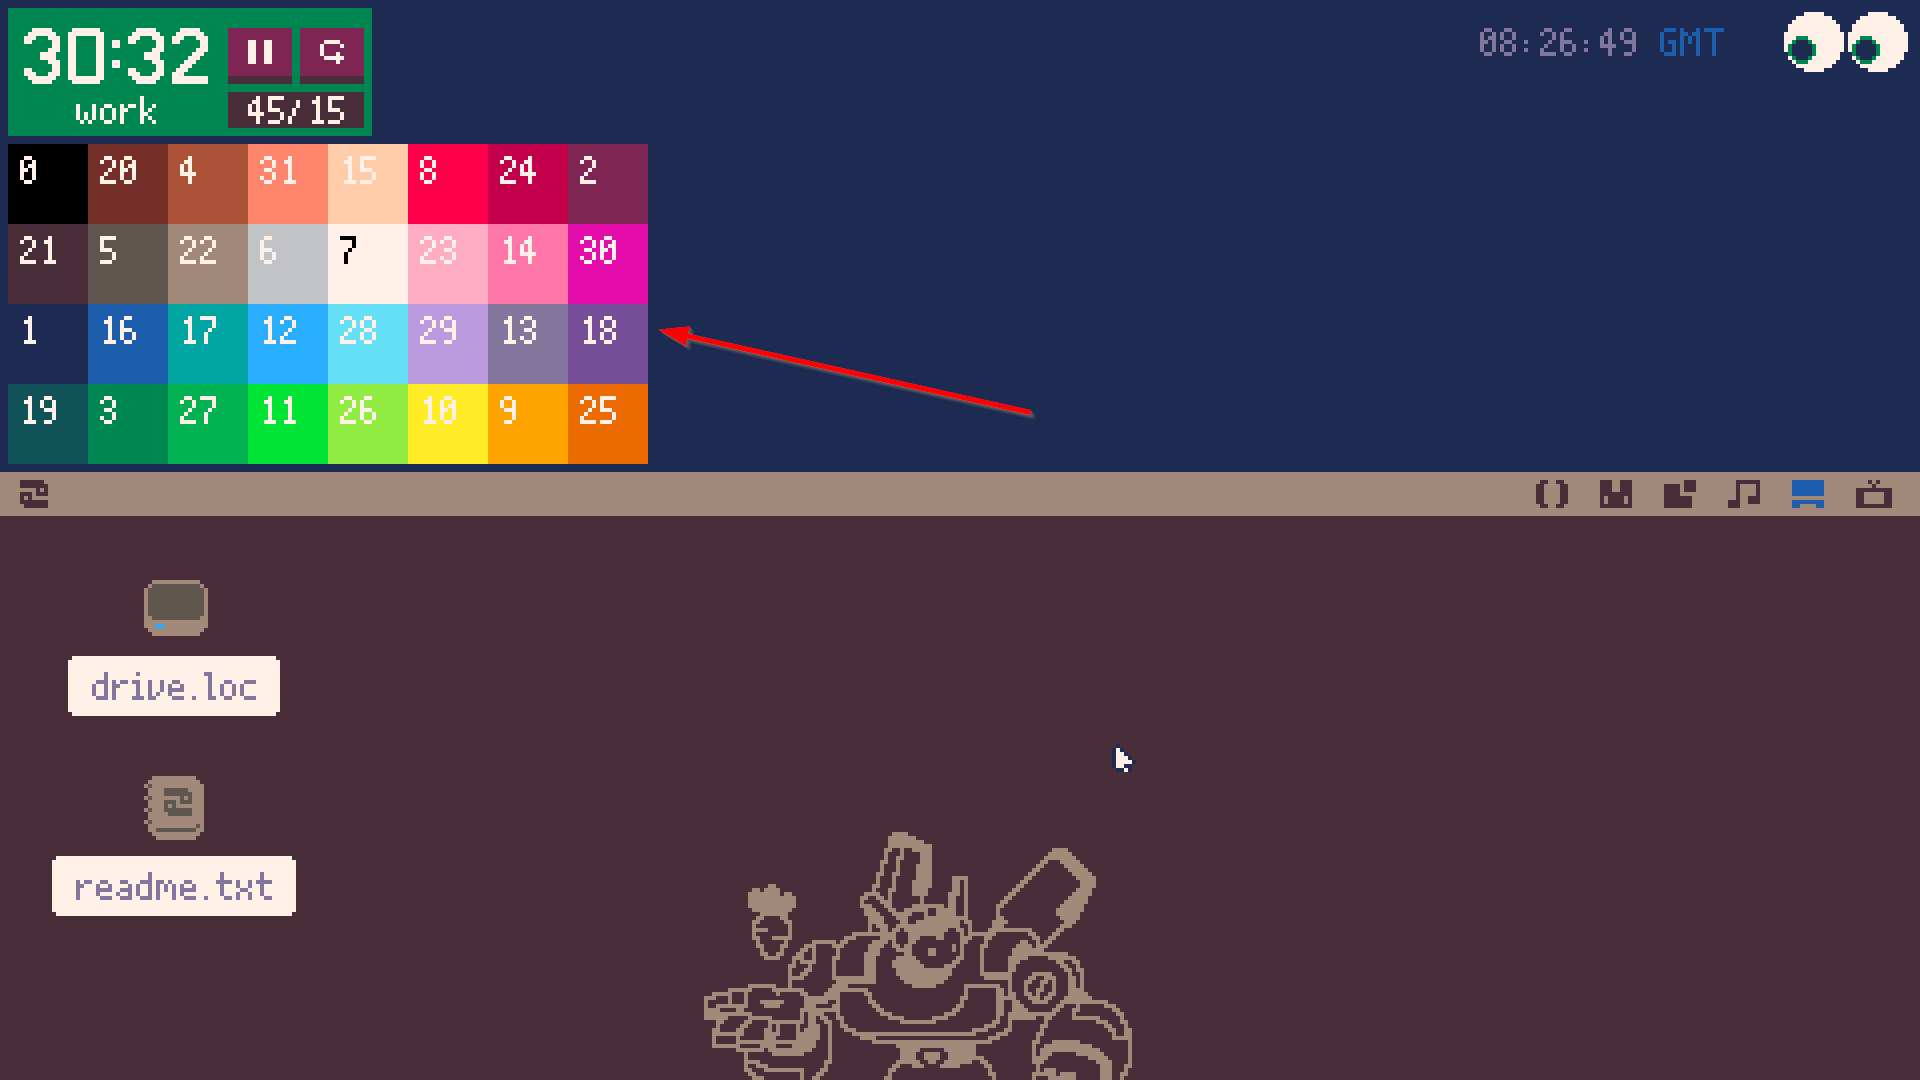
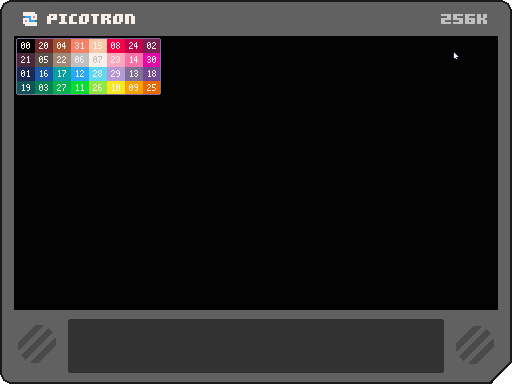
The Picotron palette was quite chaotic and the numbering wasn't very intuitive to me (probably due to being backwards compatible with PICO-8). I thought it might be nice to have an easy reference within reach so I don't need to open a forum post or wiki page whenever I need to work with colors. If you'd like to add this widget yourself, here are the steps:
- create a file named "colors.lua" and place it somewhere that makes sense to you (mine is in /appdata/local/tooltray/colors.lua)
-- colors.lua local GRID_SIZE=20 local palette={0,20,4,31,15,8,24,2,21,5,22,6,7,23,14,30,1,16,17,12,28,29,13,18,19,3,27,11,26,10,9,25} function _draw() cls(0) for i=1,32 do local x = ((i-1)%8)*GRID_SIZE local y = ((i-1)//8)*GRID_SIZE rectfill(x,y,x+GRID_SIZE,y+GRID_SIZE,palette[i]) print(palette[i],x+3,y+3,7) if palette[i] == 7 then print(palette[i],x+3,y+3,0) end end end - create or open "/appdata/system/startup.lua" and add this line: (be sure to edit the path parameter)
-- /appdata/system/startup.lua -- edit the x and y to place the widget wherever you want; width and height should stay the same as below create_process("/path/to/your/colors.lua", {window_attribs = {workspace = "tooltray", x=2, y=36, width=160, height=80}}) - restart Picotron and enjoy your new widget!
Curious about the Pomodoro timer? You can find that here.

Very nice! This will be a great help! For me, I think I'll rework the table to have a single row across the top
I did everything you described and it doesn't show in my tooltray when I drag down.
@arrowonionbelly, did you change the path to your colors.lua file in startup.lua? Copying and pasting isn't enough 💜

Thank you! I've made mine a bit more compact and only wrapping 2 lines.
If you'd also like to do this
- in colors.lua change the GRID_SIZE to 12
- local x and y to break after 16 instead of 8 [local x = ((i-1)%16)*GRID_SIZE]
- padding from 3 down to 1 [print(palette[i],x+1,y+1,7)]
- in startup.lua change width to 192 and height to 24
I've been using this and it's really helpful. Here's a version that includes the letter codes (for p8scii color escape codes: \f<color>).
local GRID_SIZE=20
local palette={0,20,4,31,15,8,24,2,21,5,22,6,7,23,14,30,1,16,17,12,28,29,13,18,19,3,27,11,26,10,9,25}
function _draw()
	cls(0)
	for i=1,32 do
		local x = ((i-1)%8)*GRID_SIZE
		local y = ((i-1)//8)*GRID_SIZE
		rectfill(x,y,x+GRID_SIZE,y+GRID_SIZE,palette[i])
		print(palette[i],x+3,y+3,7)
		if palette[i] > 9 then
			print(chr(ord("a") + palette[i] - 10),x+3,y+11,7)
		end

		if palette[i] == 7 then print(palette[i],x+3,y+3,0) end
	end
end |


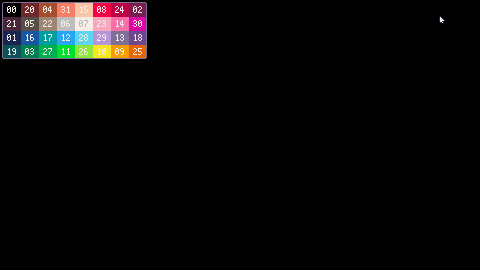
made a version that looks a little different and that you can click to display colors pico-8 style!

I had also made my own bytesized version, only to discover when posting that MrScottyTay #colours had also made similar variants :-)
Oh well, I'm sharing anyway, just for fun.
I made it in 3 flavors:

The 32-color 2-line version
local g=11
local p={0,20,4,31,15,8,24,2,21,5,22,6,7,23,14,30,1,16,17,12,28,29,13,18,19,3,27,11,26,10,9,25}
poke(0x4000, get(fetch("/system/fonts/p8.font")))
function _draw()
 cls(0)
 for i=1,32 do
  rectfill(((i-1)%16)*g,(i-1)//16*(g-4),((i-1)%16)*g+g,(i-1)//16*(g-4)+g-2-(i-1)//16*3,p[i])
  print(p[i],((i-1)%16)*g+2+((p[i]<10)and 2 or 0),(i-1)//16*(g-4)+1,(p[i]==7 or p[i]==10 or p[i]==15)and 13 or 7)
 end
end |
Also available in non-Bytesized to understand the process
local GRID_SIZE = 11
local palette={0,20,4,31,15,8,24,2,21,5,22,6,7,23,14,30,1,16,17,12,28,29,13,18,19,3,27,11,26,10,9,25}
function _draw()
    cls(0)
    for i = 1, 32 do
        local color = palette[i]
		local floorY = ((i - 1) // 16)
        local x = ((i - 1) % 16) * GRID_SIZE
        local y = floorY * (GRID_SIZE - 4)
        local rectHeight = GRID_SIZE - 2 - floorY * 3
        local textColor = (color == 7 or color == 10 or color == 15) and 13 or 7
        local textOffset = (color < 10) and 3 or 0
        rectfill(x, y, x + GRID_SIZE, y + rectHeight, color)
        print(color, x + 1 + textOffset, y, textColor)
    end
end |
The 32-color version on a single ruler, the one I prefer because it's relatively small

local g=11
local p={0,20,4,31,15,8,24,2,21,5,22,6,7,23,14,30,1,16,17,12,28,29,13,18,19,3,27,11,26,10,9,25}
poke(0x4000, get(fetch("/system/fonts/p8.font")))
function _draw()
 cls(0)
 for i=1,32 do
  rectfill((i-1)*g,0,(i-1)*g+g,g-2,p[i])
  print(p[i],(i-1)*g+2+((p[i]<10)and 2 or 0),1,(p[i]==7 or p[i]==10 or p[i]==15)and 13 or 7)
 end
end |
The 64-color 2-line version, to be used in conjunction with the #OkPal palette editor

local g=11
local p={0,20,4,31,15,8,24,2,21,5,22,6,7,23,14,30,1,16,17,12,28,29,13,18,19,3,27,11,26,10,9,25,
32,52,36,63,47,40,56,34,53,37,54,38,39,55,46,62,33,48,49,44,60,61,45,50,51,35,59,43,58,42,41,57}
poke(0x4000, get(fetch("/system/fonts/p8.font")))
function _draw()
 cls(0)
 for i=1,64 do
  rectfill(((i-1)%32)*g,(i-1)//32*(g-4),((i-1)%32)*g+g,(i-1)//32*(g-4)+g-2-(i-1)//32*3,p[i])
  print(p[i],((i-1)%32)*g+2+((p[i]<10)and 2 or 0),(i-1)//32*(g-4)+1,(p[i]==7 or p[i]==10 or p[i]==15)and 13 or 7)
 end
end |
And the startup.lua that goes with it
-- /appdata/system/startup.lua
-- edit the x and y to place the widget wherever you want; width and height should stay the same as below
create_process("/appdata/system/tooltray/colorsRows.lua", {window_attribs = {workspace = "tooltray", x=1, y=1, width=176, height=14}})
--create_process("/appdata/system/tooltray/colorsRules.lua", {window_attribs = {workspace = "tooltray", x=1, y=1, width=352, height=7}})
--create_process("/appdata/system/tooltray/colors64.lua", {window_attribs = {workspace = "tooltray", x=1, y=1, width=352, height=14}}) |
In short, it seemed like a good way to learn something concrete, and I can see that there are a few of us who have gone in that direction :-)

[Please log in to post a comment]