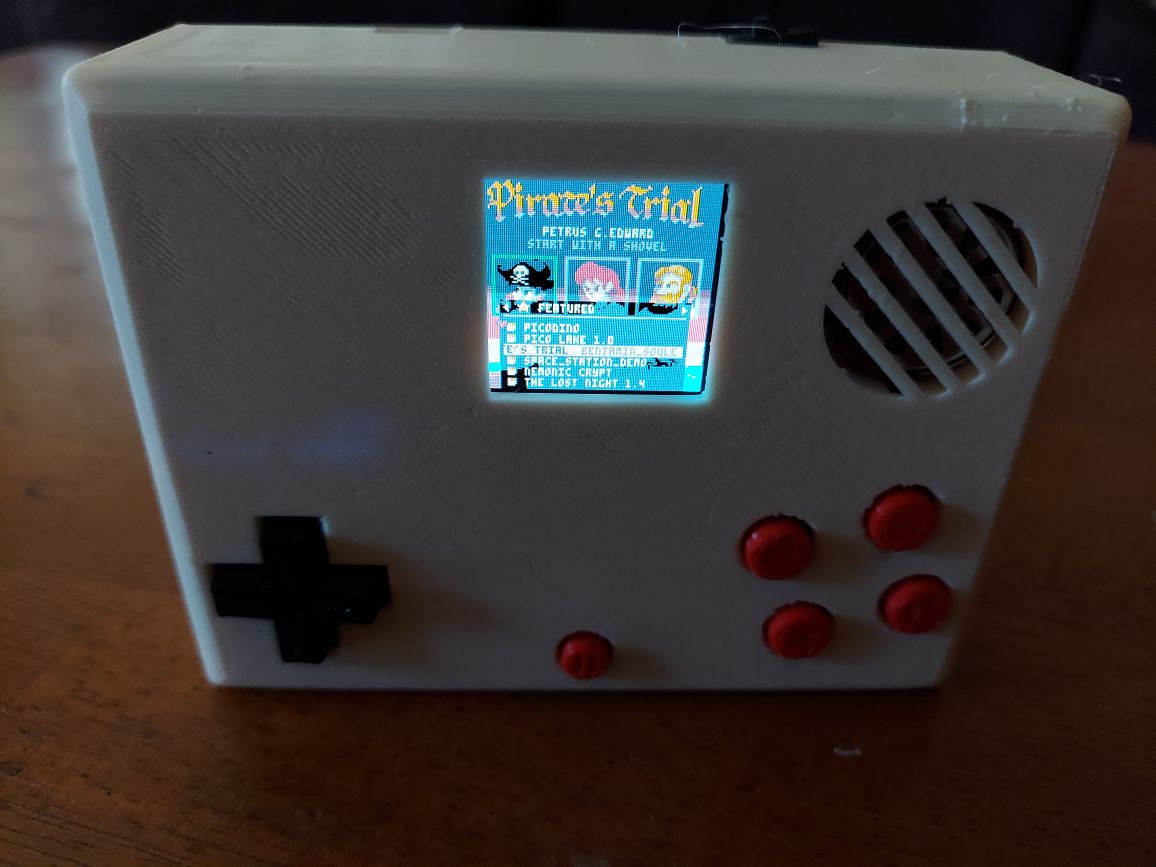
Hello again. I am working on a fan handheld for the Pico 8. Once this project is finished, I'll upload all the cad files onto Thingiverse and create a guide on how to create your own Pico 8 handheld. This is what the first prototype shell looks like.
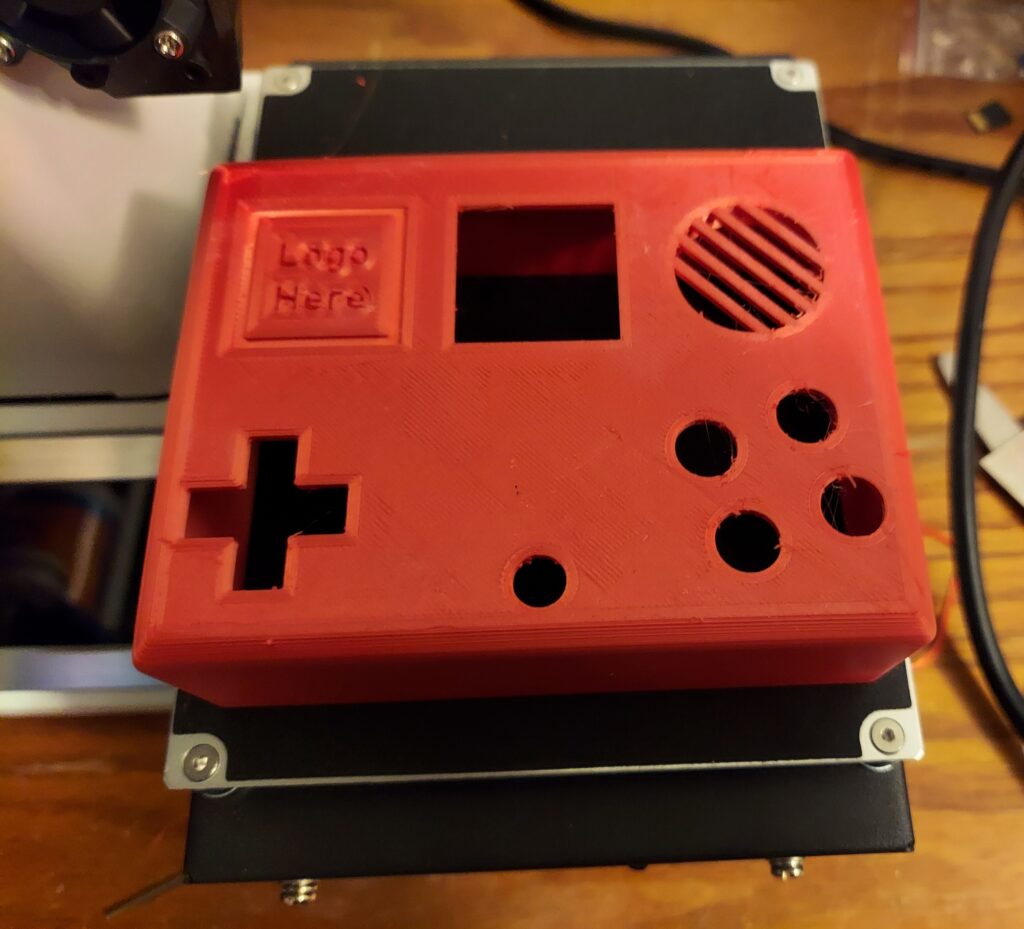
The button spacing feels perfect, but the shell is too wide. Fortunately, it seems like I can shrink it down roughly 5mm so it will be around the same thickness of a Dmg-01 Gameboy. The rounded edges makes it feel comfortable to hold. I might reposition the battery holder location so I might be able to shrink it down another 5mm. I'll take any suggestions for this project as I want this to as good as possible. My goals for this project:
- It must be comfortable to hold and not too bulky.
- It must have a 128x128 resolution screen.
- It must have sound.
- It must take AA batteries, but you are free to modify the project to use rechargeable batteries
What I have done so far:
- Made some designs in fusion360
- Printed a prototype shell
- Got the screen to work and fixed the screen tearing and glitching I was experiencing
I have most of the parts already, besides a speaker, controller board, and power switch, but I will look for solutions for those. Once I'm happy with all the components, I'll print some mounting plates to hold the various hardware, add some screw holes to hold the parts in place, and make a battery door so you can replace your AA batteries. Feel free to leave a comment if you have any suggestions for this project.
Thanks for your time,
grhmhome
Update: I am working on the back plate of the shell. This is what I have designed so far.
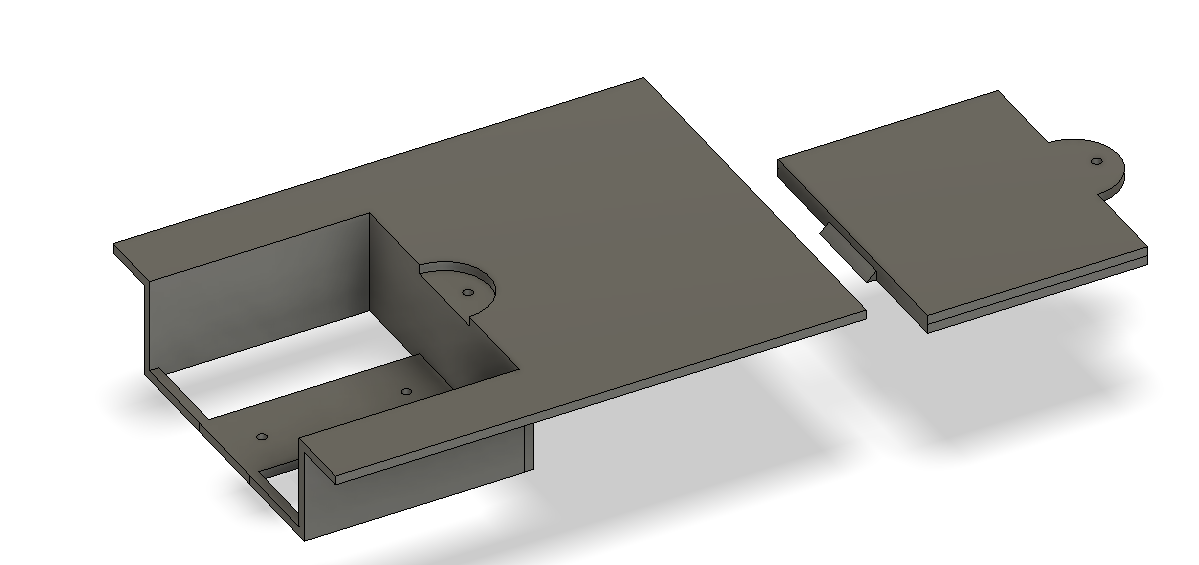
The back plate has a battery door and housing for the battery holder that will use 3 AA batteries. I'm thinking of using the whole back plate to mount all the electronics.
This is what the console looks like assembled from the back.
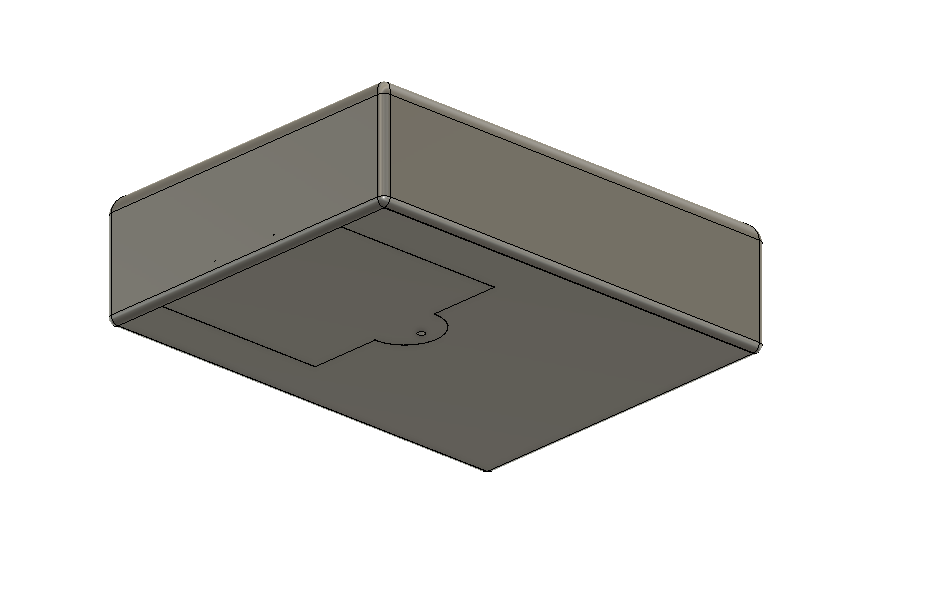
Next on this project, I'm going to work on the controls and sound. Once that is done, I will create spots on the back plate to mount all the electronics.
Update: I finished the first beta version of my handheld. The handheld is fully assembled, but I came across glaring issues. One of those is the fact the buttons are not keyed in, so the round plastic buttons will freely rotate. The other issues are software related. I'm going to upload the cad files without the Pico 8 logo. I will not write a tutorial yet as it is incomplete, but I can help people with getting the screen, power button, and general controls to work. You are allowed to do anything you want with the cad files I'm going to be uploading to Thingiverse.
Edit: I have uploaded the beta cad files for those who want to modify what I've done. I have included .step and stl files so you can modify or make your own. I will be writing a large blog post on how to make one, for those who are interested, including getting the software side of things working.

super cool! it would be great if AA batteries are not the only way play but also adding a way to connect the device to a power source in case you have no batteries. I have a solar powerbank and it's great for running my raspberry pi in the park

AA batteries will probably not be the only option to power the device. I didn't think about using a power source when you run out of batteries, but that is a great idea. Fortunately, I think I have a solution for that.

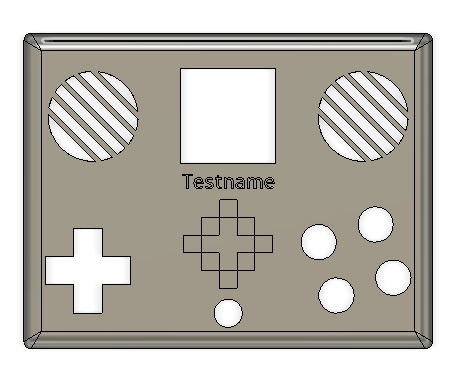
I am printing the first complete handheld shell. I finished soldering everything. I will post the completed assembled version hopefully today. I was thinking of uploading all the cad files and make this a open source community project. The logo on the handheld is just a example logo. You will be able to modify or do whatever you want with this project. Once I finish assembling the first beta version, I will post a tutorial on how to make your own battery powered Pico8 handheld, with a 128x128 screen.

I finally finished the first beta of my handheld. It feels nice to hold in the hands, but something is causing Pico 8 to take a performance hit. It could be a heating issue making the Pi to throttle so I bought a heatsink or it could be the GPIO drivers conflicting with eachother.
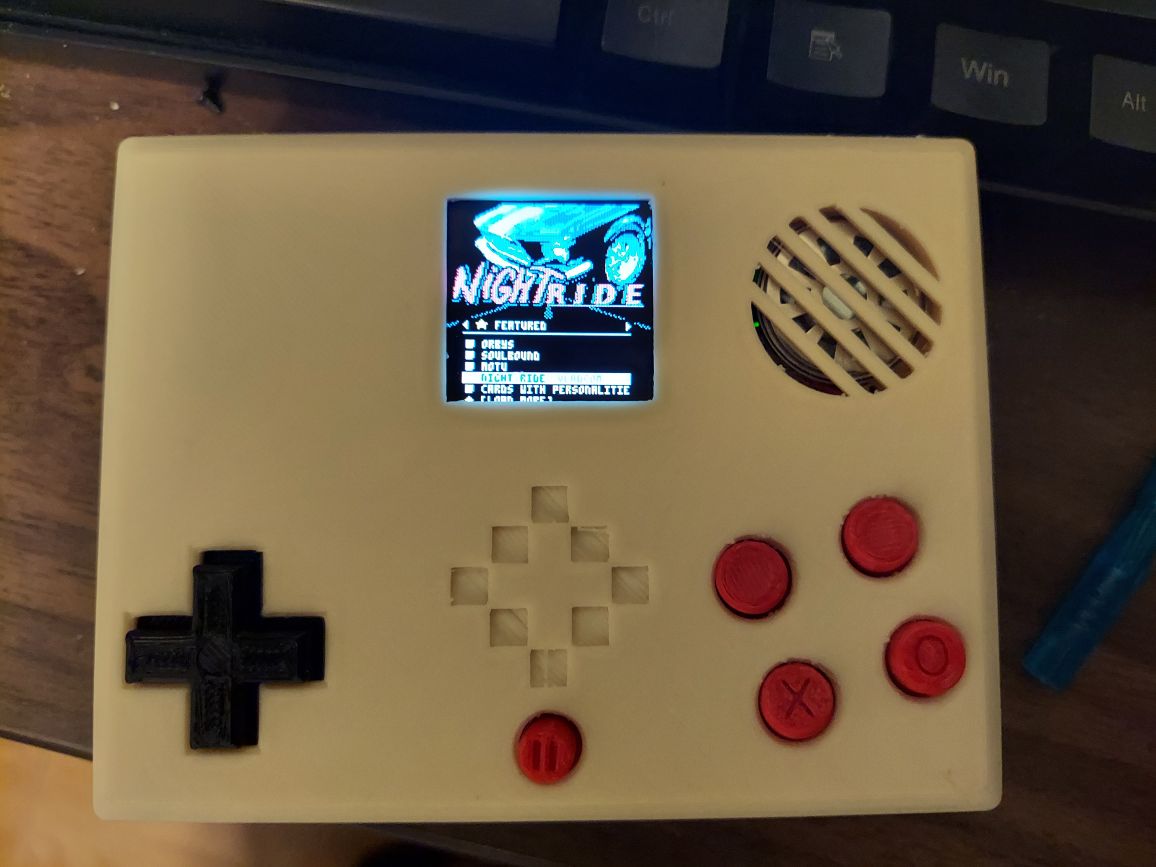
Edit: I have uploaded the beta cad files for those who want to modify what I've done. I have included .step and stl files so you can modify or make your own.

New update. The battery solution is hot garbage. AA batteries drain in a matter of an hour or less, so I'm using a powerboost 1000c from an old handheld project and now I have a rechargeable battery solution
Edit: The batteries weren't draining in a matter of an hour or less, but that was what I originally thought was causing the screen to freeze. It was a poorly soldered micro USB cable on the AA battery holder that caused the shorting and that caused the screen to freeze. Apparently, whoever made this battery holder did a lazy solder job.
Edit: the screen and performance is fine now
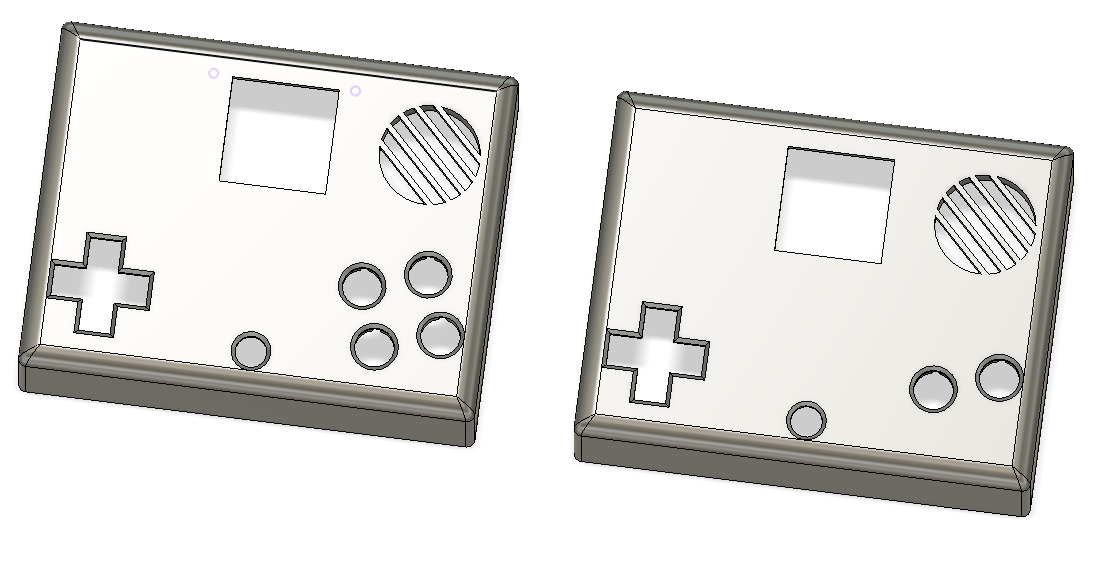
Edit again: Here is what the final designs will look like. You will be able to use 2 or 4 buttons if you choose. I might write a bash script that will install and compile everything for you, so all you would have to do is run the script and have it install all the dependencies and configure the controller, screen, etc. For now, anyone who is interested in making their own will have to manually configure everything, but that will be all explained in the guide I'm working on.

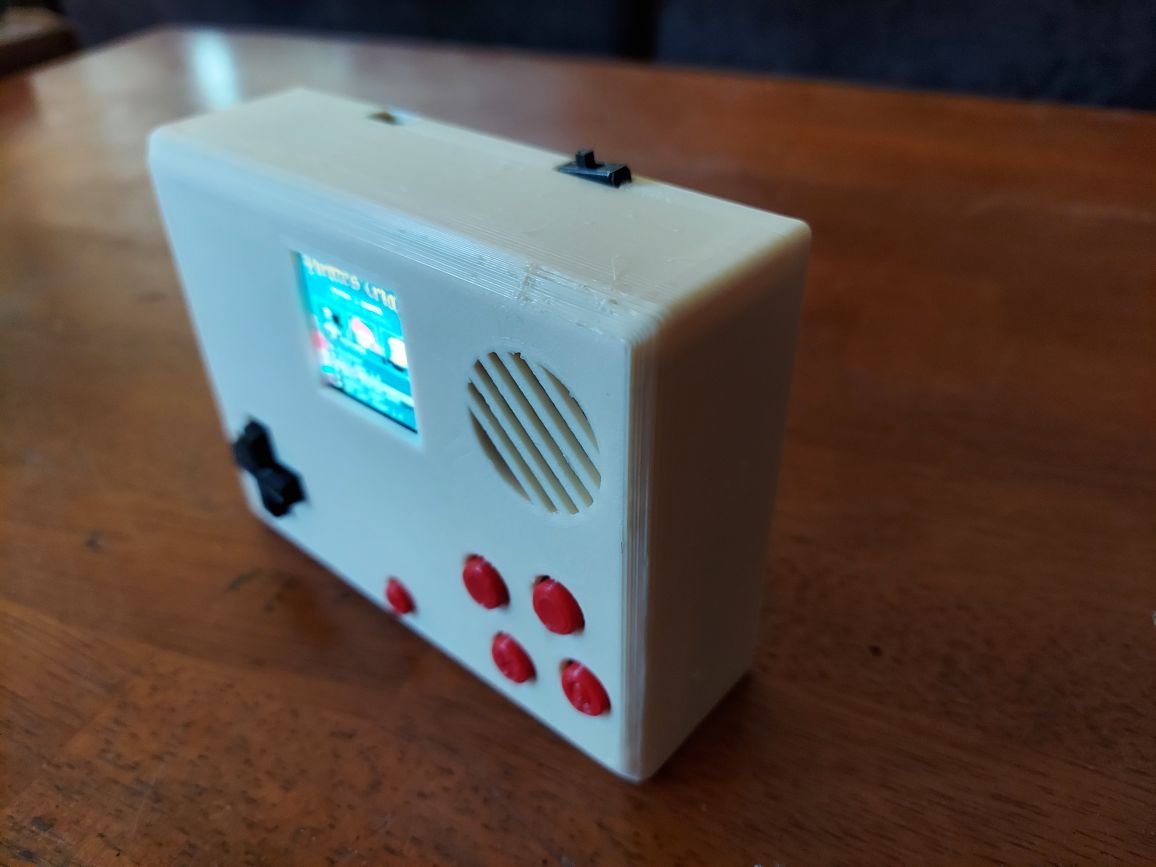
I'm pretty much finished with Version 1 of my handheld. I ditched the AA battery holder as that was causing a short and I switched over to Lithium-ion batteries. The console is pretty much done now. I just need to adjust the screw holes for the back of the Powerboost 1000C to 2mm and make the square bezel for the front of the screen to be 0.5mm bigger and then I can upload the final cad designs and STL files. I can now finish the guide on how to make your own.
Features:
1 dpad, 4 action buttons, and a pause button. The pause button and both X and O buttons are keyed in so they wont rotate 360 degrees.
A color 1.5 inch Waveshare OLED screen with 128x128 screen resolution.
1 mono speaker.
A powerboost 1000C with a sliding power switch.

I have written a full guide on my personal blog: https://librefreedom.com/how-to-make-your-own-pico-8-handheld/
If there are any errors you see in my tutorial or if there are things you want me to explain better, please let me know. Have a great day.

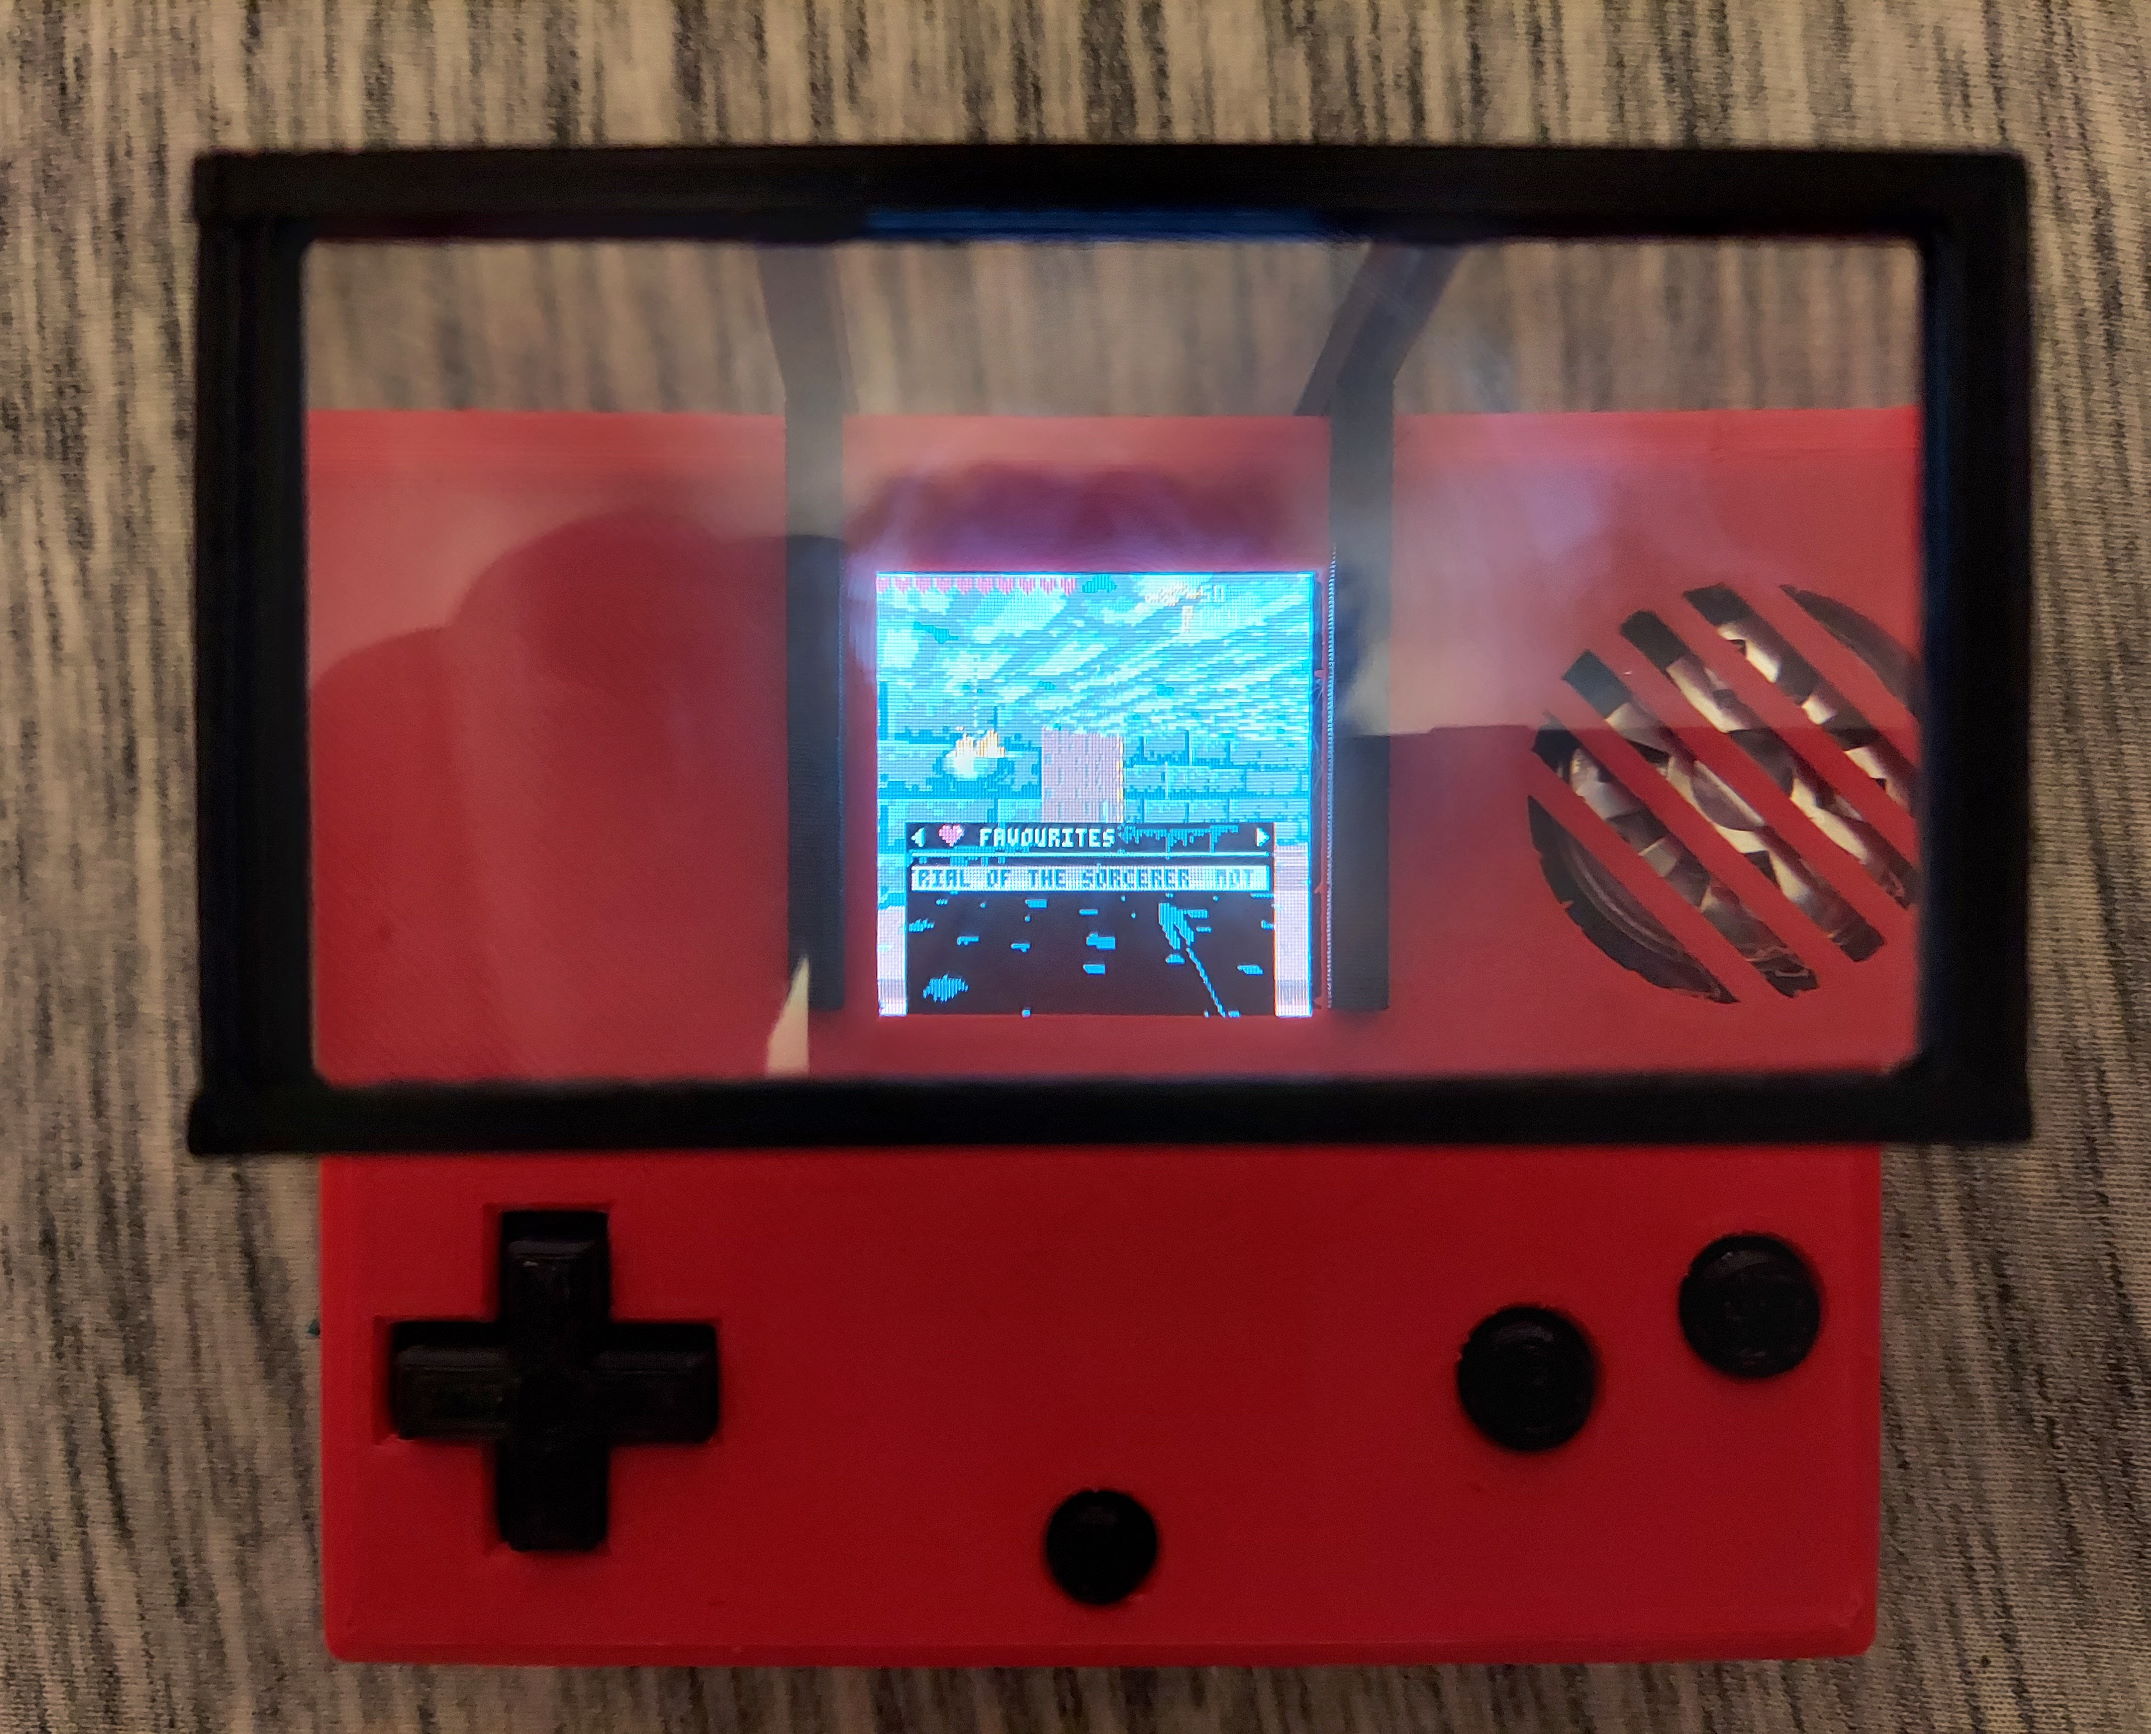
I brought my handheld to work and some people find the screen is too small. I cannot find a larger 1:1 screen that is 128x128 or that can scale up, so my solution to this problem is to use magnifying cards. The original Gameboy and Gameboy color had small screens, but 3rd party companies started selling magnifiers that clipped onto those handhelds. I bought a pack of 3X magnifying cards and can design and 3d print a clip that can hold one in front of my handheld, making the screen appear larger.
Edit: 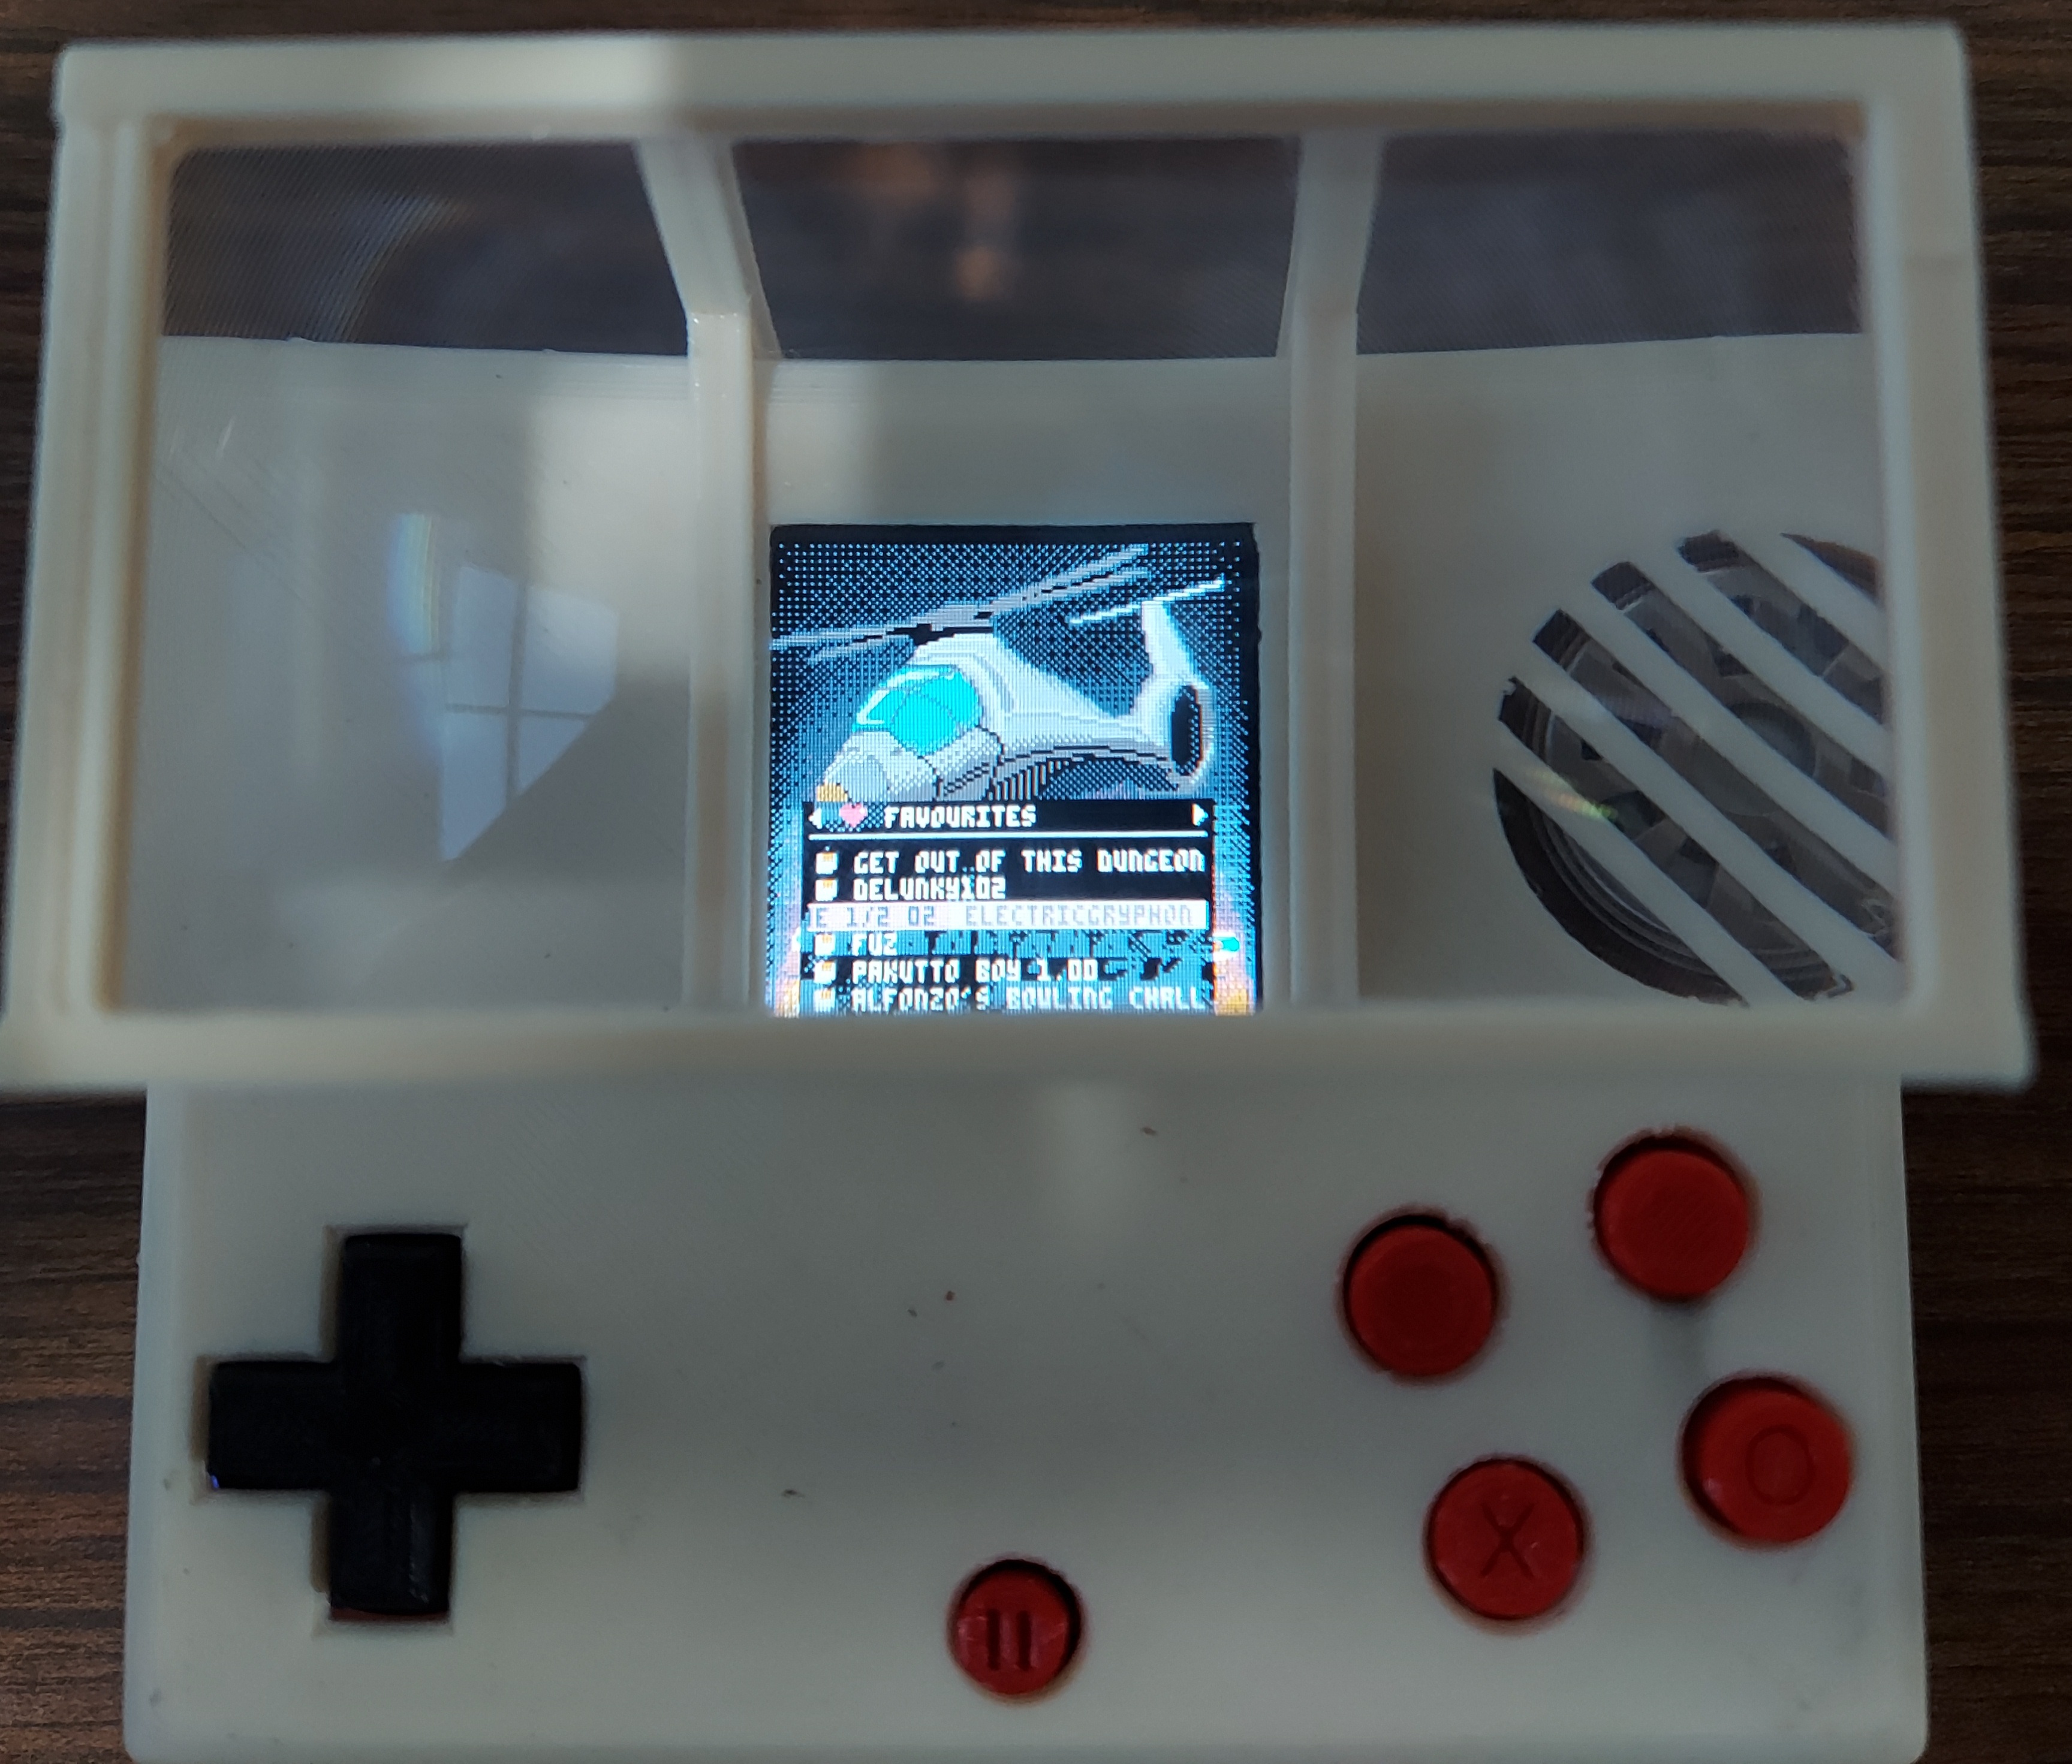

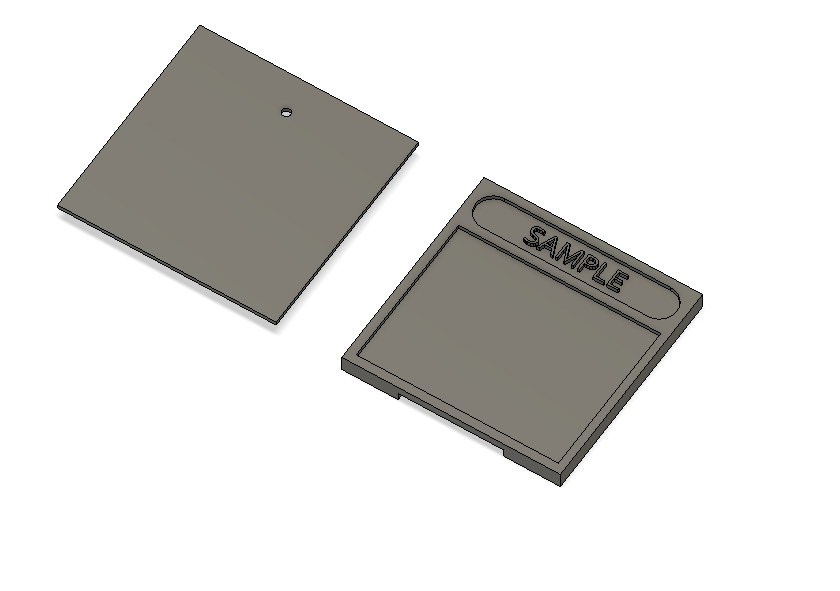
I'm going to experiment using SD cards as cartridges in my Pico 8 fanmade handheld project. What I plan on doing is using a USB SD card reader as the cartridge slot and the goal is to make Linux check for a SD card when you boot up and if it does find one, it will run whatever application is on there. I then had a thought, why don't I create a script that makes Pico 8 run the file on the SD card? I even went a step further and made shells that you can put on the SD cards to make them look more like cartridges. The front of the 3D printed shell has a spot where people could put artwork.

This is really cool! It also fits the tiny game theme. AMAZING!

Thanks.
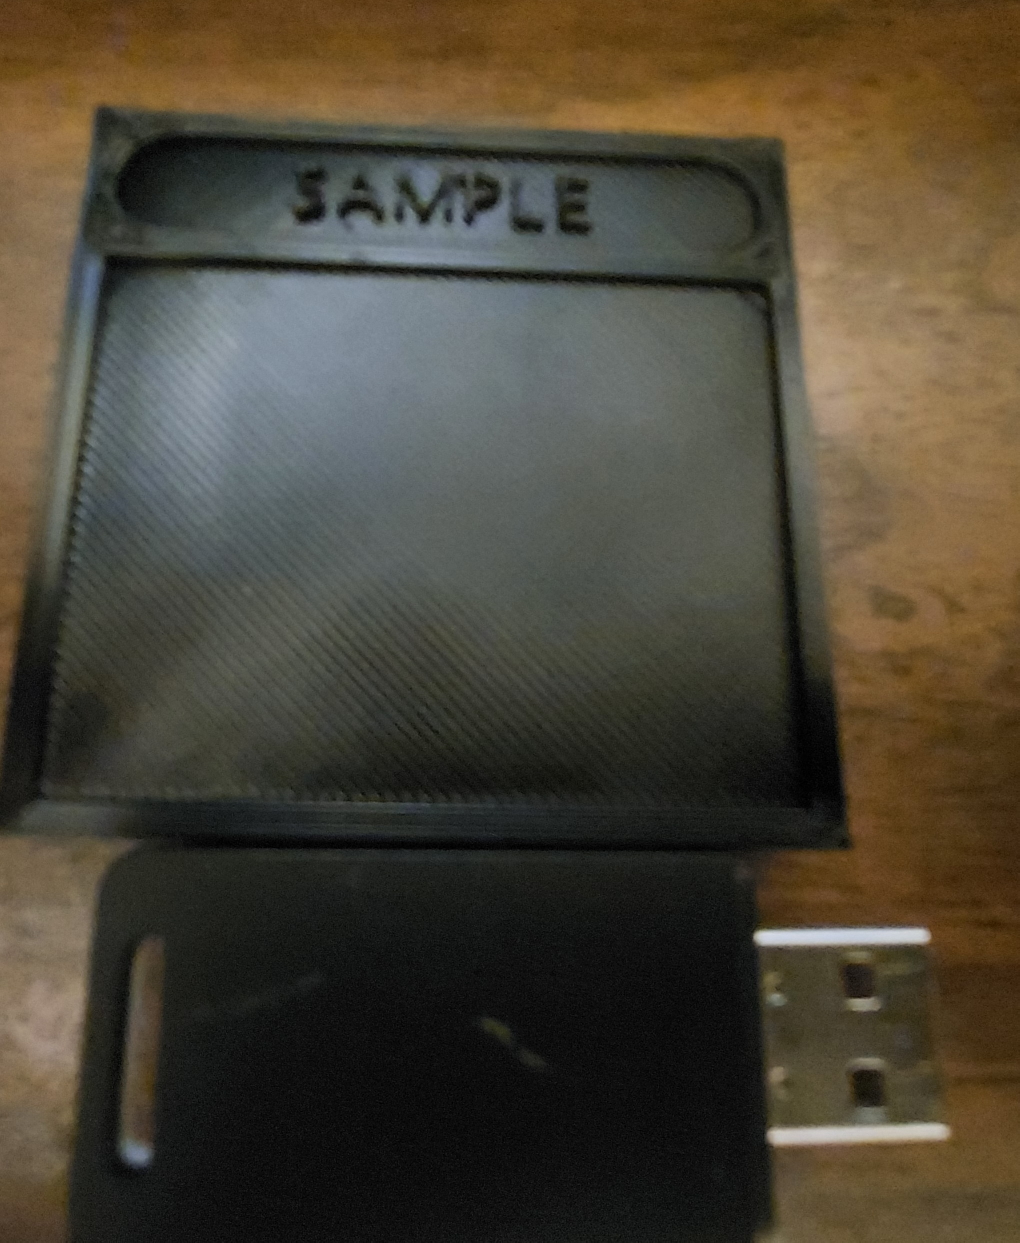
I have 3D printed a cartridge shell and it fits a SD card. I will have to do some adjustments, but hopefully my cartridge idea will work. I just have to write a bash script that will check if there is a SD card plugged in, when you turn on the handheld, and if it does find one, it will look for a .p8 file. If it finds a p8 file on the SD card, it will then hopefully run Pico 8 with the .p8 file. I know you can run Pico 8 in the terminal, but I also think you can have it start up with a cartridge of your choice. If it doesn't let me run Pico 8 in one directory and have a cartridge file in another directory, I'll see about just making it copy the file over or have it copy both Pico 8 and the cart over to ram.
Edit: I tried it via SSH and it works! You just need to use the flag './pico8 -run '/your_directory_path_here.p8.png'

I 3D printed a 2 action button version for my brother and I like it so much that I will focus on making V2 a 2 button version only.

If you're looking for a larger screen, I found a 2.7" 320x320 IPS model here:
https://www.szmaclight.com/product/Square-screen.html
You'd need to run Pico-8 at 256x256, and block off the inactive screen area w/ the case (kinda like Nintendo did w/ the 2DS), but it would increase the usable screen size from 1.5" to approx. 2.2".🙂

I also came up with this concept:
https://www.lexaloffle.com/bbs/?tid=47923
which would maybe make it easier on the software side

I realize this is a craft of love, @grhmhome. Yet doesn't it seem to be a large case and small screen when compared to the Gameboy Advance SP ?

[Please log in to post a comment]


