


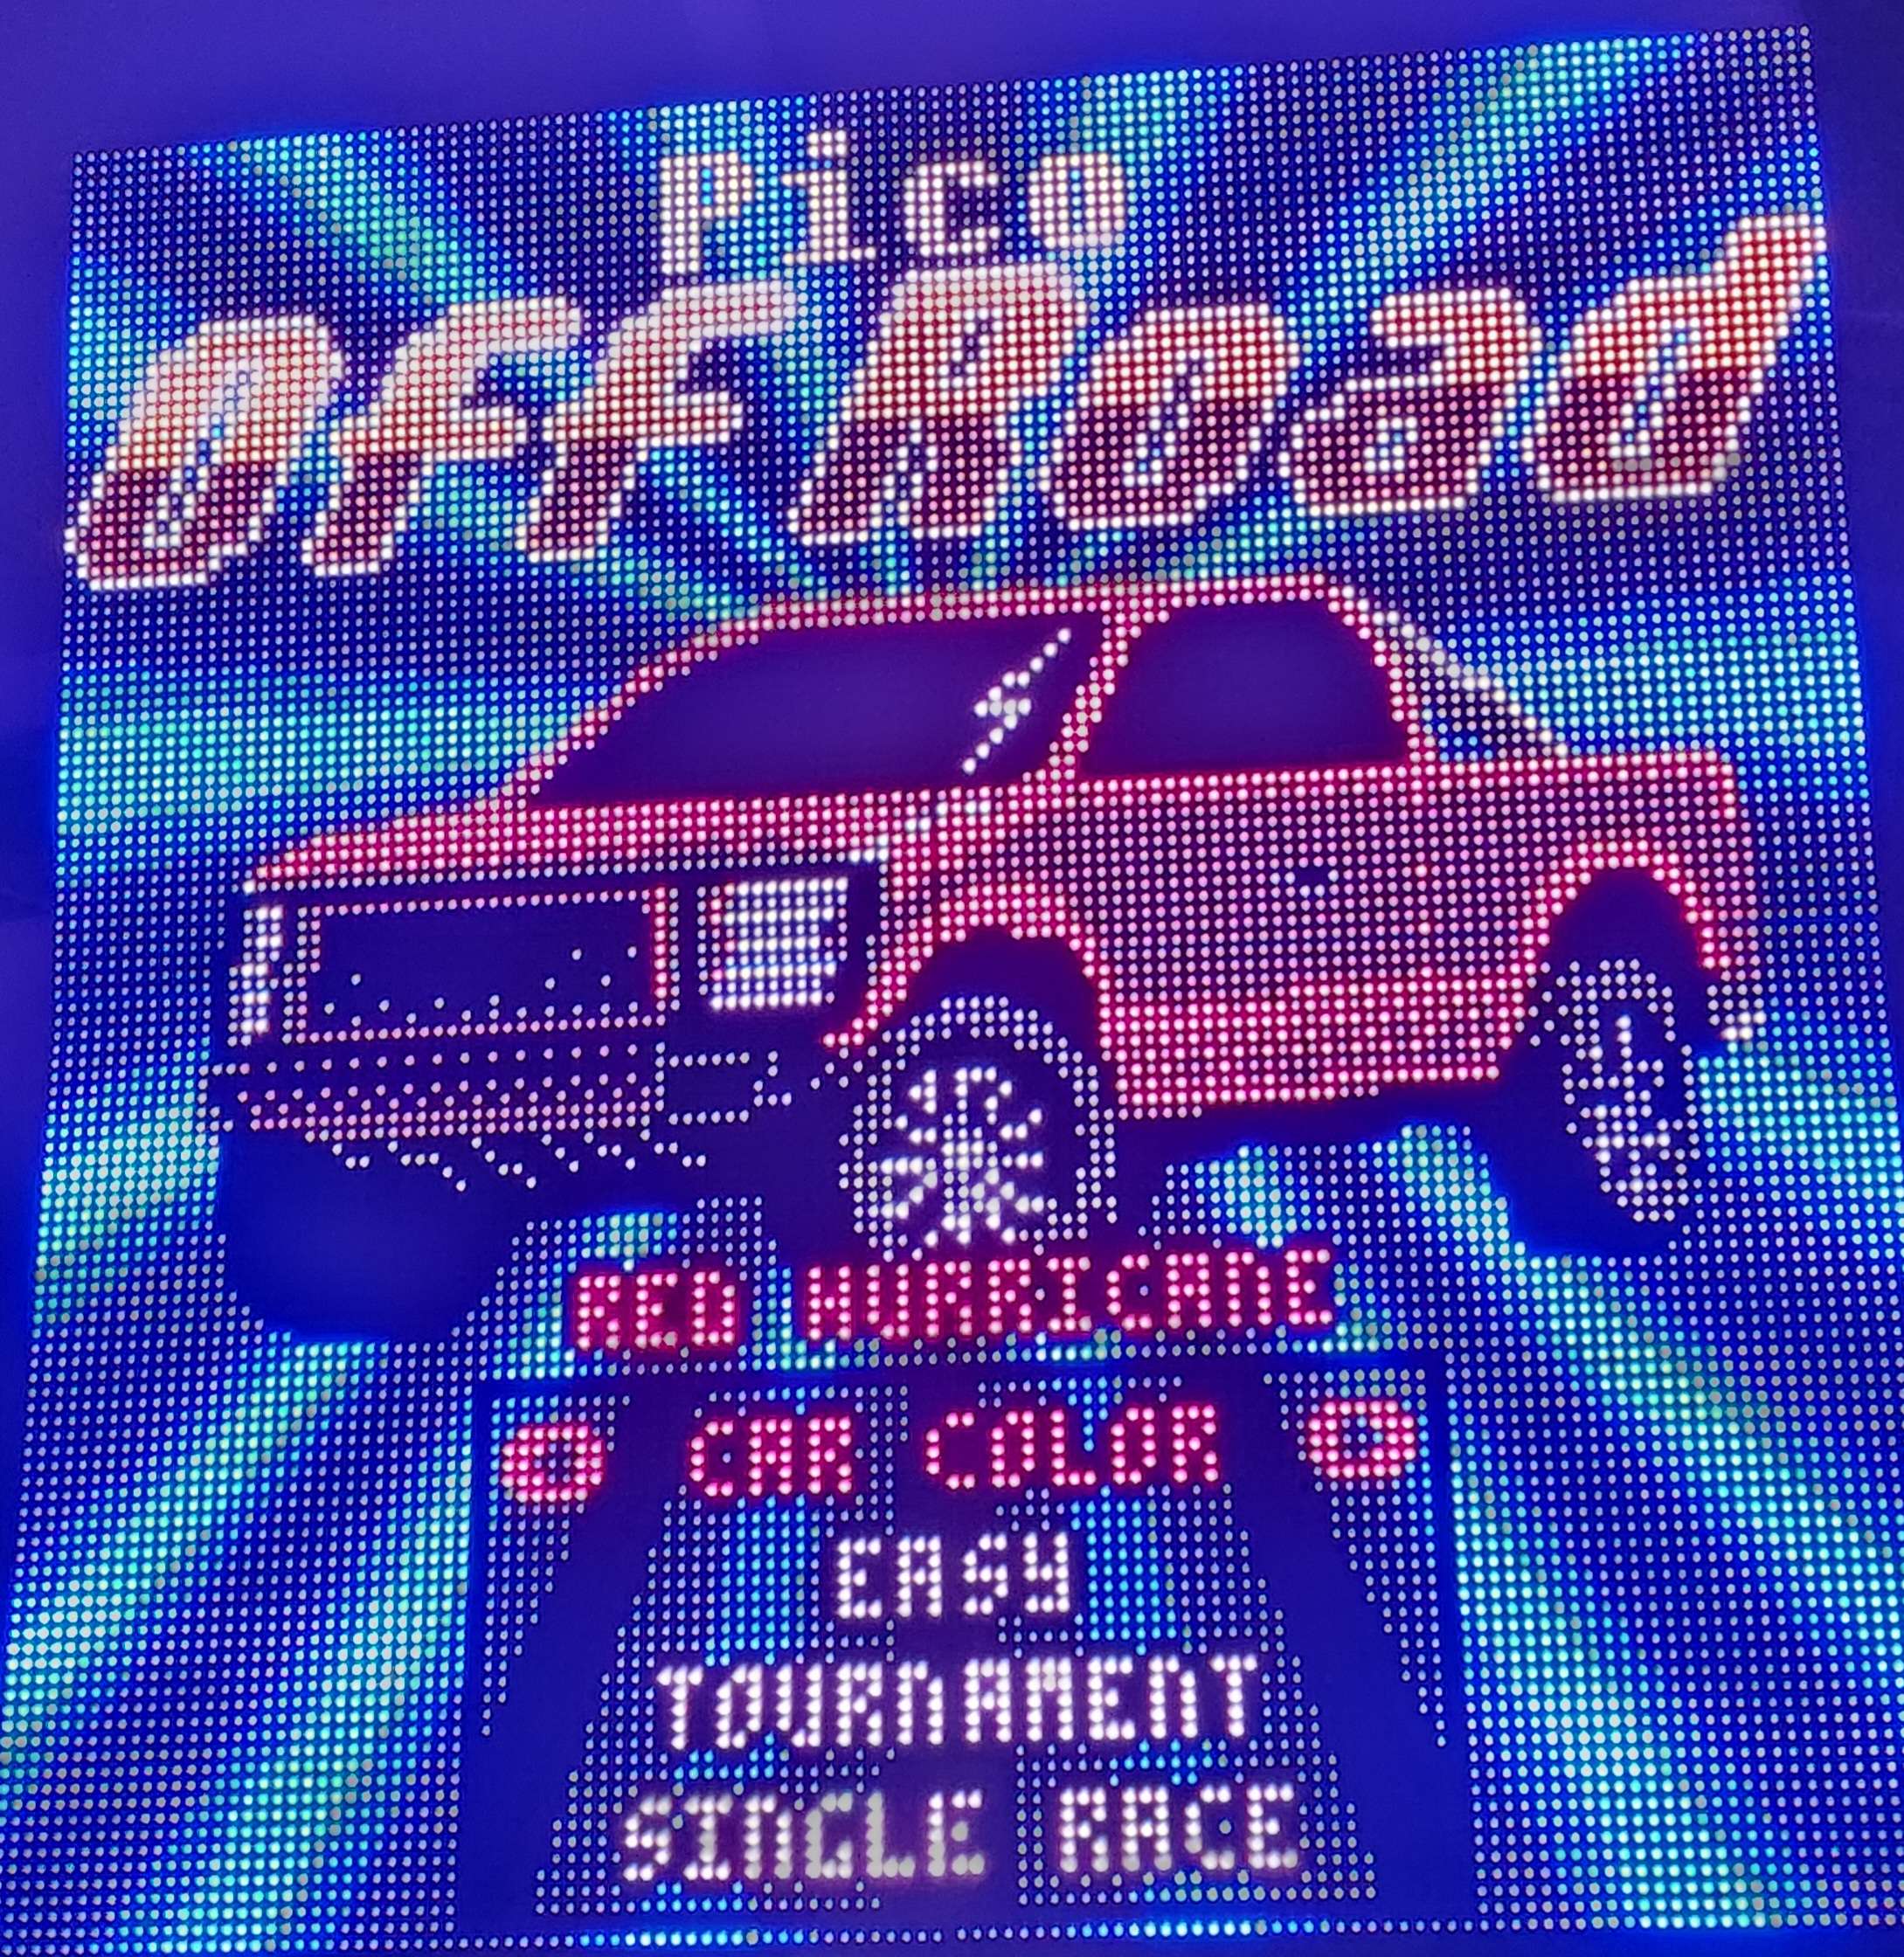
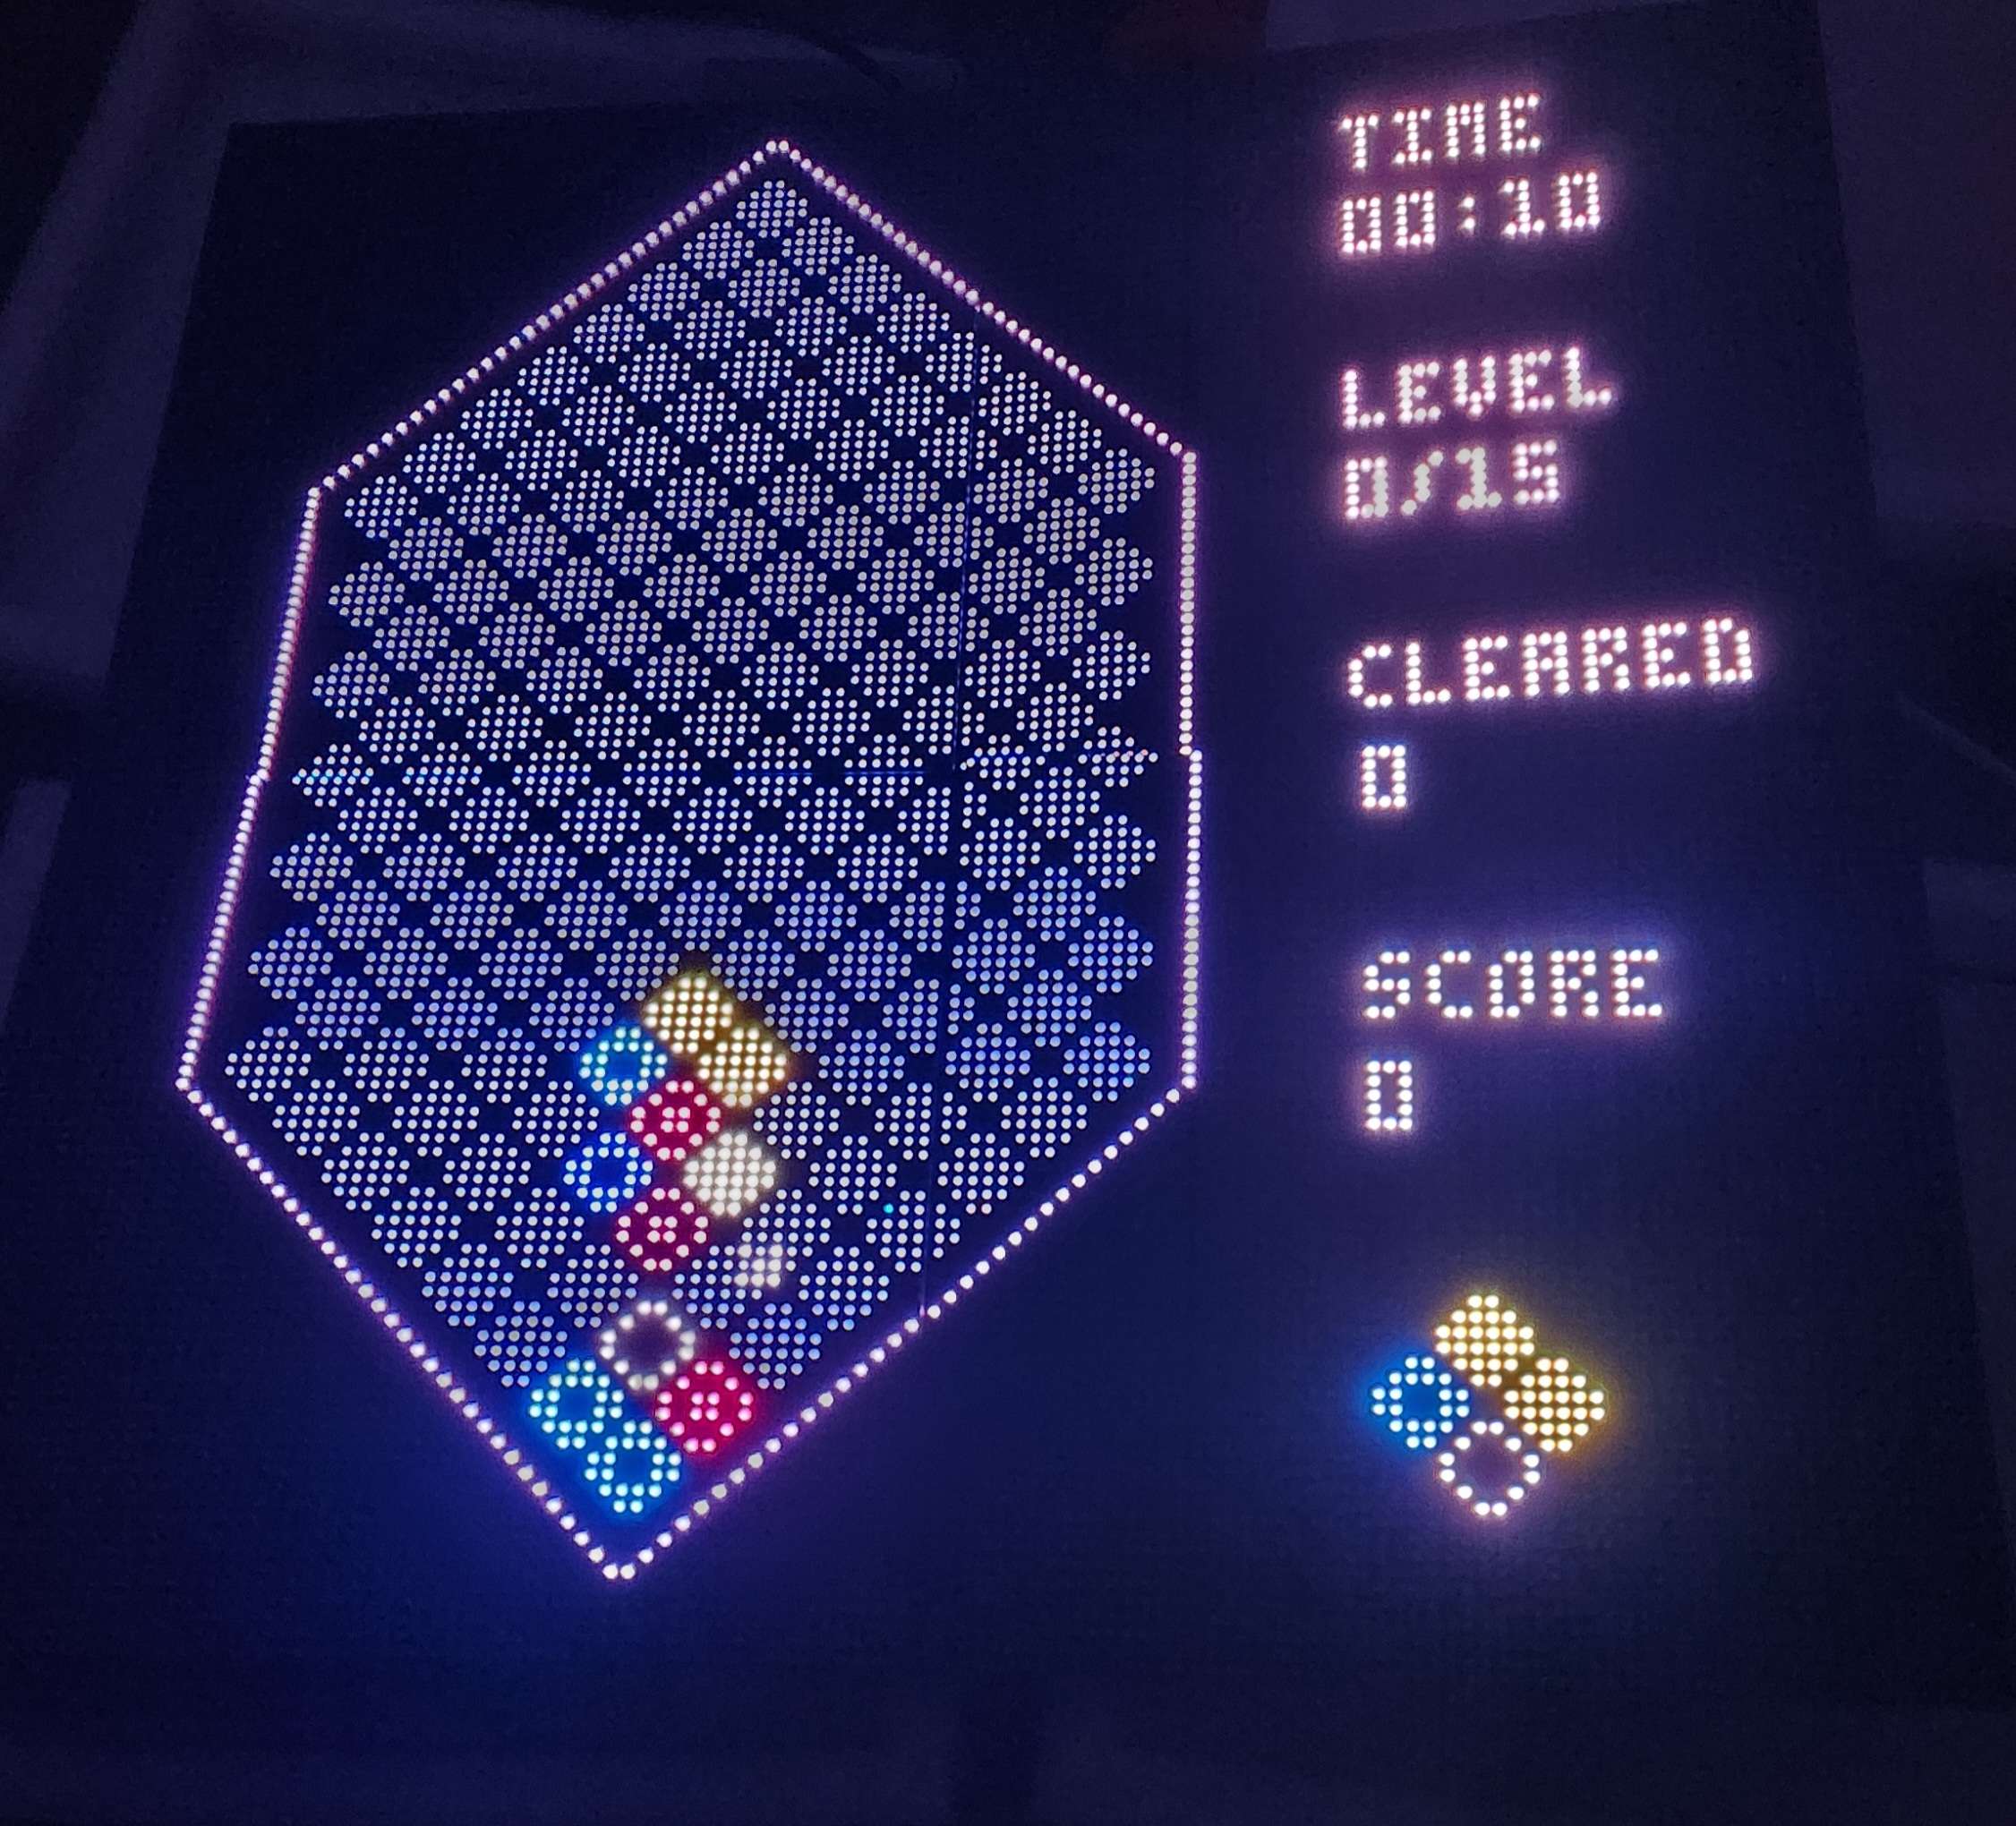
After seeing some cool LED display projects on the forums, I decided make one too. This is a large 128x128 wall display, roughly 384mm² or 15.11 inches² in freedom units. This is very cool, but not cheap. This project could cost you upwards to 400 USD if you decide to make one yourself. This project requires you to solder (soldering a simple bridge) and you will need to use the Linux terminal on your Raspberry Pi.
Do this project at your own risk.
Parts list:
https://www.adafruit.com/product/3211 - Adafruit RGB Matrix Bonnet for Raspberry Pi
https://www.adafruit.com/product/4732 - 64x64 RGB LED Matrix - 3mm Pitch
Raspberry Pi. I used a Raspberry PI 400. My Pi 3 and 3b+ didn't want to work with this.
You will also need access to a soldering iron and solder as you'll be soldering a bridge.
I also suggest getting longer IDC ribbon cables as the ones that come with the displays were not long enough for connecting all 4.
Step 1:
What you'll need to do is flash a microSD card. I used Raspberry Pi OS Lite (Legacy). Something lightweight will be perfect. You will also need to enable SSH access and connect your Pi to Wifi. This can all be done with the Raspberry Pi Imager. Pi Imager: https://www.raspberrypi.com/software/
Step 2:
Next, you'll need to follow The Adafruit guide here on connecting the displays: https://learn.adafruit.com/adafruit-rgb-matrix-bonnet-for-raspberry-pi/driving-matrices
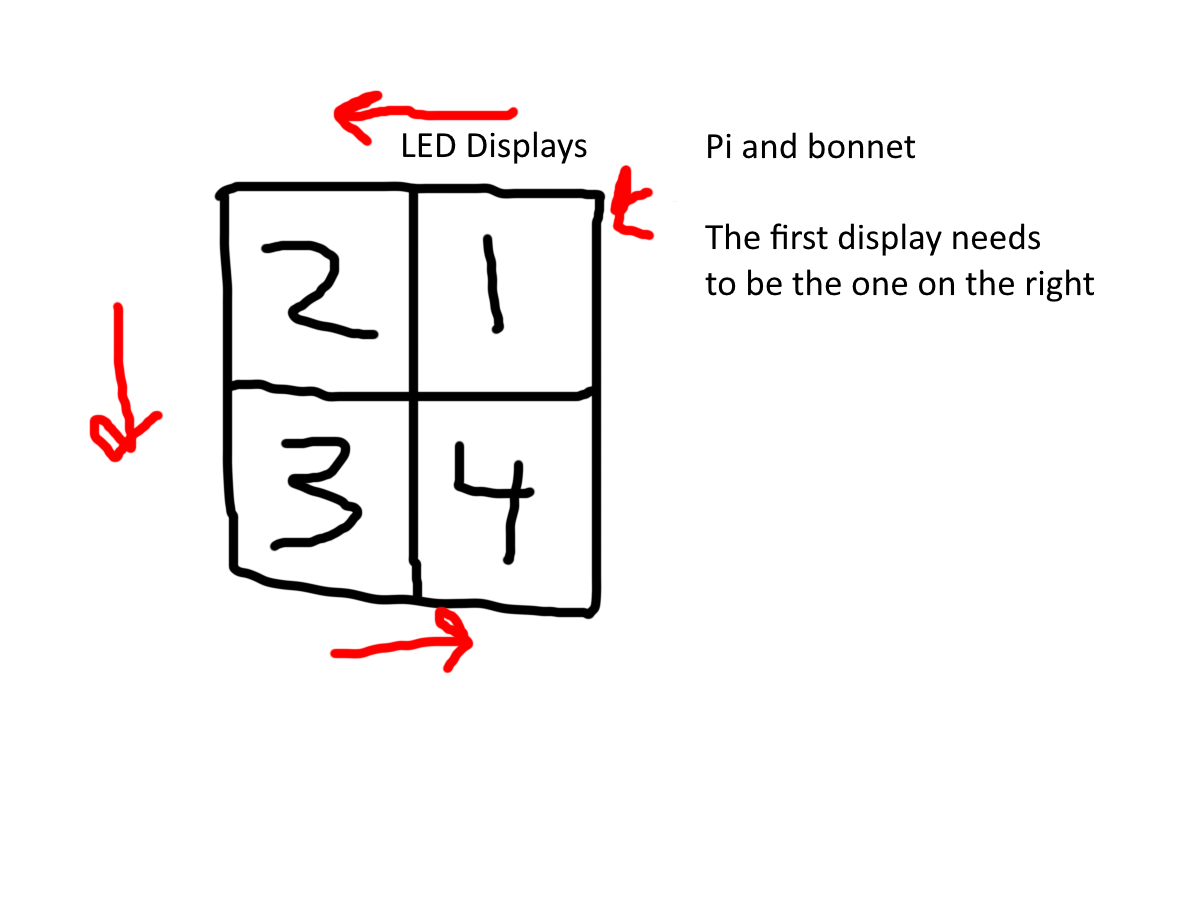
It's also important that you connect the panels like this:
 3 comments


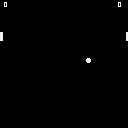
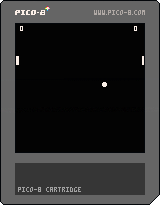
I found out that Open AI's ChatGPT understands programming, including Pico 8 LUA. I had it create something simple, a pong game. I did create the sound effects, but 99.9% of the code was created by ChatGPT. I found the best way to get it to add more code without timing out is to just request it to create code snippets for _draw() and or _update()
Code:
p1_y = 36
p2_y = 36
ball_x = 64
ball_y = 36
ball_vx = 1
ball_vy = 1
p1_score = 0
p2_score = 0
game_state = "start"

function _update()
 if game_state == "start" and (btn(4) or btn(5)) then
    game_state = "play"
    p1_score = 0
    p2_score = 0

[ [size=16][color=#ffaabb] [ Continue Reading.. ] [/color][/size] ](/bbs/?pid=122634#p) |
2 comments

Hello there. I'm working on a TV console utilizing a Raspberry Pi 3B+, but any Raspberry Pi should work in theory. Essentially, this takes some of my previous cad projects and crams it into something awesome. I present the nameless console(needs a name).
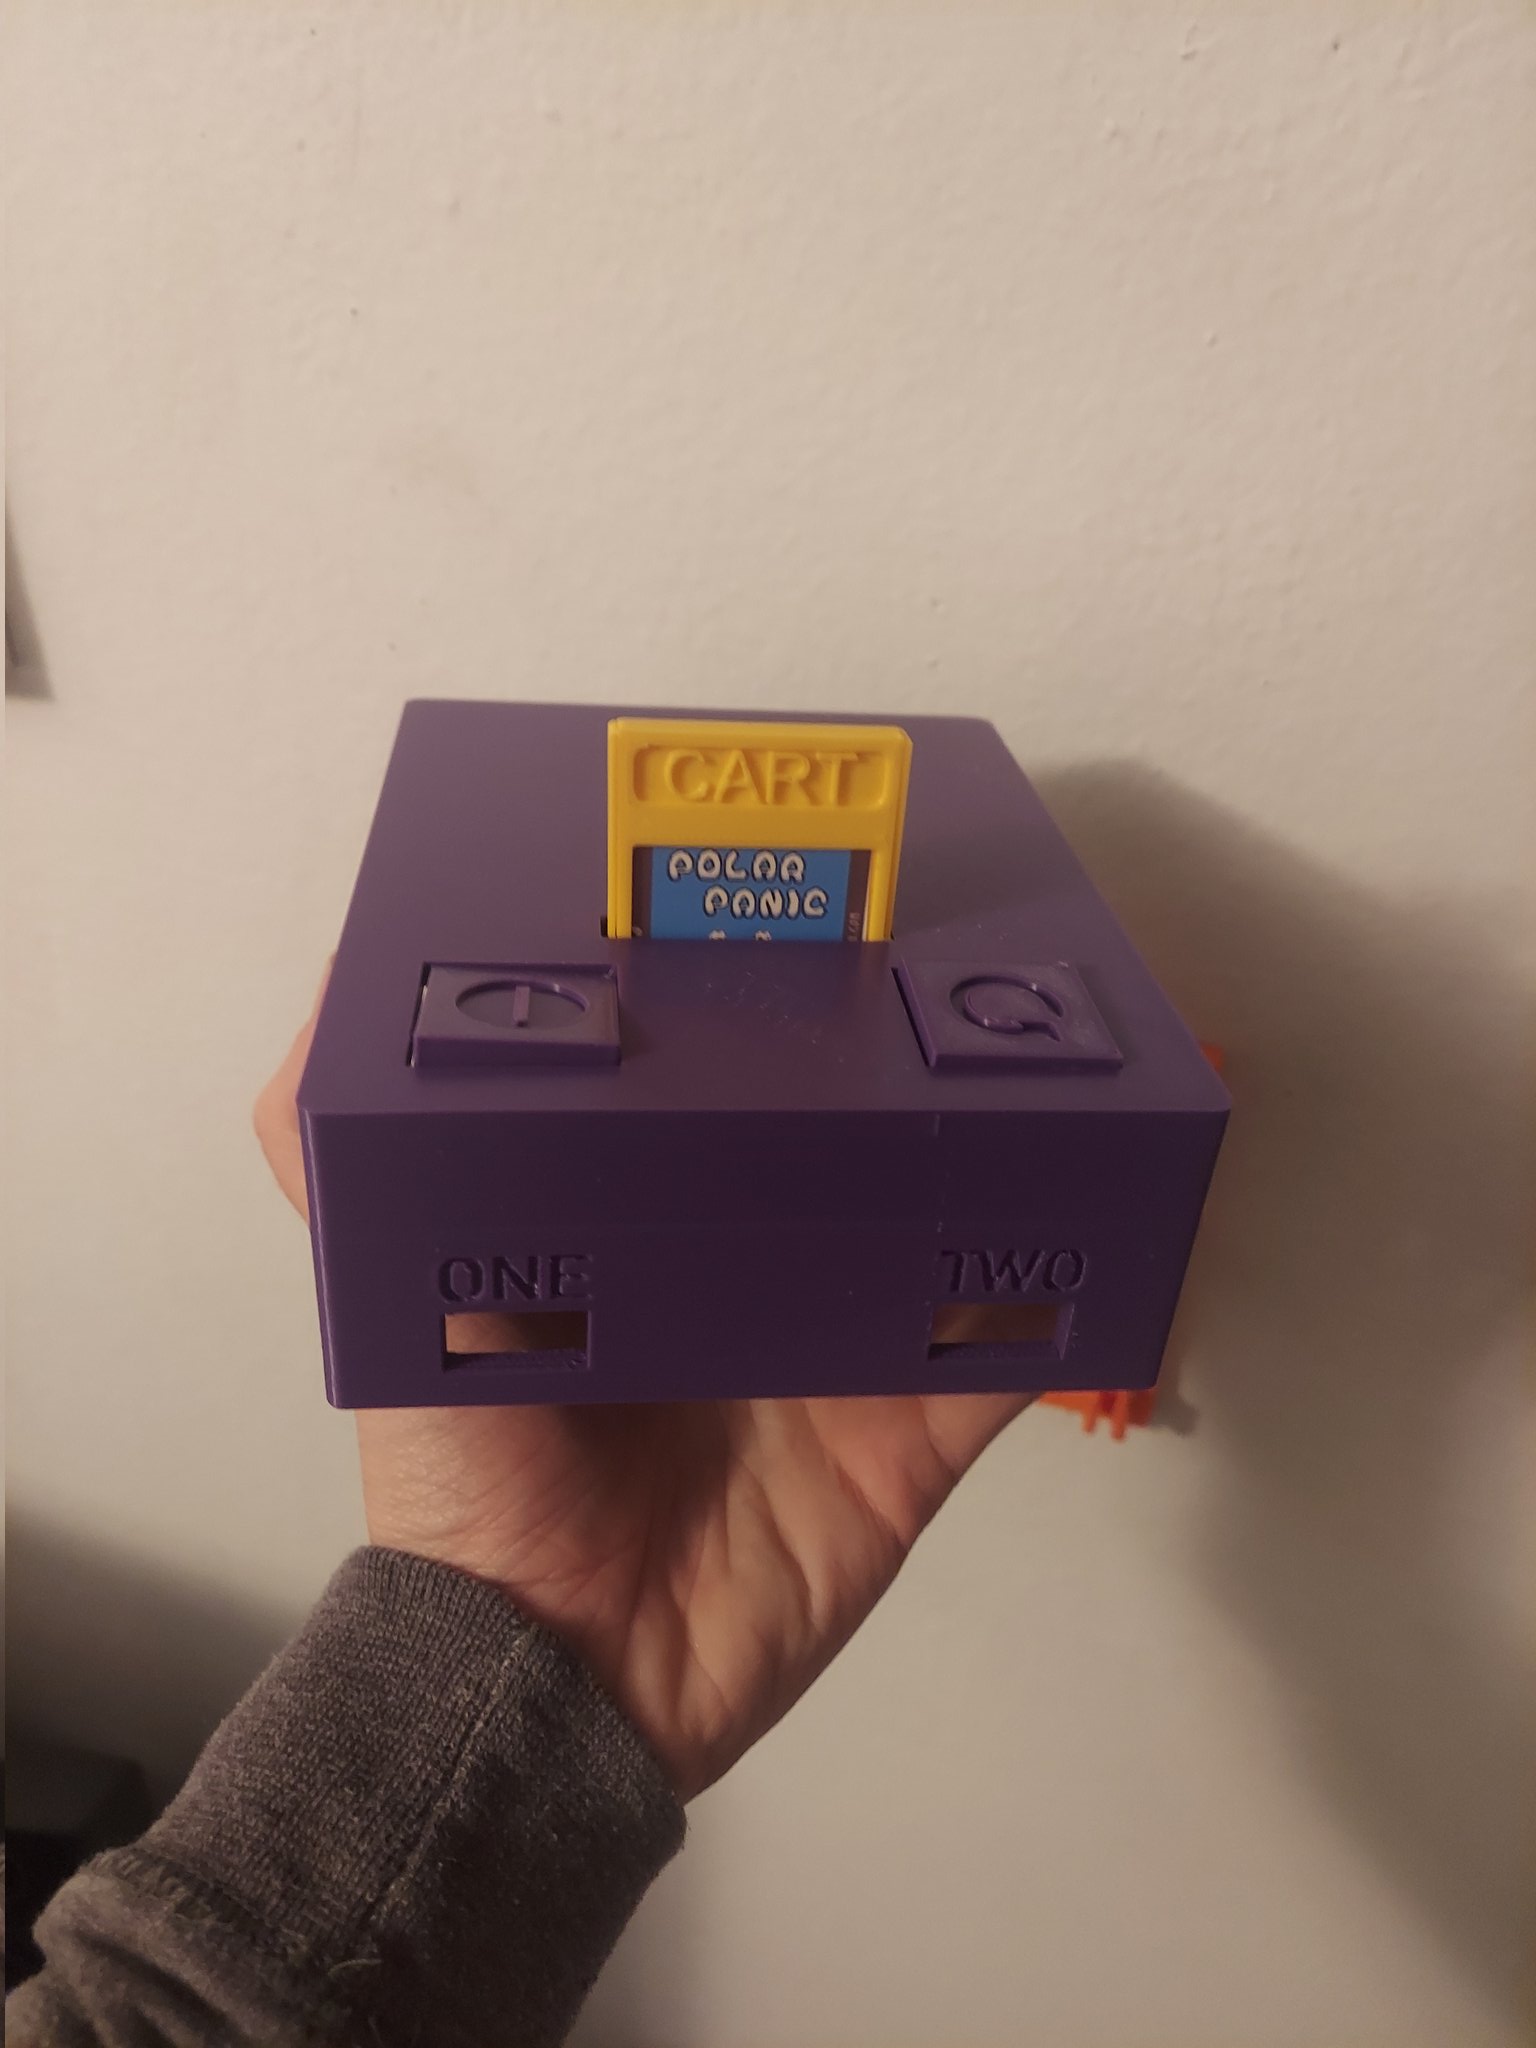
How does it work?
A USB SD card reader functions as a cartridge slot and I made 3D printable shells to go around the SD cards to give them a cartridge look and feel. A bash script loads when the Pi gets turned on that looks for a PICO8 game on the SD card. This can work with other fantasy consoles. I haven't figured out how to get multi-cart games to work with one SD card, but for now, single cart games should work. Right now the TV console project is in beta, but the cad files and startup scripts will be open source.
What I would like is suggestions for this project. I will update later with guides on setting this up. This project can also be used as a template for your own projects if you want.
A couple of pictures of me playing some games.
41 comments


Hello again. I received my C64 Maxi (TheC64) yesterday and turned it into a Pi powered retro computer. It works great, but required some manually configuring to get fully working. The keyboard works out of the box, but the joystick does not and requires you to compile the SDL2 key mapper software. You could even code Pico 8 games on this thing. I chose Retropie so I can easily select and play C64 games and try out other retro computer emulators.
What is a C64 Maxi? It is the bigger brother of the C64 Mini. It has a full sized working keyboard and you can easily play games or code on it. The downside is the default system is hard-coded for a 720p screen resolution. My old Dell VGA monitor doesn't support this screen resolution
Why? I wanted to use my old square VGA Dell monitor for C64 games and try seeing if I could use the keyboard on Pico 8. Also, the mod I did doesn't alter the default Maxi boards in any way. I disconnected the keyboard and created a USB adapter that plugs into the C64 Maxi keyboard. If I want to go back to a stock configuration, I'm able to. Do I recommend this mod? Yes I do.
4 comments

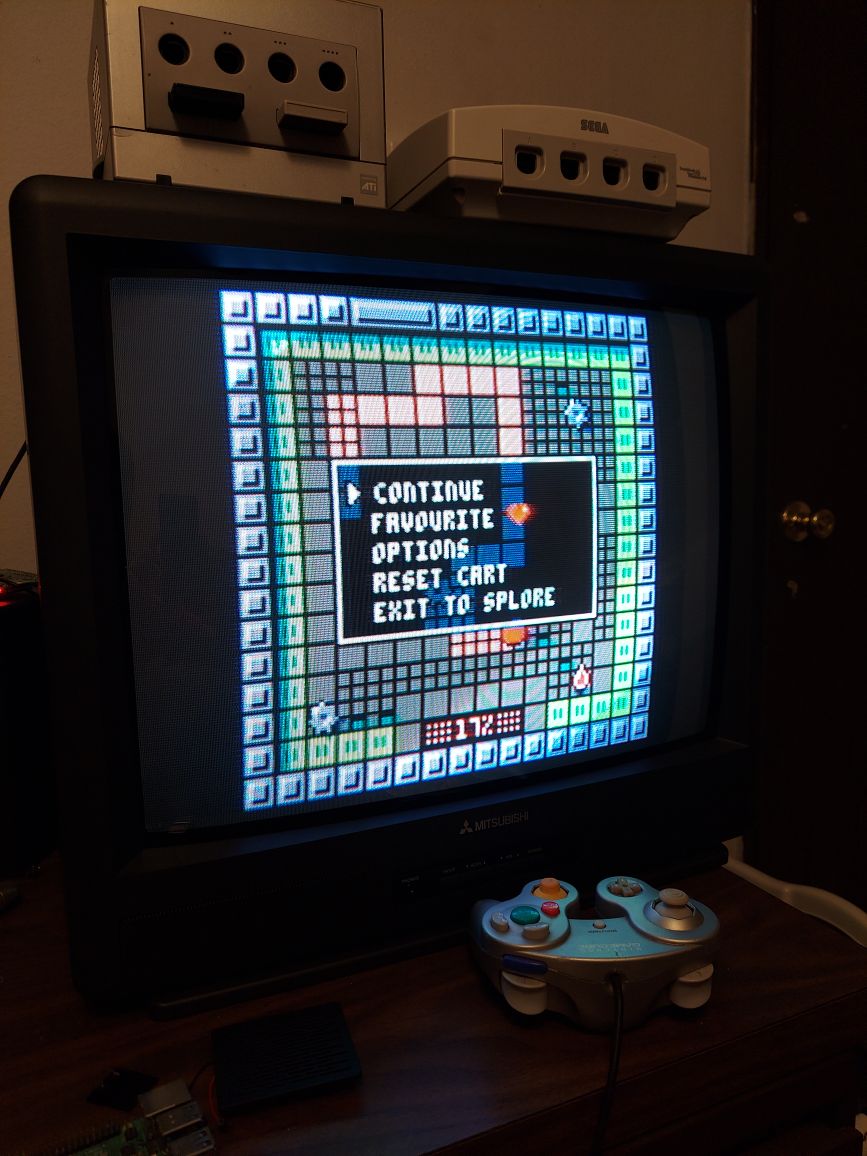
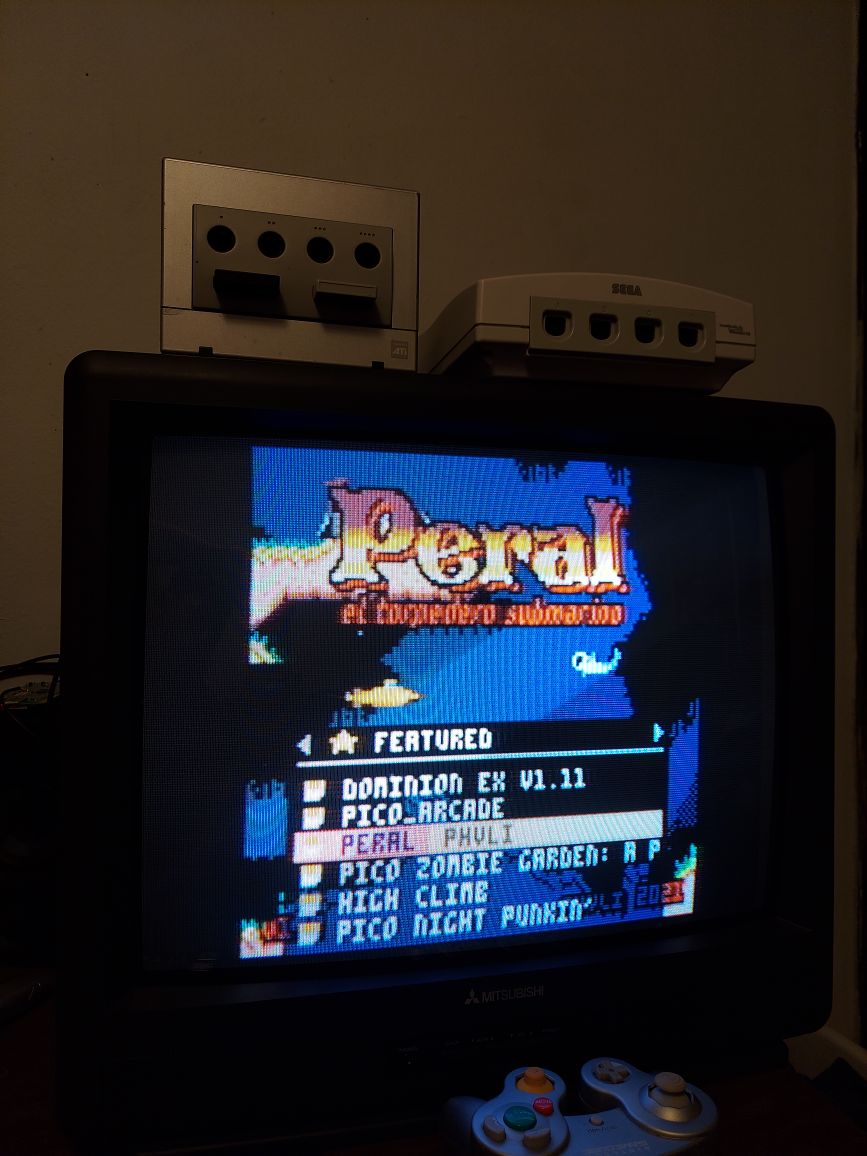
Hello again. I saw that someone was able to display Pico 8 on a CRT monitor, so I wanted to do the same. If you have any questions or want help getting Pico 8 to display on a CRT monitor, post down below and I can try to help. I was able to do this on a Pi Zero and a Pi 3b+. The hardest part of this project for me wasn't getting the display to work with my Pi 3b+, but USB audio not wanting to cooperate. I tried using the audio jack on my Pi, but it was interfering with the soldered wires I had. It all works now. This is officially my favorite way to play. Yes, playing on a handheld is cool and all, but Pico 8 looks amazing on a CRT.
 3 comments


I've seen that some people have made their own boot animation carts, but I would like to make my own, and have it where it will run a command at the end of the animation that makes Pico 8 boot into splore.
This is how it could work in a dedicated Pico 8 machine:
Turn on machine > autorun Pico 8 via bash script or something else with the -run animationcart.p8.png command at the end> animation runs > code at end of cart executes extcmd(splore) or another command that makes Pico 8 go to splore.
I've came up a idea to go around doing this, but it is too clunky. I could make a bash script that runs 2 instances of Pico 8 at the same time. One will boot into Pico 8 and run the cart, but shutdown that instance of Pico 8 afterwards, then the other Pico 8 instance would still be running and be in splore.
I would like to see this added in a future version of Pico 8 if possible. Thanks for making Pico 8 and have a great day.
3 comments


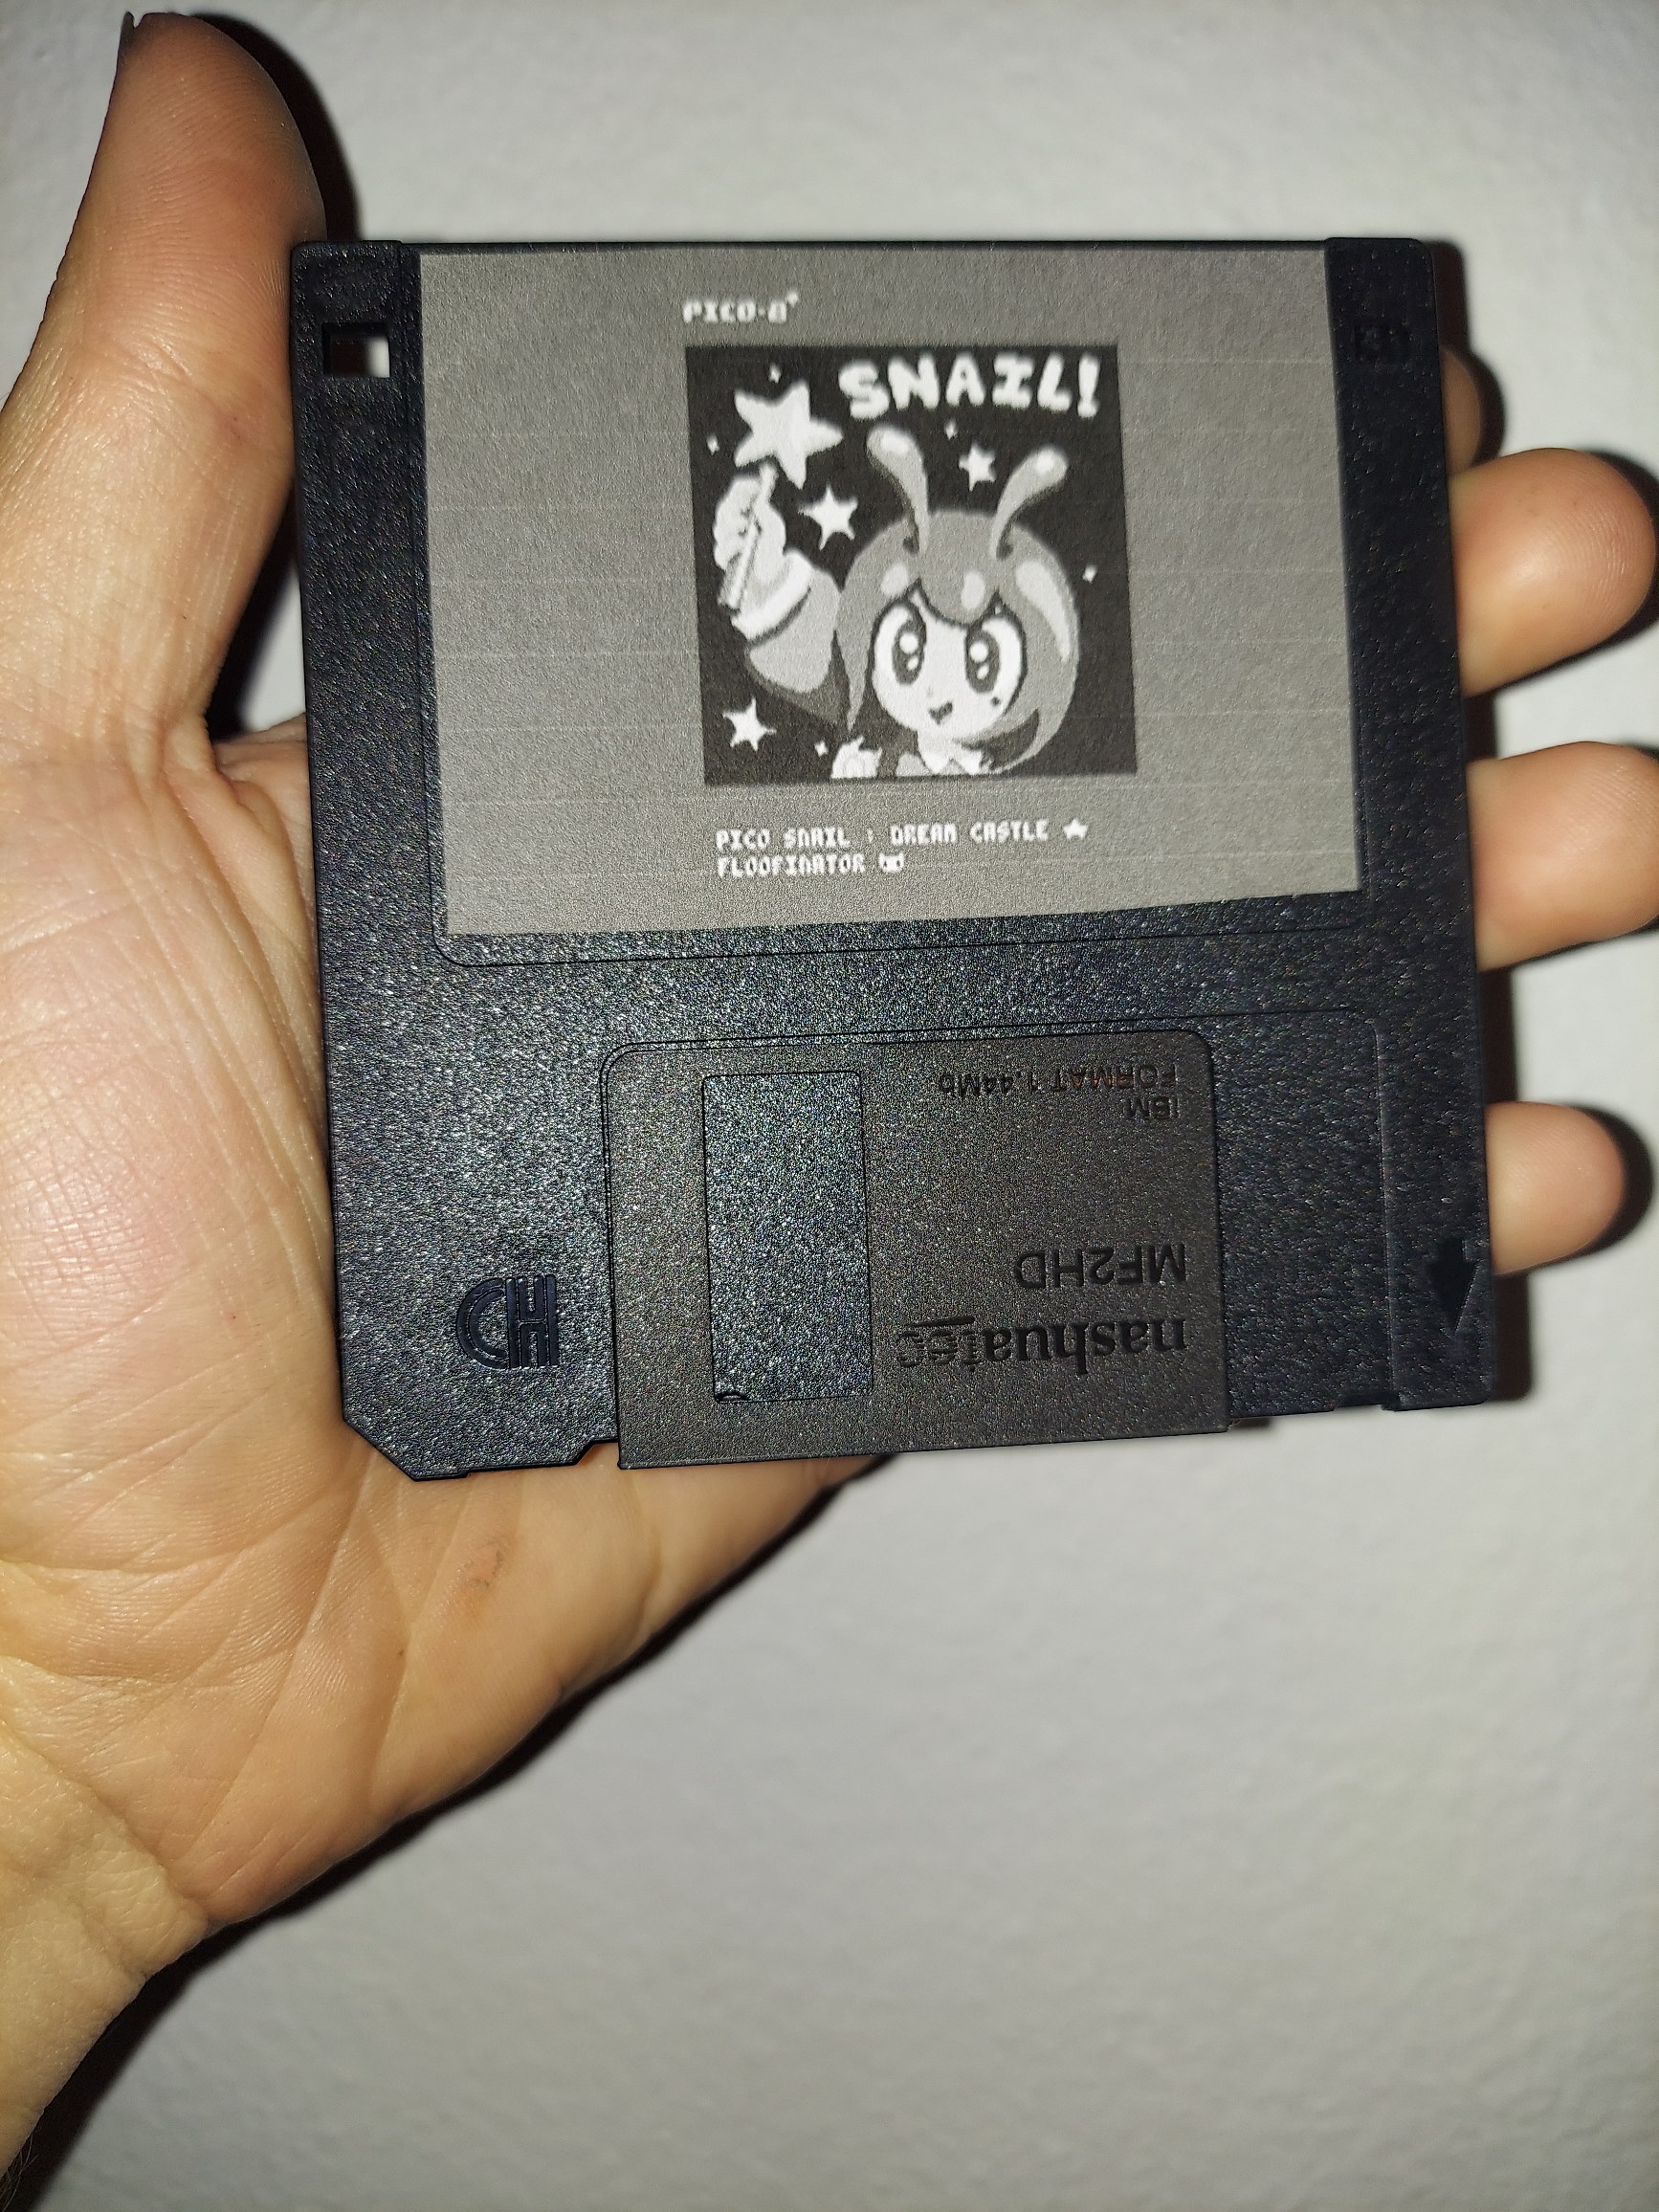
Hello again. I've been working on different ideas for running Pico 8 games on physical media.
I've tried SD cards and while they are cool and can function as cartridges, they tend to have too much storage and I find that wasteful when Pico 8 games are less than a megabyte. I have been experimenting with other ideas such as using 3.5" floppies. They are much more smaller in storage compared to a SD card, but they have their own setbacks.
What would you recommend I try to use as physical media for Pico 8 games? I could try ROM cartridges, but they will probably be the most expensive route and be the most complicated.
Here is a picture of a Pico 8 game I put on floppy.
The tutorial I made for mounting SD cards 'should' work for floppies with slight changes.
https://www.lexaloffle.com/bbs/?tid=44530
I'm not going to sell Pico 8 games that aren't mine on physical media, I'm just trying out new ideas.
6 comments


I was working on a new project that involved learning how rom cartridges worked, so I asked around for help and someone suggested that I use SD cards. I ended up liking the idea and decided to use that in my current Pico 8 fanmade handheld project as well. What I did was created a shell that goes around a SD card to give it a cartridge look and feel. A USB SD card reader will read the 'cartridges'. I also wrote a bash script that will search for a p8.png file in your SD card directory and have Pico 8 run that file or run splore instead if no SD card cartridge was connected. Firstly, when you plug in a SD card to your card reader, you should type in
sudo fdisk -l |
. This should list your SD card. Mine was listed as /dev/sda1
I then mounted the SD card and made sure Pico 8 could run the file. While in my Pico 8 directory, I typed in
./pico8 -run /media/usb0/run.p8.png |
and Pico 8 ran the file, but use whatever directory you mount your SD card in. Why did I call the cartridge run.p8.png? I tried just using
./pico8 -run /media/usb0/*p8.png |
, but I thought, if I had multiple cartridges on the same SD card, it would pick one out of random, and I didn't want that, especially for multicart games. Maybe there is a better way at doing this. If there is, please let me know. I made it where the first cartridge can be called run.p8.png, but other cartridges can be called whatever you want. I modified /etc/rc.local and added a line before the screen driver where it would mount the SD card. For me, I put in
sudo mount /dev/sda1 /media/usb0 |
I then created a bash script that would either load a game from a SD card cartridge or run splore if there was no cartridge connected.
8 comments
.jpg)


Hello again. I am working on a fan handheld for the Pico 8. Once this project is finished, I'll upload all the cad files onto Thingiverse and create a guide on how to create your own Pico 8 handheld. This is what the first prototype shell looks like.
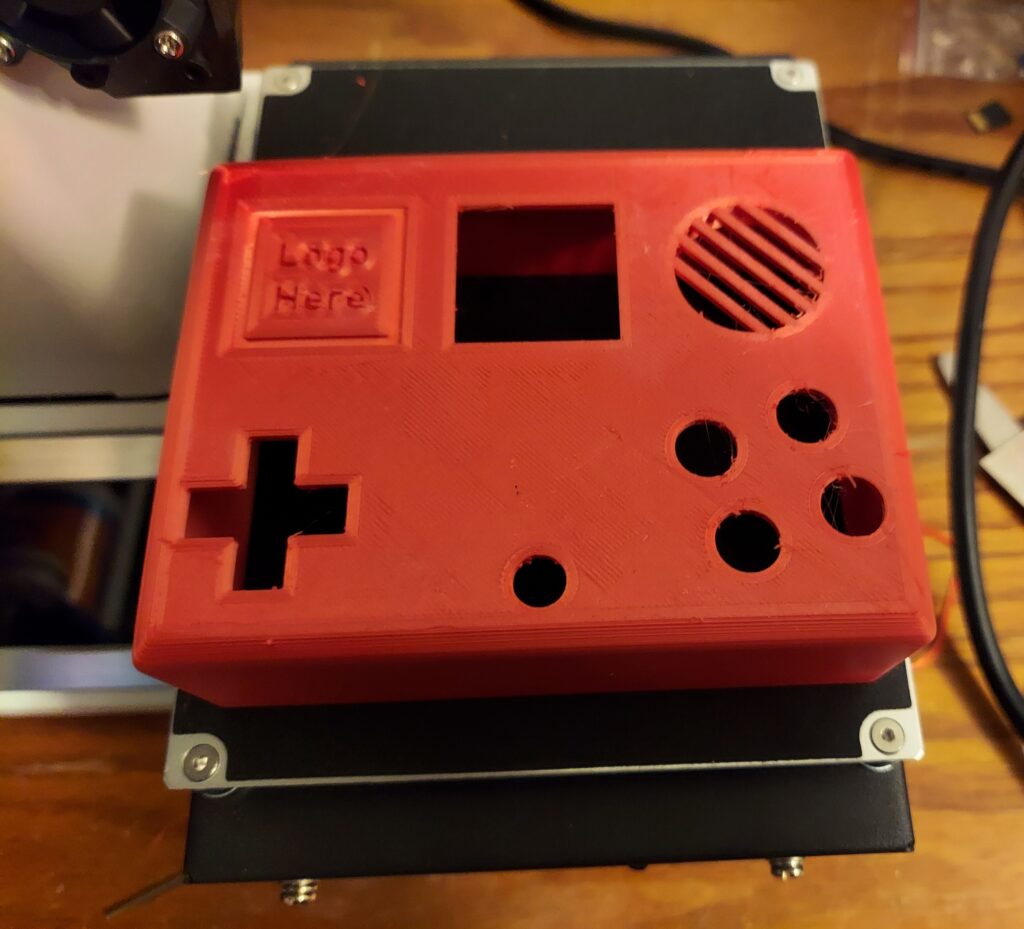
The button spacing feels perfect, but the shell is too wide. Fortunately, it seems like I can shrink it down roughly 5mm so it will be around the same thickness of a Dmg-01 Gameboy. The rounded edges makes it feel comfortable to hold. I might reposition the battery holder location so I might be able to shrink it down another 5mm. I'll take any suggestions for this project as I want this to as good as possible. My goals for this project:
- It must be comfortable to hold and not too bulky.
- It must have a 128x128 resolution screen.
- It must have sound.
- It must take AA batteries, but you are free to modify the project to use rechargeable batteries
What I have done so far:
- Made some designs in fusion360
16 comments


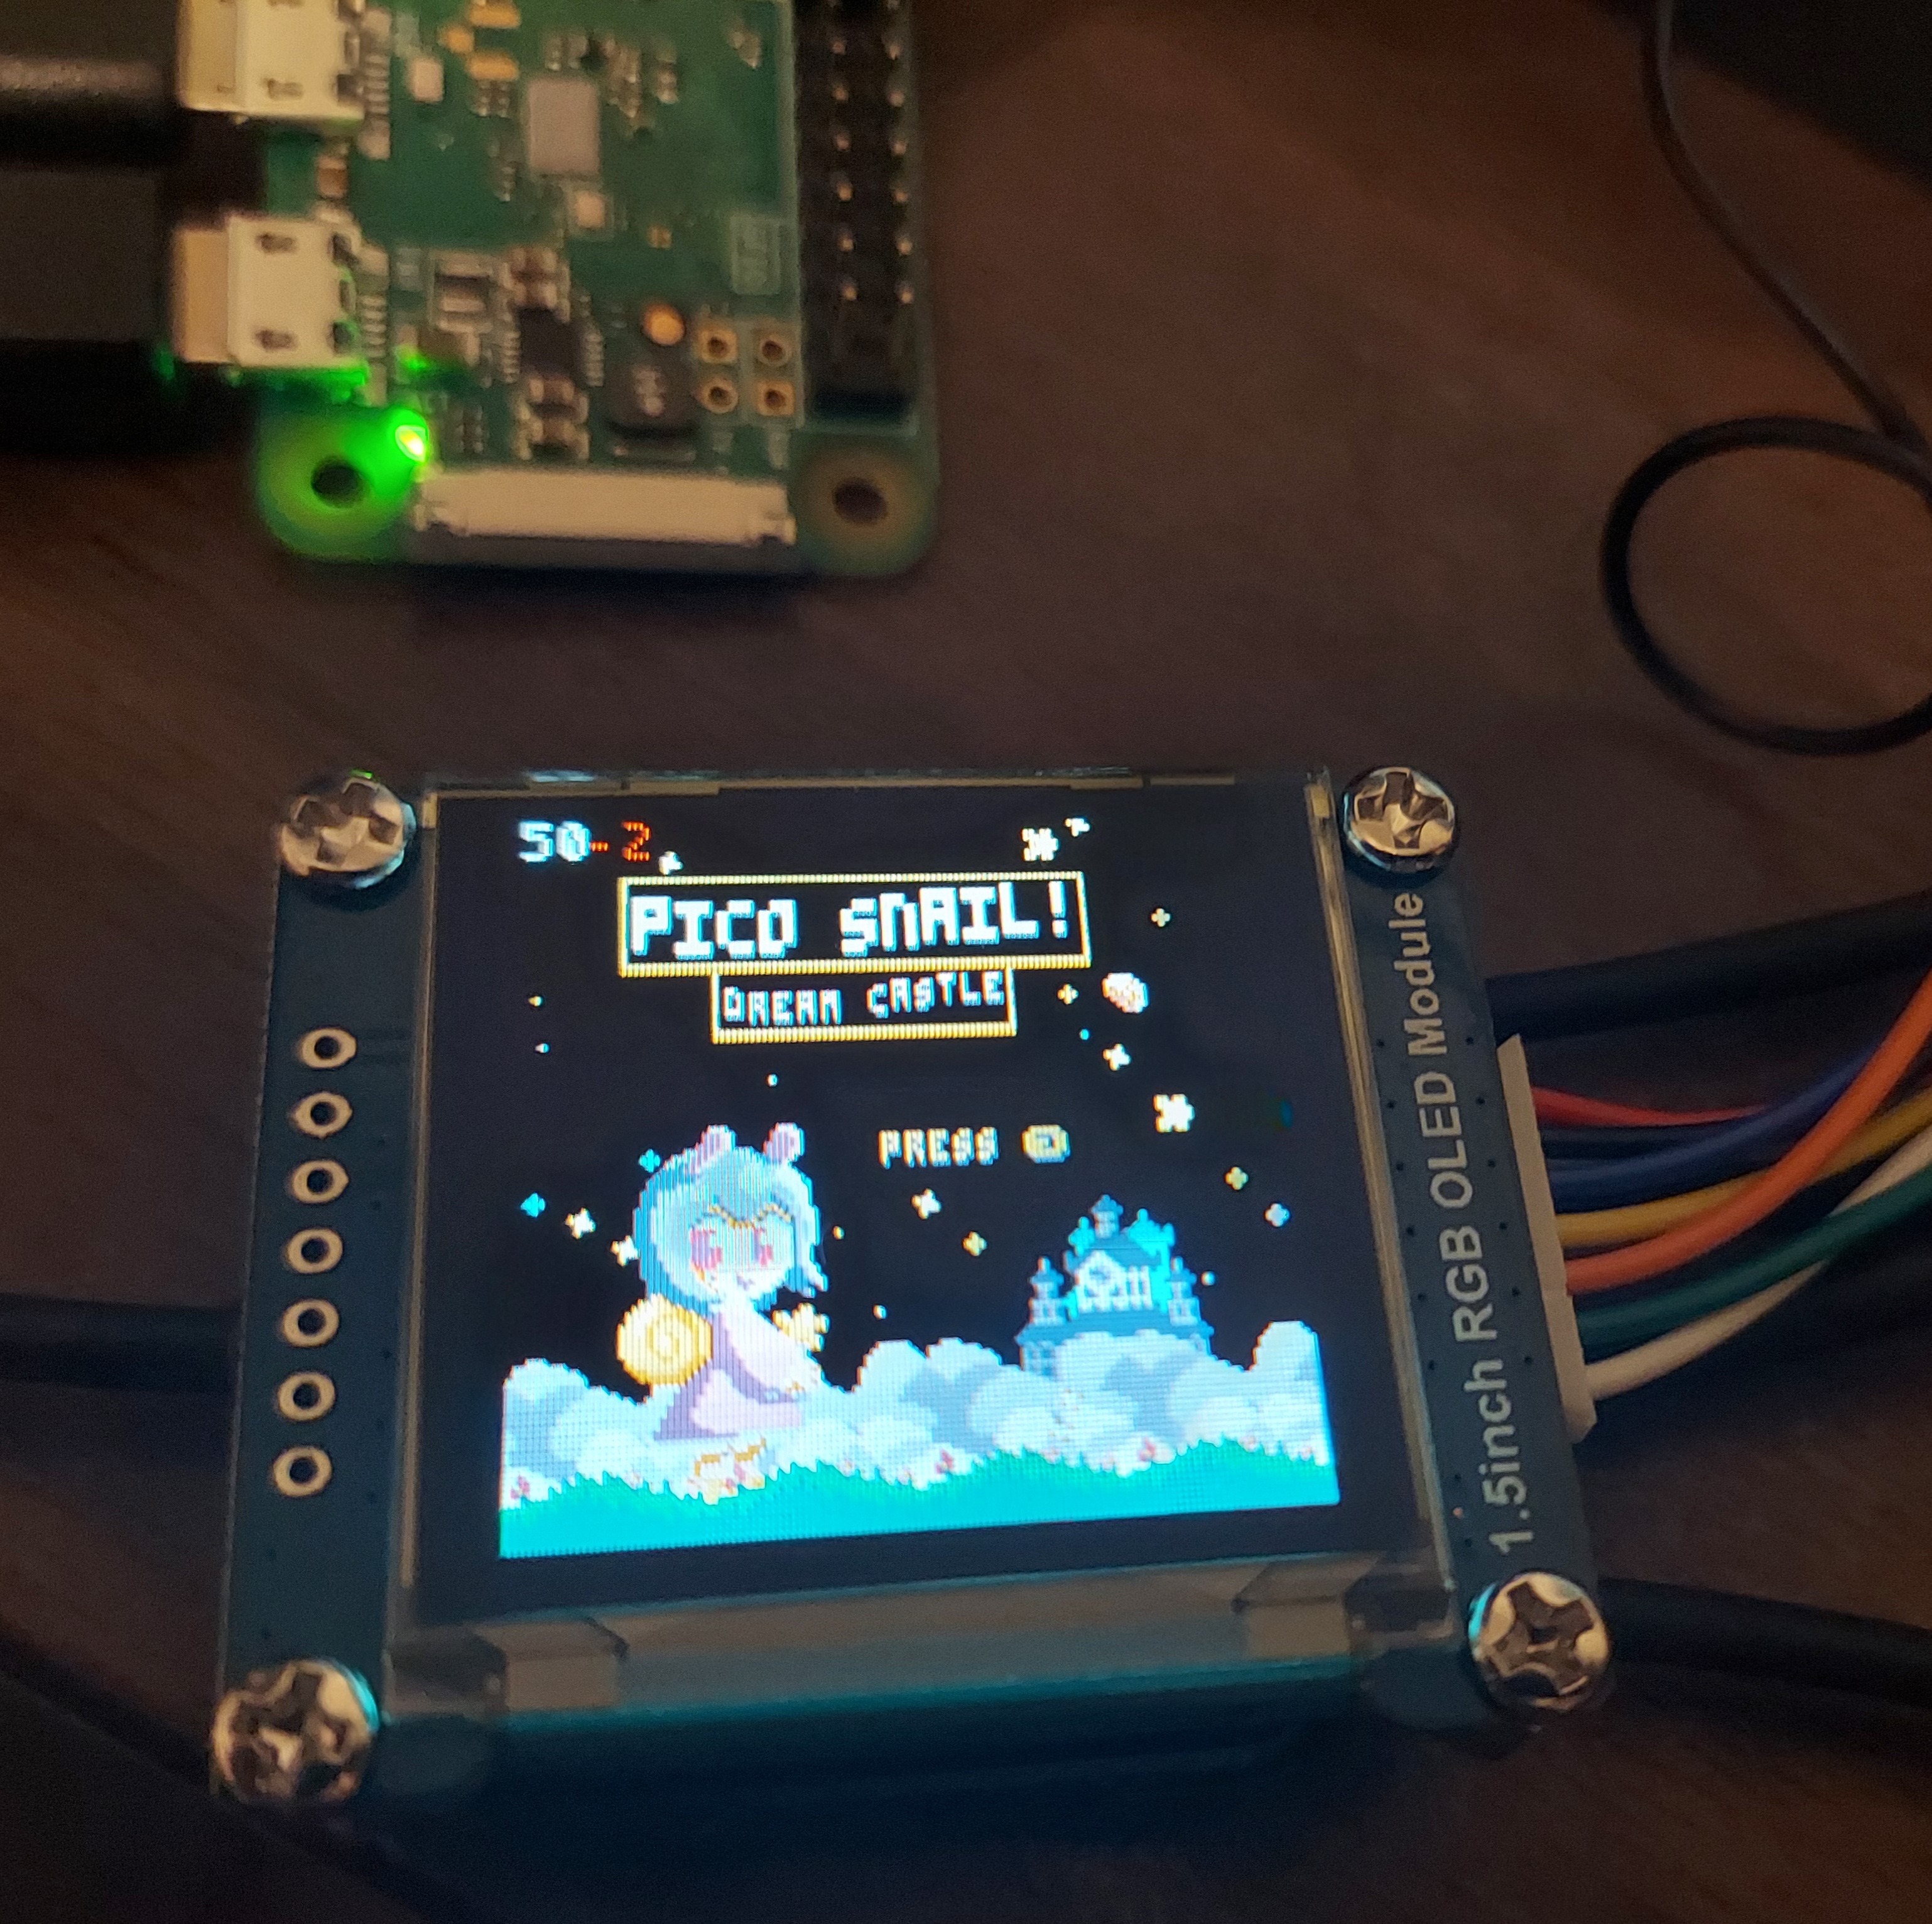
Hello there. My name is Grhmhome and I've been working on a fan handheld for Pico 8, using a Pi Zero W. I've been working on this project for roughly a week now. I'm proficient with Cad, 3D printing, and I've been learning soldering. I wanted to make a handheld for the Pico 8 with the correct aspect ratio screen and I finally found the perfect screen for my project. This post is a quick tutorial on how to get the Waveshare 128x128 RGB OLED display module to work properly. This took me all of yesterday to get to work properly as I had to troubleshoot and do more troubleshooting.
Where to find this screen?
Amazon: https://www.amazon.com/dp/B07D9NVJPZ/
Waveshare: https://www.waveshare.com/1.5inch-rgb-oled-module.htm
I used the latest version of RetroPie for this project.
Step 1. Wiring the screen. The pins I used are as follows. The connector that comes with the display should be color coded.
VCC (Power +): Any 3.3V GND (Power -): Any GND [ [size=16][color=#ffaabb] [ Continue Reading.. ] [/color][/size] ](/bbs/?pid=95776#p) |
8 comments

.png)