PICO-RAY
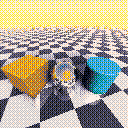
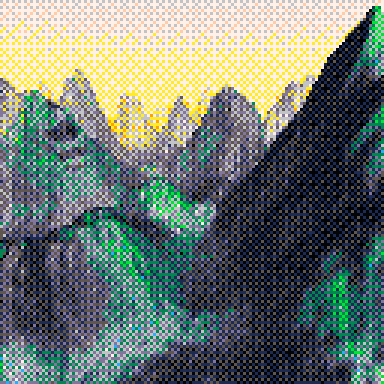
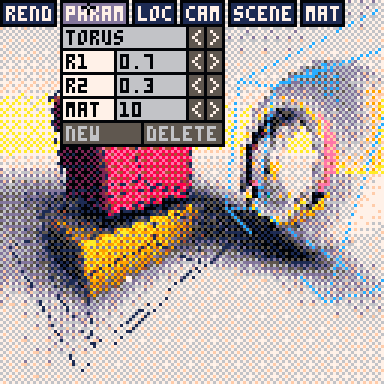
Brought to you by the same productivity-focused team as Hypercolor Paint, PICO-RAY offers state of the art 3D modeling and rendering capabilities for the Pico-8 computer system.
Features:
--Ray marched, photo-realistic 3D graphics
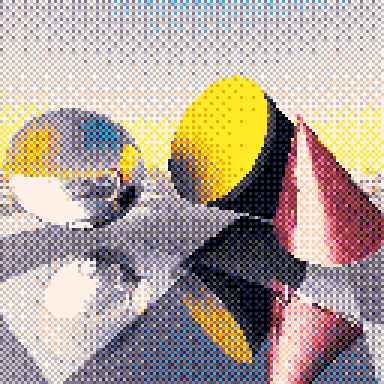
--Soft shadows, ambient occlusion, reflection, refraction
--Materials properties, including: color, gloss, reflection, refraction, patterns
--Primitives including: box, sphere, torus, cone, plane, sponge, and landscape
--Realtime wireframe box previews
--Quick render modes for preview
--2x2 anti-aliased high-quality mode
Instructions:
PICO-RAY requires the pico-mouse to operate. Click on menus and increment widgets to create and edit geometric primitives.
Menus:
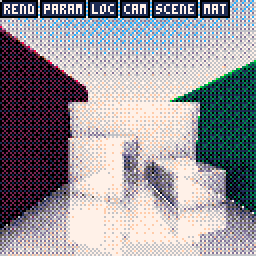
-REND- Control rendering options
1x1:No skipped pixels
2x2:Render 2x2 blocks
4x4:Render 4x4 blocks (faster)
QUICK: Render in fast grayscale with no shadows/materials (only 2X2 and 4X4)
NORMAL: Render with shadows, materials
HIGH: Render with anti-aliasing on (slowest)
OUTLINE: Show bounding boxes for all objects (selected object highlighted in blue)
HIDE MENUS: Hide menus for saving screenshots (click to turn menus on
-PARAM- Create new objects and change the dimensional properties and shape of objects.
[OBJECT TYPE] Type of the selected object primitive. Click left/right to change type.
[Properties] Depends on the object type (e.g. height, width, depth of box)
MAT: Material number (can also change form MAT menu)
NEW: Click to create a new object--defaults to location 0,0,0
DELETE: Delete selected object. Scene must contain one object, so last object cannot be deleted. (However it's object type can be changed.)
-LOC- Adjust object position and orientation
X:
Y:
Z:Click on arrow buttons to move selected object along axis. Hold down to repeat.
AX:
AY:
AZ: Click on arrow buttons to rotate selected object about axis.
-CAM- Control the camera location and orientation
CAM X:
CAM Y:
CAM Z: Control the camera location
CAM AX:
CAM AY:
CAM AZ: Control the camera angle
-SCENE- Adjust the scene properties
L AX:
L AY: Direction of light source. (Infinite, directional light)
SKY1 R,G,B: First sky gradiant color. RGB goes from 0 to 1 for colors
SKY2 R,G,B: Second sky gradiant color.
SUN RGB: Color of sun glow (seen when looking into the light source)
-MAT- Material properties
MAT: Material number of selected object. (Also, number of material currently being edited.)
COL R,G,B: Base color of material.
SPEC: Specularity of material.
GLOSS: Glossiness of material.
SHINY: Shine of material. (SPEC, GLOSS, and SHINY work together to create matte or glossy surfaces)
REFL: Reflectivity (0 to 1)
TRANS: Transparency of mateiral from 0 to 1 (completely transparent). This is affected by color of material. A value other than 0 will also enable refraction, which slows rendering.
IOR: Index of Refractin. A value of 1.5 is approximately equal to glass. A value of 1.0 is equal to air. Refraction slows rendering.
Material defaults:
1--White
2--Red
3--Green
4--Dark Blue
5--Yellow
6--Light Blue
7--Purple
8--Orange
9--Black
10--Light Mirror
11--Dark Mirror
12--Wood Pattern
13--Black and White Tile (works best on planes)
14--Clear Glass
Primitives:
BOX: Box with Width, Height, Depth
SPHERE: Sphere with Radius
TORUS: Donut with R1 Major Radius and R2 Minor Radius
CYLINDER: Cylinder with Radius and Height
PLANE: Plane -- no properties. Note that the plane defaults to to 0,0,0 which may block the camera.
SPONGE: Menger Sponge fractal
TERRAIN: Mountain range
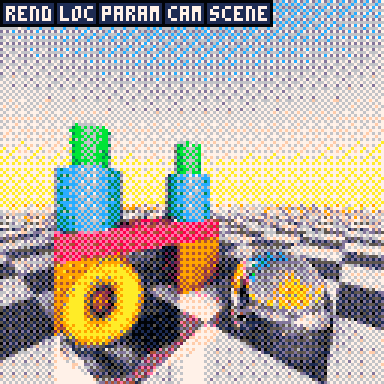

wow!
Postcard cart was impressive but this is another level
Excellent work (as usual? :] )

I don't have too much time to mess with it right now but this is insane! I'm going to enjoy playing with this! ^_^

Would it be possible to set light source location?
Anything with a ceiling ends up being totally black!

Right now it's directional only...
Maybe version 2 would have point lights, light emitting objects. [Electric Gryphon starts eyeing "Ray Tracing: The Next Weekend" on Amazon...]

There should be a sound to let you know when it's finished rendering so you can do other things while you wait.

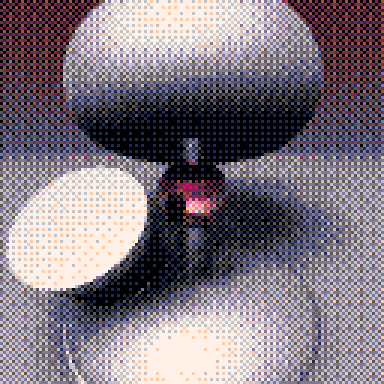
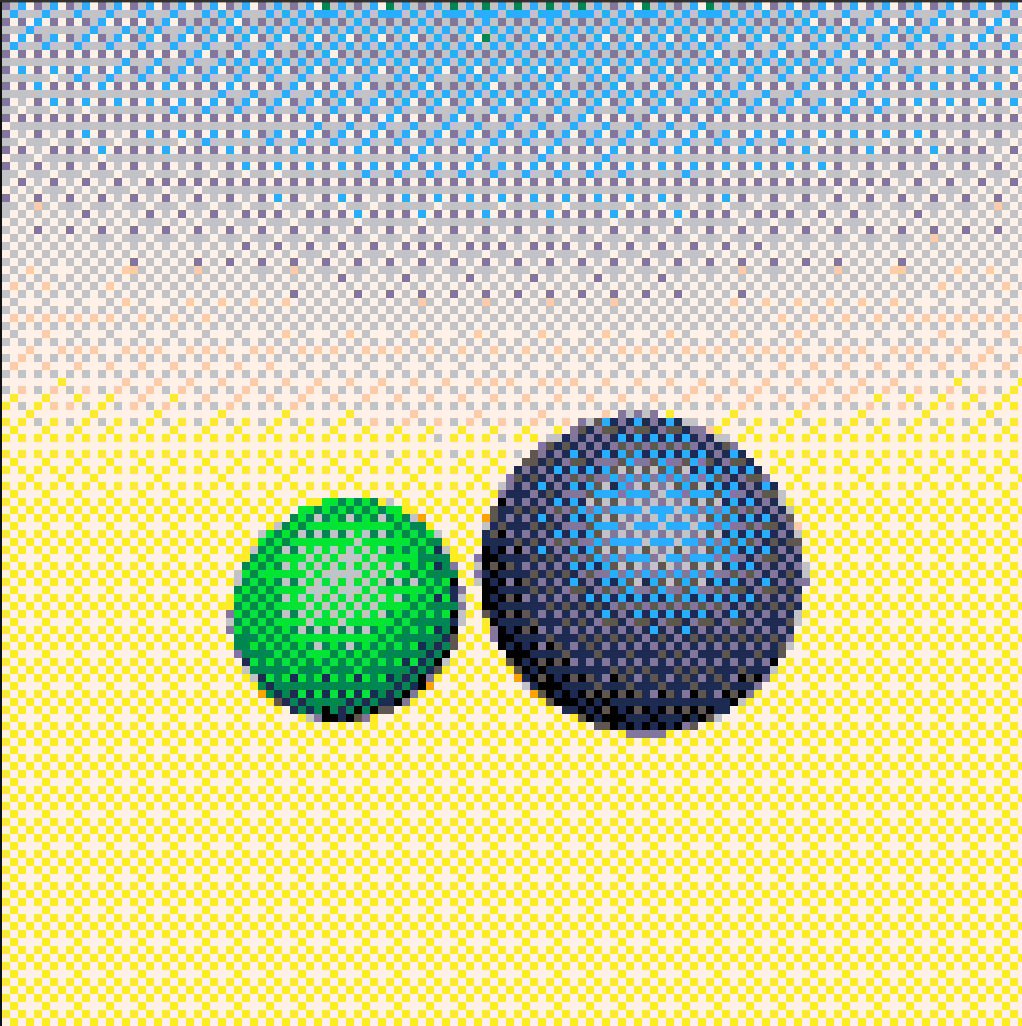
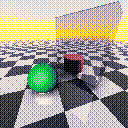
If you overwrite data in the middle of rendering you can create cool effects like this.
[Please log in to post a comment]


