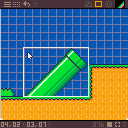
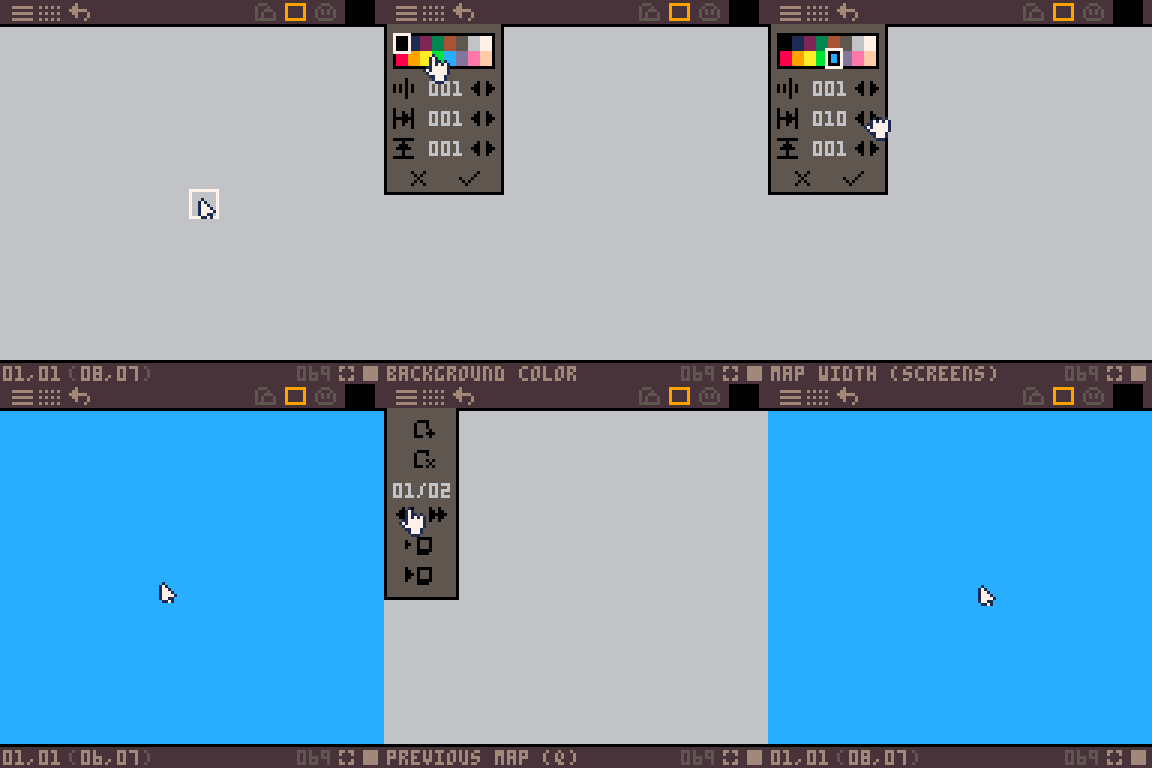
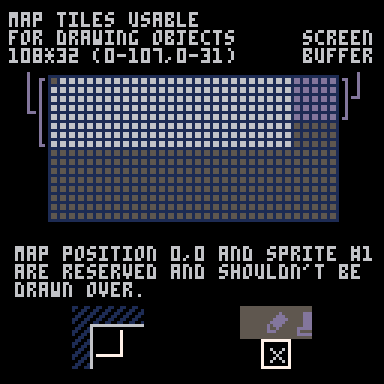
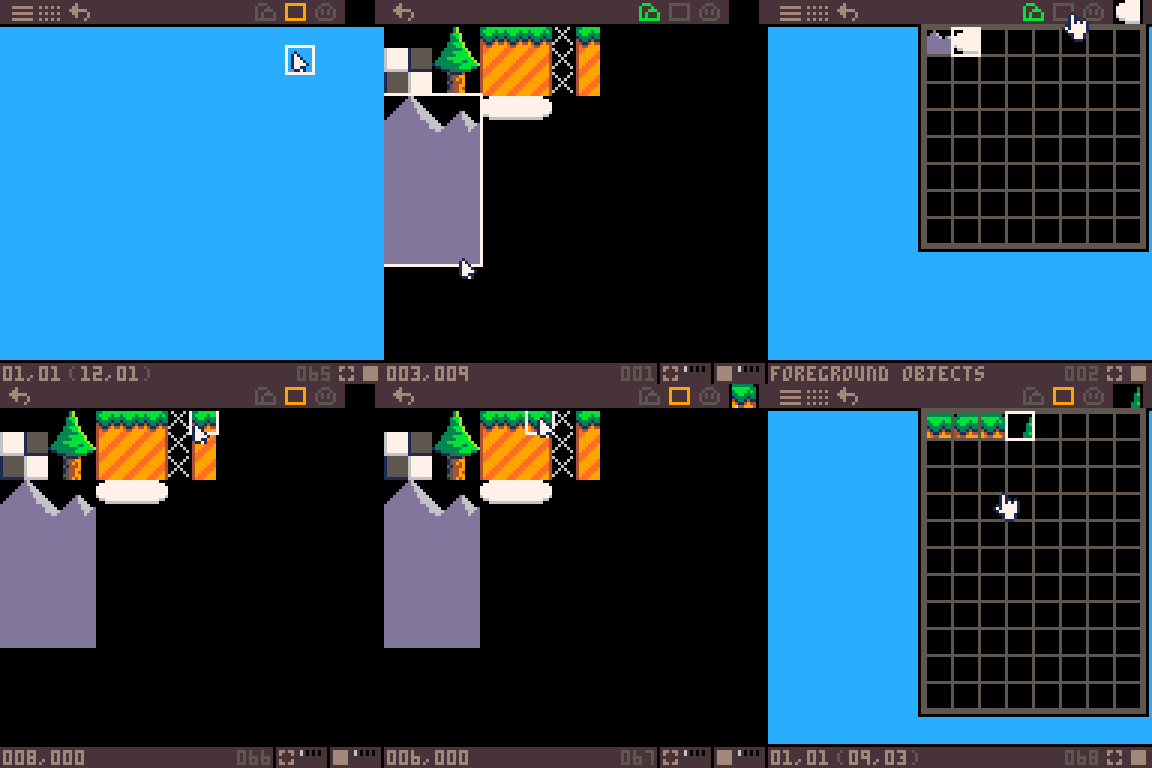
Current version: 0.43
Changelog
PicoMap is a graphical map editor that allows console game size worlds to fit in a single Pico-8 cart. It does this using a version of metatiles, a compression technique used commonly with retro systems like the NES. Basically, levels are stored more efficiently by being built from groups of tiles instead of single tiles, just as images are stored more efficiently when built from tiles rather than single pixels.
I've worked hard to minimize the system's footprint so it's easy to add to game carts. It's very CPU-efficient and well-suited to 60fps games since map decompression is done only when loading a new level, and the system functions take up around 10% of the compressed size and token limits. You can use PicoMap in any project you want and modify the code to fit your application, just be sure to include attribution somewhere in your cart. Hopefully this will enable people to make some cool larger-scale games like platformers and action-adventures.
System outline
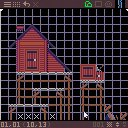
PicoMap lets users create levels from metatile "objects", like a tree, a hill, or a building, each of which is basically a reference to a rectangle of tiles in Pico 8's map memory. In the editor, levels are stored as lists of objects in string form, but when exported to a separate cart, these, (along with the contents of map memory and the spritesheet) are condensed into raw binary data resembling rainbow-colored noise and stored in cart memory. Meanwhile, a few strings are output to the clipboard-- a string defining object types and some system settings, a string-based lookup table for the location of each level's data in cart memory, and (optionally) ones for defined autotile types and sprite flag data.
When the destination cart is run, the binary level data is transferred to a large table in Pico-8's Lua RAM and the spritesheet and map memory data are decompressed to the proper areas in cart memory. On loading a level, a table is created to contain its map, and this is filled using instructions from the binary level data. A portion of the level table slightly larger than one screen is then copied to the top right corner of Pico-8's map memory once each frame and mapped to the display. This allows each level to be any width or height, and up to 256 screens in size.
Note: You can export up to 16.75KB of compressed data, but any more than 12.25KB will overwrite sfx/music data in the destination cart. Only recommended if you're storing sfx/music data as compressed strings. (if over 12KB, sprite flag data will automatically be output as a string)
Controls
Editor
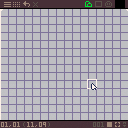
Left Mouse btn.-----Select or place object/bring up object placement preview
Right Mouse btn.---Click and hold to drag view/turn off object placement preview
Directional keys----Move view
Scroll Wheel--------Select object number
Space---------------Toggle object editor screen
Z--------------------Undo
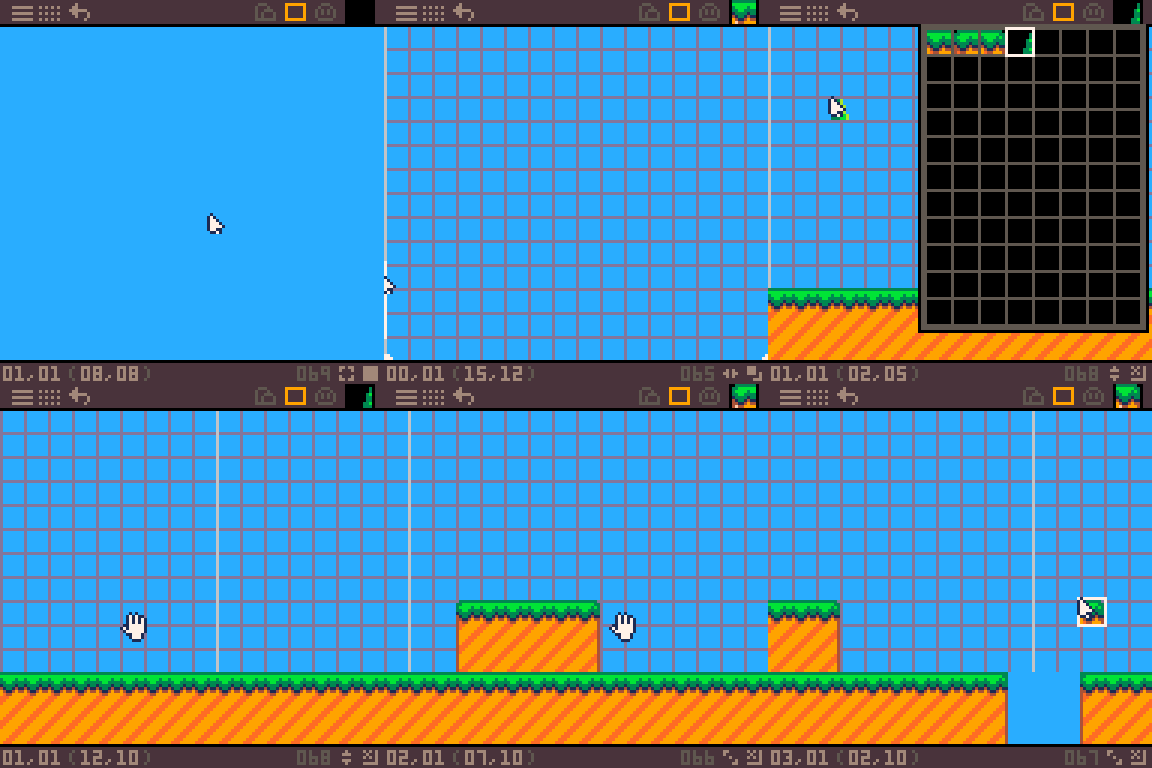
X--------------------Delete object when mousing over its top left corner w/object placement preview off (dotted outline and X symbol will appear)
Editor shortcut keys
V-------------------Change variance type (when in obj.editing mode)
M-------------------Change mapping pattern type (when in obj.editing mode)
G-------------------Toggle grid
S-------------------New level string submenu
Q-------------------Previous level map
W------------------Next level map
I--------------------Import spritesheet, sprite flags, and map memory from external cart
E-------------------Export level maps to external cart
H-------------------Reset current map to Home position (screen 1,1)
O-------------------Toggle display of # of objects in range of screen and total # of objects in map
Viewer Cartridge
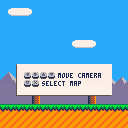
Directional keys---Move camera
Z-------------------Previous level map (optional)
X-------------------Next level map (optional)
Using the editor
As this is an early version of PicoMap, it's not yet complete and there are going to be bugs here and there. Please let me know about any issues you encounter, as well as any improvements you might think of. Thanks.

Well, one that some people have been waiting for at least. ;)
It's been up and running for a little while, but I spent some time on the little tutorial that explains the main workings, since I know asking people to switch to a new piece of software can be a tricky thing. I also tried to copy some of Pico-8's appearance and user interface elements to make things feel familiar. Hopefully people won't find it hard to understand or use.

The new interface and features look good! I especially like the addition of the delete level button

Thanks, figuring out how to implement the delete feature and make it work with the undo button took a while, but I think it should help avoid headaches with managing level strings manually. The redesign of the object types should add a lot more versatility and save storage space as well. If you've made some maps it could mess up parts of them, but I updated the tutorial to show how the adjustable pattern-size objects work now.
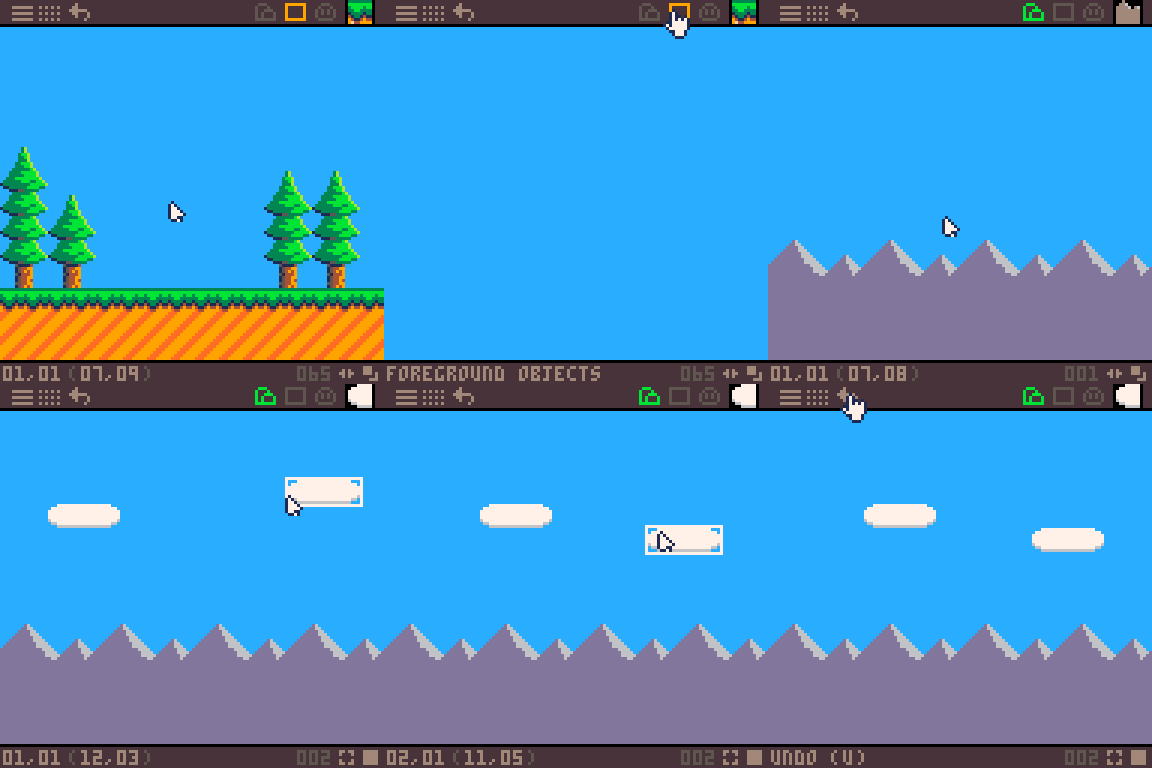
The next big revision I'm working on will let you layer metatile maps on top of each other for multiple parallax scrolling layers. =)

wow! I did NOT know pico8 is also able to do things like this!!

Interesting. I had looked into metatile mapping that was closer to Blaster Master, with graphic tiles themselves being 'in flux' as far as rotation and pallete in addition to how they're used in the larger map. Didn't get far as it would take a double layer metatile editor along with map editor...BUT, the fact other folks are looking into custom map editing to make bigger maps AND do it with a tool in pico8 I have no choice but to cheer you on. The 'general ram' area of memory has a lot of potential...unlock it!

Thanks,
I'm not currently using the general use memory, but there's probably some good uses I could put it to. I know there are lots of different approaches to using metatiles, and I've looked at some different types, like a variant that generates metatiles automatically from a map of individually-placed tiles for more versatility, but so far an object-based approach like my current one seems to offer better compression and is less likely to require additional work for users.

Woops I was in the process of writing one of these, I didn't see this before. I'm glad you made this, I will need some time to see how it works.
Well done.

This looks incredibly useful! I have been experimenting with run-length encoding to pack oversized maps, but in testing with a real game it only compresses to about 25%... metatiles seem like they could compress it much further.

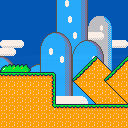
Definitely. For fairly simple maps, such as those in my Super Mario Bros. demo, I've been able to achieve an effective compression ration of about 25:1. This wouldn't be quite as high for denser maps, but I think in general a compression ratio of at least around 10:1 is a pretty safe bet.
In addition to that, though, the system compresses the sprite sheet at least 2:1 and stores it as a string, leaving nearly 12KB available to store level data. This means that even without factoring in level compression you have about 50% more potential level storage space than if you were just using the standard Pico-8 map system.

Great! I was thinking about storing tiles in Lua RAM but wasn't sure about the speed of copying it back to tilemap memory... if you can reload it every frame, surely I can do it one frame in a while! (I already have a system to detect when the character is approaching another region's border, so I can load the next region just before I need it)
If there's already an import feature I'll use that. Otherwise I won't be able to reproduce my existing level, then I'll just make a smaller one for demonstration at least.

No import feature, I'm afraid. Levels have to be built using the editor, since instancing defined patterns allows levels to be highly compressed. The copying of tile data is very fast because only about one screen's worth is needed per frame, don't know how the speed would be for a bunch of screens.

Hmm, just thought about your last comment. Do you mean you don't think the system will be able to handle the size of your map? It currently supports level maps of any width and height as long as width*height doesn't exceed 256 screens. Not sure if that's big enough for your whole map, but if not, you must be working on something pretty ambitious!

Import: ok, I see, patterns must be added by hand rather than deduced, but that makes sense. I got a lot of filler tiles so that would give great compression in those areas.
Limitation: no, I meant human limitation, the fact I have to redraw each region by hand. That said patterns will make filling faster at least, so it will be more about copying the unique parts of each region. I have many repeated parts like small bumps though, so again patterns may make the work faster there. (I only need 8 regions equivalent to one PICO-8 tilemap without the shared memory)

It's been a while since I checked this, and quite a lot of progress has been made.

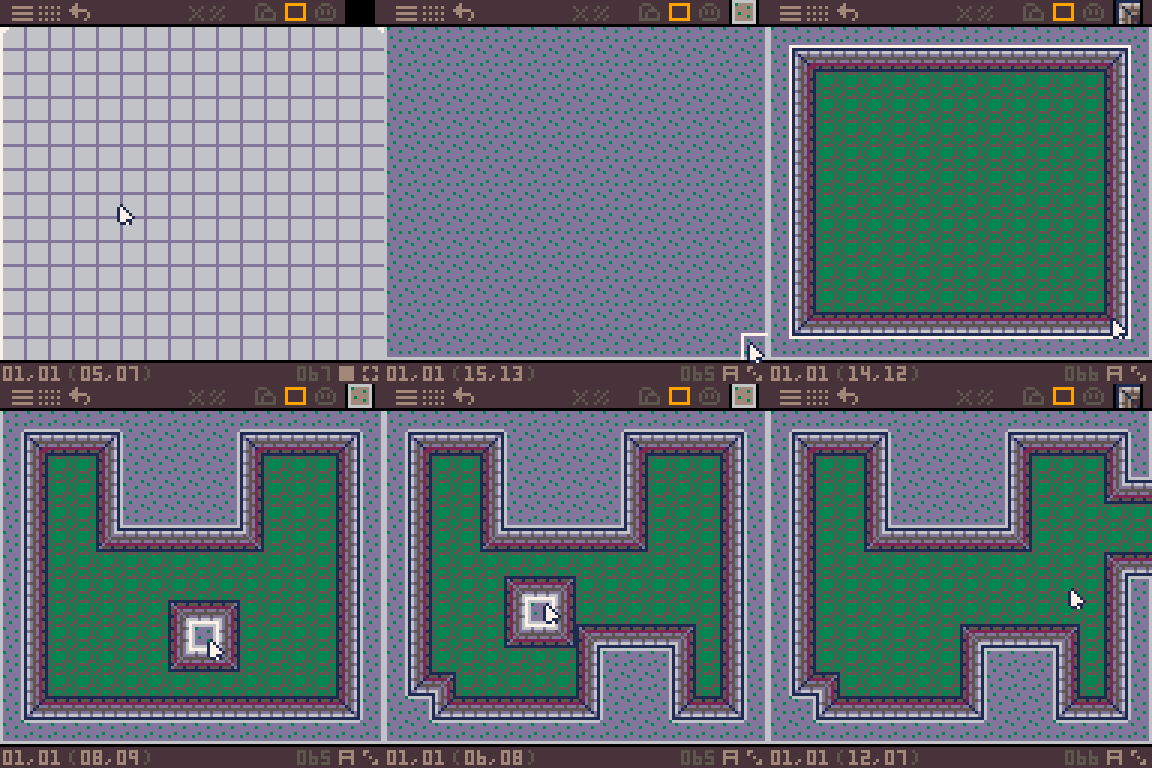
Yeah, It's definitely a longer-term project. I've been working on the next version, which will add a number of new features including an autotiling system. It's taking a bit longer than I expected though, since layering the tiles in a way that's versatile and easy to use has proved complicated. Also, I'm trying to keep the size and token count of the cart functions as small as possible, and that's involved a lot of code refactoring.
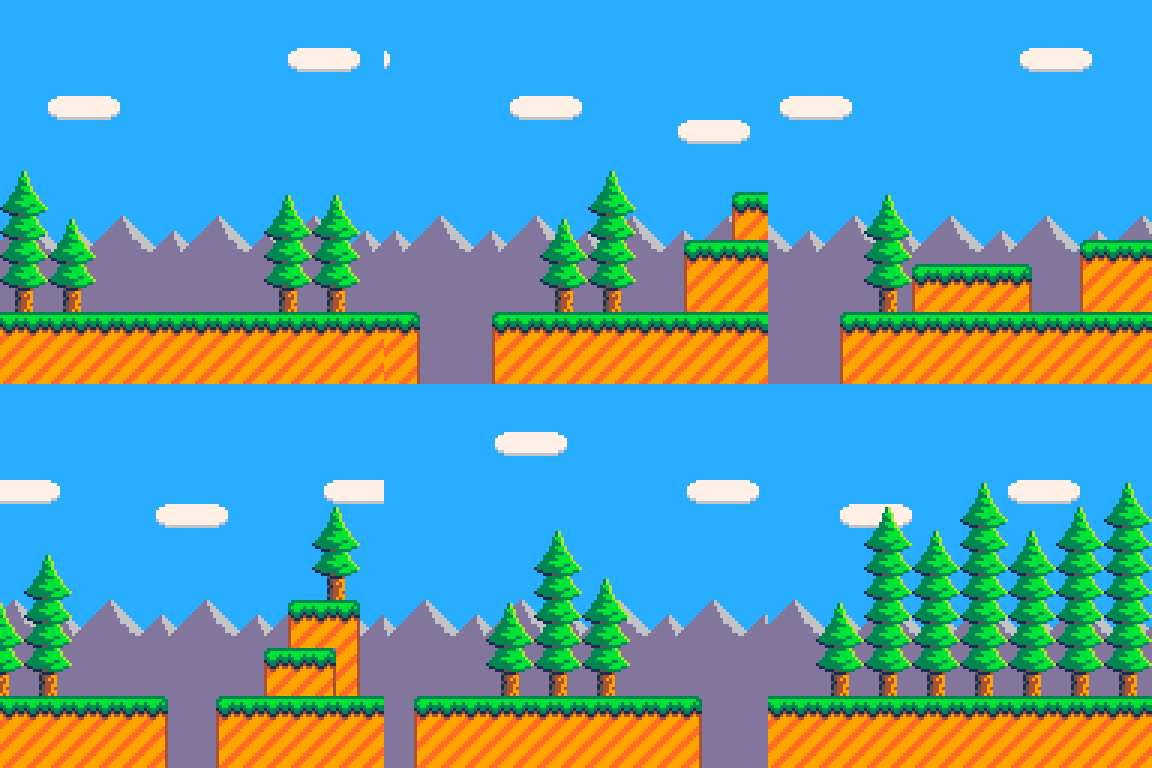
Here's a little preview:

Have you noticed the «big maps» feature in latest release?
We can store extra maps in high RAM and use a poke to make the map functions take data from there.
Maybe that’s interesting for this program?

Yes, I noticed that. The next version of PicoMap will use the extended memory, but for storing compressed level data and not storing the decoded maps directly. I decided on this because storing them in arrays allows maps that can be twice the maximum size and have any desired dimensions, setting up parallax scrolling layers is made very simple, and each tile entry can store extra data that allows layering options for autotiling.
To avoid any extra difficulties due to not using the map memory directly, I've also made a small function that works as a drop-in replacement for fget(mget) and gets flag data directly from a level map array, so you'll be able to use your existing map collision routines.

Well, I know the width is adjustable, but I thought I read it could only be set in 32-tile increments.
In any case, the current setup I have allows for levels up to 256 screens in size, and I could actually increase that if I wanted. Also, setting up parallax scrolling layers is super simple and the background maps don't eat into the space used for the foreground, and you can do some very useful things with layering autotiles using the fractional bits of each array entry.

Hi, I've been trying out PicoMap lately and I've enjoyed it so far. I'm not sure if this is already known, but it seems that the PicoMap cart doesn't have the "Game Cart Functions" tab as mentioned in the tutorial.

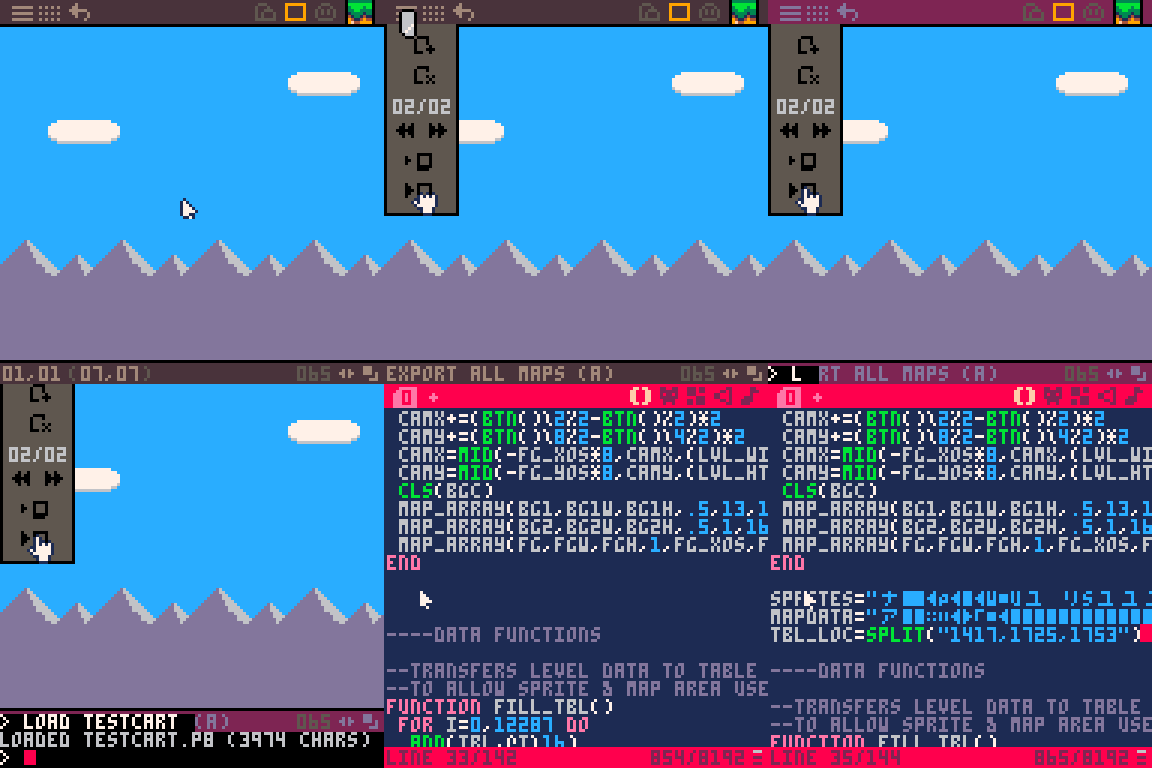
Sorry about that, I decided to move the game cart functions to a separate cart to maximize level storage space and make using the functions a little easier. They're all in the "testcart" cartridge now, I just hadn't updated every part of the tutorial, need to do that.
Anyway, glad to hear you're enjoying the program so far.

@JadeLombax
Thanks for letting me know. I think I've accidentally overridden the testcart cartridge during my confusion and fiddling around with the program ^^;
Is there a way you can link / paste the Game Cart Functions?
Thanks so much!

Well, you could try redownloading the cartridge from the link here. Also, you'll need to make sure that the name that you save it as and the export_cart_name variable in the main program match. I'll see if I can tweak a couple things and make that process a bit less error-prone.

Alright, thank you, I’ll let you know if something comes up! Good work on the tool
edit:
The Testcart seems to be running fine when I import my map.
However, when I try to put it into my main game, I'm getting a Runtime Error for the variable "Z".
Note: I've put the _init() and _update60() functions as picomap_init() and picomap_update60() to be placed in my respective init and update functions.
I think for now I'll mess around with the "export cart" variable since I think I have misunderstood its meaning.
edit2: I think I figured out the issue and everything seems to be working now albeit in a way I didn't anticipate. I'll work with this. Thanks for the help

I'm a bit confused on how to utilize the Entity category for things such as player and enemies. Would the player and enemy sprites need to be part of the tileset in the map editor?

As I mentioned in the tutorial, entities are a work-in-progress. By default, they're just another category of map object, but I put in some code "hooks" to let you have the system not draw them and instead add an entry to a table of level entities, using ID number and position data for entity type and spawn point. There's no particular method you have to use for enemy sprites, I left that open, partially because I'm thinking about adding a sprite banking system to a later version of PicoMap. The player character isn't considered an object, so is totally separate from all this.

Thank you. I apologize for all the questions; I'm not well-versed in compression methods and am slowly learning through Pico-8.
So from what I'm understanding, is it possible for me to store my already-existing player and enemy sprites into Tabs 3 and 4 of the sprite editor? I noticed PicoMap's compression utilizes at least Tabs 1 and 2 of the editor but I'm not sure if I should also find a way to store my already-existing sprites as their own strings.

By default, the whole spritesheet is compressed into a string when you export your levels, so all you need to do is copy and paste your sprites into tabs 3 and 4. Guess I didn't specifically explain that, partially because I've been thinking beyond just a single screen of sprites.
Don't apologize for asking questions, it's great feedback that I can use to help others understand the system more easily.

This is awesome and has relaxed me significantly from some fears I had about combining my project with this tool. Thanks so much once again! I'm really excited to work with it more.

Hm, the entity system seems perfect for my pick ups (which need to be spawned, then detect collision and disappear if picked), and possibly my special background objects too (I have a palm tree that is made of a trunk + symmetrical left and right leaves using sprite flipping for minimum spritesheet size, which require custom rendering).
I already have my own system which detects tiles of a certain ID, but because I am using multiple cartridges to store multiple patches of tilemaps, I have to iterate on all of them, and for each, reload tilemap memory and spawn the special objects. If you complete the entity system, it could streamline my loading code a lot!

It seems when I try to change the export variable to a backup cart of my main game and hit Export, it completely wipes that cart's code and existing sprites while adding in a bunch of junk sprites. It also fails to let me copy-paste my old sprites, put them into Tabs 3 and 4, and then save since it will always revert to the empty cart with junk sprites. I'm not sure if I'm doing this wrong--it hasn't happened before.
Does it get messed up when I try to export my map to a cart in which the byte count doesn't allow it to be saved as .png anymore?

Hmm, not sure exactly what's happening, but I wonder if my explanations still weren't clear enough. The only time you should copy and paste sprites into the spritesheet is in the editor, before exporting. To help me understand what's happening, could you upload the cart in question with "garbage sprites"?

I guess I haven't been sure exactly what to do with the entity system, first because I haven't made a game yet that uses something like that, second because I'd like to leave things open enough for people to do whatever they like with the system. I'll look at what people like Zep have done with things like that, and see if I can figure out something fairly simple and open-ended.

@JadeLombax
Ah, so my character sprites should've been included in the PicoMap editor, not just in the cartridge I'm exporting to...
Here is the cart that is being weird. I exported my map from PicoMap to this, which is a duplicate backup cart of my main game.
The cart before I tried exporting had my main game code and my character sprites. After I exported, there is no code and the spritesheet has been replaced with the "junk sprites".

Okay, I don't fully know what the issue is, but I have some ideas.
First, make sure that the export file name variable is set not just to the correct name, but also the right file type. I usually use .p8 instead of .p8.png because .p8 files can be saved and loaded easily, and the code can exceed the compressed file size limit, as long as it's not over 65,535 characters. I've also found that if I export to a non-existent cart, one is created, but it only has binary data in the spritesheet and no code. Not sure if that's exactly what's happening in your case, but it sounds similar.
Second, I think there's still some confusion over how the system works, and that's okay, it's pretty counterintuitive. Basically, the system transforms the cartridge's whole memory layout on startup. Usually graphics go in the 8KB spritesheet, and map data fills the 4KB beyond this (if you want a full spritesheet). PicoMap compresses the spritesheet to a string, condensing it around 2:1, or up to about 25% of the code space, which generally shouldn't be a problem. With sprite memory freed up, the system can use the full 12KB of space usually reserved for sprites and map data just for levels. It's not compressed, but since the metatile system squeezes it down so much, it's not very compressible anyway.
So, long story short, you don't need to put any sprites in the viewer cart spritesheet, those are all placed there when the program starts up, and the "junk sprites" you mentioned are actually your level data. The patchy lines at the start are data for the object types you've defined, and the solid mass of colors down further is your actual levels, which are currently only using about 1KB of over 11KB of space that's available. Most games probably won't need all of the available space for level data, so I'm working on some ideas for storing another spritesheet worth of graphics in there (which would really help for NES ports). For now, though, you have at least one whole spritesheet, and a whole bunch of room for levels.

I did put the correct file type and tested it multiple times and it resulted the same way, so maybe it’s not that. But thank you so much for the explanations; it really cleared up a lot for me how it works once again. I think I will fix the sheet I’ve been trying to do and follow this workflow more closely, then tweak my current sprite and animation systems to work with this.

Wow, that's strange, exporting data has never erased the code for me. You mentioned that you made a "duplicate backup cart", does that have the same name as the original, or a different one?
If nothing else, I guess you could just force it by exporting your levels, then pasting the data strings to the cart with the level data in it, then copying all your code over. Either that, or if you want to upload your editor cart and the cart you're trying to export to, I could see if I could get it working.

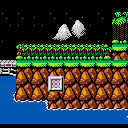
Well, things are mostly in place, but fitting all the graphics for a Contra port on one cart is still a bit beyond what the system can do at present. I think all the main level tiles should fit in one spritesheet and I'm working on that here and there (the sprites for level one take one sprite tab, but the other levels have less graphical variety). Another spritesheet's worth will be needed for all the character and enemy sprites, though, then some more for the bosses and one-off structures, title screen, ending, etc. I think it's doable, but the graphics compression system needs more work.

@JadeLombax
Sorry for the long delay! Things got really busy.
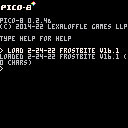
By "duplicate backup cart," I meant that my original cart was called say "frostbite v16" and the backup cart I was exporting to was called "frostbite v16.1". For Picomap, I did use "frostbite v16.1" to replace the export cart string variable.
Anyway, I've uploaded the cartridges. These are versions I saved and uploaded newly just a few minutes ago. I don't want to risk touching the older versions from last week or else things will get confusing.
Thanks so much for looking in on this.

After an initial look at the editor cart, looks like the system's being overloaded somehow, and the CPU usage is over 200%. This hasn't happened in my testing, so I'll look into what's causing it. The main level wouldn't export, so I'm thinking the problem is that the system slowdown caused by the CPU overload is causing a bug in the export code. I created a smaller test level using the cart and exported that, and it worked fine. I'll let you know when I figure things out a bit more.

Woah! That sounds a bit wild. I’m wondering if I accidentally went over the screen limit, but I’m pretty sure I ended up with 256 screens.

Don't worry about overshooting the number of screens, the code won't actually let you do that. After looking at things a bit more, though, it seems there are two main issues.
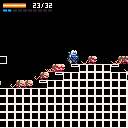
First, I didn't stress-test the editor as much as I probably should have for very large levels with a high total number of objects, especially a large number of objects on one screen. Apparently the object filtering code needs some more optimization, and I'm working on some ideas for that.
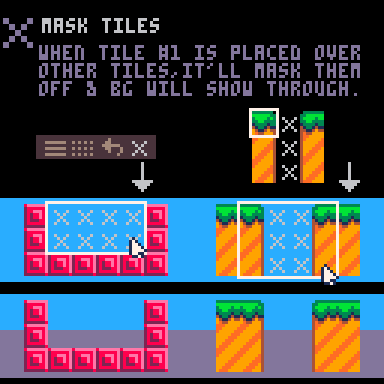
Second, it looks like in quite a few places you drew many small objects on top of each other, sometimes five or six. It also seemed like in some spots maybe you used eraser objects to try and delete other objects? I wonder if this is due to ambiguity in my descriptions. If you want to delete an object, you need to mouse over its top left corner so that a black and white x appears and press the x button, which will remove it from the level string. Drawing over an object with another object doesn't delete it, and 'eraser' objects also don't delete anything, they just mask off sections of objects, allowing the background to show through. To remove ambiguity, I think I'll rename them 'mask objects' or something like that.
In addition to the performance issues, though, with the current setup you're not getting very good level compression. The system's designed to compress levels highly by letting you draw them using a relatively small number of objects per screen. The number of objects directly affects the storage size, with each object taking 2 to 3 bytes depending on how variable its size is. I was surprised to see that not many screens were filled in, but those that were had approximately 20 to 100 objects each, which is far more than I've used in my tests. With an average number of objects around, say, 40, each filled screen will average a bit over 100 bytes. This results in a net compression ratio of only about 2.5:1, vs. between 10:1 and 25:1 that I've gotten in my demos so far, so you're not getting nearly the compression advantage the system's supposed to offer.

Been busy with work and other stuff, but I've been optimizing the editor code. Objects are now pre-processed when loading a level, and data is cached in a large table, greatly reducing CPU load for large levels with lots of objects. Maximum CPU usage for the Frostbite level is down from 266% to 63%, and I'm hoping to optimize it a bit more. There are a few bugs I need to work out, and a couple small features I'd like to add, but version 0.41 should be up within a few days.

Alright, version 0.41 is up. Took longer than planned as getting everything working proved a bit tricker than expected, and in addition to better performance I went ahead and added several ease-of-use features. For example:
- Now you can easily import sprites and map data from another cart
- Object's bounding boxes are shown when they can be deleted, which makes it a lot clearer what you're going to delete
- You can toggle on/of a display of how many objects are in range of the current screen, and how many total are in the level
- Camera position is bookmarked for each level map, so you don't have to scroll around so much when working on multiple maps
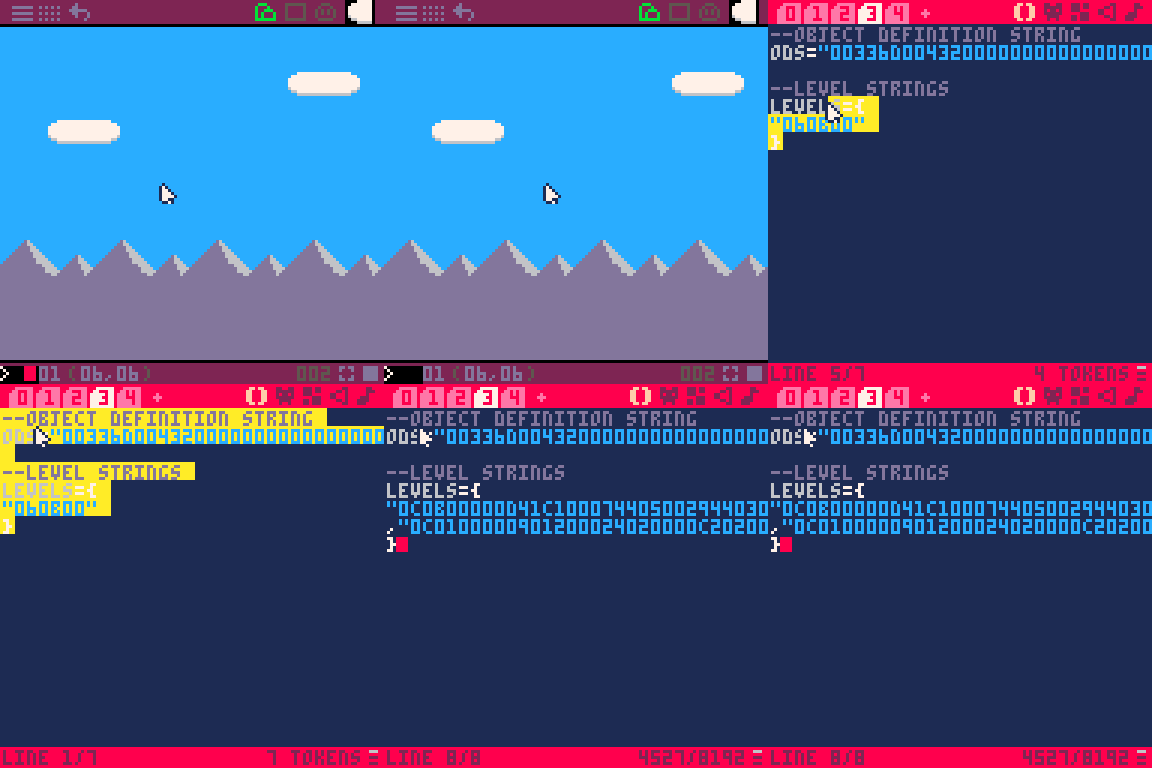
Details are in the changelog, and I updated some elements of the tutorial (still need to update some of the gifs, though).

How does one save a level and then load it again in the editor. That is not clear to me.
I think I have a firm grasp on the rest of the way the editor works, thanks very much for this!

@bitJerico,
Saving levels is covered in the expandable "using the editor" tutorial in the main posting. Basically just quit the program using escape and paste the contents of the clipboard over the existing data strings.
[Please log in to post a comment]


